Long Exposure Night Photography on Samsung Galaxy S25: Complete Settings Guide
If you’re chasing Long Exposure Night Photography on Samsung Galaxy S25: Complete Settings Guide, this practical walkthrough helps you master Pro Mode, Night Mode, tripod technique, ISO balance, and post-processing for star trails, smooth water, and vibrant city lights.
Open Pro Mode on Your Galaxy S25
Open Pro Mode to gain full control over your photos. This is where you’ll adjust shutter speed, ISO, white balance, and focus manually—no auto guessing. Pro Mode acts as your camera’s steering wheel, letting you shape light trails, pinpoint stars, and craft depth. You’ll see a live preview that updates as you tweak settings, so you can dial in exposure before you snap. Save a quick preset once you’re comfortable to speed up future shots.
Switch to Pro for manual control
Begin in Pro to unlock essential sliders: shutter speed, ISO, white balance, and focus. Start with a middle-ground shutter and ISO to learn how each change feels on screen. As you gain confidence, slow the shutter for more light trails or speed it up to freeze motion. Balance is key: too slow invites blur; too fast darkens the scene. Use manual focus to avoid soft distant lights and keep notes for repeatability.
Find S25 manual shutter speed night
In Pro Mode, shutter speeds range from very fast to long exposures. For night scenes, slower shutters gather more light but increase blur risk if anything moves. If the scene is still, you can go longer; if people or cars are present, use a shorter duration or a tripod.
Enable long exposure options
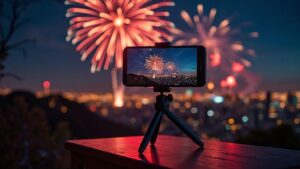
Long exposure reveals light trails, smooth water, or star paths. Enable long exposure if available, or set the shutter to a few seconds manually. Use a sturdy tripod and anti-shake features if present. Frame, then press shutter with a remote or timer to avoid touch blur. Longer exposures require careful handling of wind and reflections.
Choose the Right Shutter Speed for Night Shots
Shutter speed determines brightness, motion, and sharpness. Shorter speeds freeze action; longer speeds create glow and motion blur. Plan your mood: crisp stars or silky light trails. For a busy street, try around 1/60–1/125s to avoid wobble while preserving some motion; for a quiet scene, 1/4–1/2s can capture ambient glow without losing detail. Always check the exposure readout and adjust by stops to prevent clipping or crushed shadows.
Start with a few seconds for light trails
To capture light trails, keep the shutter open for a few seconds to create continuous lines from moving lights. Start with 2–4 seconds and adjust longer for brighter trails, or shorter to avoid overpowering the background. Use a tripod and RAW format when possible, and review histogram to prevent overexposure of bright trails.
Slow down for longer trails and reflections
Longer trails (8–20 seconds) work for car lines, reflections on water, or glow from moving subjects. For calm water, 15–20 seconds can yield a glassy look; if the area is bright, shorten to 8–12 seconds. Use a low ISO, small aperture, and a sturdy tripod. Check the histogram and balance highlights with shadows to preserve detail.
Test exposures and read the histogram
Take quick test exposures at your chosen shutter, compare side by side, and study the histogram. Aim for a spread from shadows to highlights without heavy clipping. If needed, adjust shutter by half-stops and re-check. Don’t forget to verify focus—manual focus on a bright edge often yields crisper results in low light.
Set ISO to Reduce Noise on Low Light Shots
ISO balance is crucial for clean night shots. Start with a low ISO baseline (100–400) and raise only as needed. A tripod allows very low ISO with longer exposures; handheld shots may require a modest ISO increase to maintain brightness without excessive noise. If you must raise ISO, do so in small steps and compare results.
Keep ISO Low and raise only when needed
Keep ISO as low as possible. If shadows lack detail, raise ISO slightly and test. Lower ISO yields less grain and truer colors. For moving subjects, a small ISO increase may be warranted to keep texture without sacrificing too much noise.
Use ISO settings for Galaxy S25 night photography
Begin at the lowest ISO suitable for the scene. Clear skies with moderate city glow may stay at 100–400; dim interiors or heavy shadows might push to 800 briefly. For long exposures, a lower ISO helps maintain color accuracy and reduces flicker from artificial lights.
Shoot RAW to recover shadow detail
Shooting RAW preserves more data for post-editing, letting you recover detail in shadows and prevent highlights from clipping. RAW files are larger and require more processing, but they offer greater latitude for night edits.
Stabilize Your S25 with a Tripod and Settings
Stability is the foundation of sharp long exposures. Use a sturdy tripod, level the horizon, and keep the camera rock-steady. If a real tripod isn’t available, a solid surface with a mount can work, but a proper tripod makes long exposures predictable. Tuck your elbows in, plant your feet, and exhale slowly when pressing the shutter to minimize body shake.
Use tripod settings long exposure S25
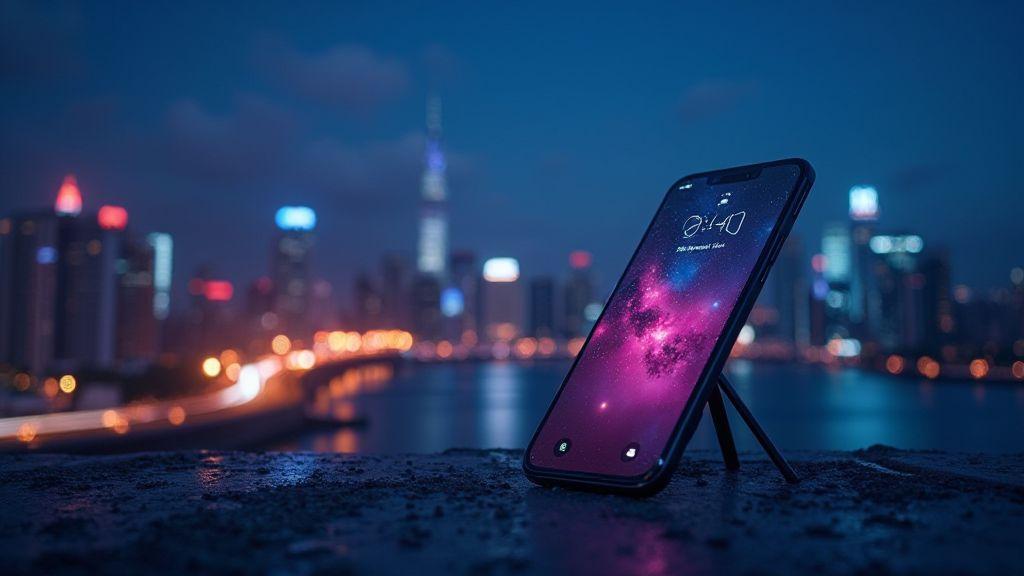
With a tripod, keep ISO low and shutter slow enough to capture ambient glow without washing out highlights. In Manual mode, control ISO, shutter, and aperture for a balanced cityscape or dim alley. Test different combos and review results before moving to the next shot.
Use timer or remote to avoid touch blur
Use a timer (2 seconds) or a Bluetooth remote to prevent camera shake from touching the phone. Test a few quick runs to dial in timing and ensure your framing remains steady across shots.
Turn off image stabilization and lock focus
On a tripod, disable image stabilization to prevent motion artifacts. Lock focus to prevent hunting in low light. If shooting multiple frames, keep exposure and focus consistent for clean post-processing.
Pick Night Mode vs Pro Mode for Long Exposures
Long exposure night shots on the Galaxy S25 offer two main paths: Night Mode and Pro Mode. Night Mode stacks frames to reduce noise and brighten dark scenes with minimal effort—great for quick, shareable results. Pro Mode provides hands-on control over shutter, ISO, white balance, and focus for deliberate creative outcomes like star trails or dramatic light trails. For routine city scenes, Night Mode is convenient; switch to Pro Mode when you want precise exposure and richer control. In practice, switch between modes as needed: Night Mode for quick results, Pro Mode for artistic long exposures.
When Galaxy S25 night mode long exposure helps
Night Mode excels when the scene is dim and you want a clean, shareable image without fiddling with settings. It’s particularly effective for moving water, gentle glow from streetlights, and scenes where you want noise reduction through stacking. For star trails or precise light management, switch to Pro Mode. Night Mode remains a reliable default for casual nights; Pro Mode is your tool for creative long exposures.
Use Samsung S25 Pro mode long exposure guide when needed
Pro Mode puts you in control: set shutter speed to several seconds, adjust ISO to manage noise, and choose white balance to suit mood. For star trails, stack longer exposures with low ISO. Lock focus manually to prevent hunting. Use a stable setup, frame carefully, and apply slow shutter speeds to reveal more light. Adjust white balance to favor cooler or warmer tones depending on the scene, and test small adjustments to find the sweet spot.
Stack multiple shots for cleaner images
Stacking multiple long exposures reduces noise and smooths irregularities. Capture a base frame, then shoot repetitions with the same framing and exposure. Merge them in post-processing or in-camera if supported. Stacking yields crisper shadows, smoother tones, and more detail in highlights, especially in very dark scenes.
Capture Stars and Night Sky with Your S25
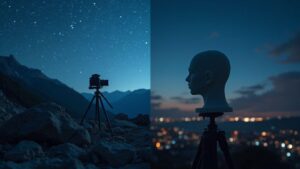
Turn your Samsung S25 into a night-sky tool. Use Manual mode to control ISO, shutter, and focus; mount on a tripod away from light pollution; and shoot in RAW when possible. Set focus to infinity and enable gridlines to compose constellations with a foreground element. A wide-angle lens helps capture more sky and a hint of foreground. If available, try star-tracking or dedicated night-sky modes on clear nights.
Use night sky photography Samsung S25 tips
Keep hands steady with a tripod and remote. A small foreground light helps balance the sky without washing it out. Set ISO around 800–1600 for crisp stars, and shorten exposure if trails appear. Experiment with white balance toward cool tones for star clarity, then adjust for foreground color. A sequence of shots with small tweaks often yields the best overall result.
Limit exposure time to prevent star trailing
Shorter exposures yield crisper stars. Start around 15 seconds and adjust based on your lens and sensor. If trails appear, shorten the time and re-test. Stacking several 15-second shots can produce brighter stars with reduced noise, revealing faint sky details. For more sky and fewer trails, use even shorter times and increase ISO carefully.
Compose with foreground light sources
Foreground lighting adds depth. Use a dim lamp, campfire, or distant building to anchor the scene, keeping the foreground brighter than the sky but not overpowering. Place foreground elements off-center and shoot from a slightly lower angle to enhance drama. A silhouette helps guide the eye from sky to ground, reinforcing the long-exposure night photography look.
Long Exposure Night Photography on Samsung Galaxy S25: Complete Settings Guide brings together Pro Mode control, Night Mode versatility, tripod discipline, and careful ISO/shutter balancing to help you capture striking nights. Practice, review your histograms, and experiment with stacking to push your results from good to great.

Smartphone Night Photography Enthusiast & Founder of IncrivelX
Vinicius Sanches is a passionate smartphone photographer who has spent years proving that you don’t need an expensive camera to capture breathtaking images after dark. Born with a natural curiosity for technology and a deep love for visual storytelling, Vinicius discovered his passion for night photography almost by accident — one evening, standing on a city street, phone in hand, completely mesmerized by the way artificial lights danced across wet pavement.
That moment changed everything.
What started as a personal obsession quickly became a mission. Vinicius realized that millions of people were carrying powerful cameras in their pockets every single day, yet had no idea how to unlock their true potential after the sun went down. Blurry shots, grainy images, and washed-out colors were robbing everyday people of memories and moments that deserved to be captured beautifully.
So he decided to do something about it.
With years of hands-on experience shooting city streets, starry skies, neon-lit alleyways, and creative night portraits — all with nothing but a smartphone — Vinicius built IncrivelX as the resource he wished had existed when he was just starting out. A place with no confusing jargon, no assumptions, and no gatekeeping. Just honest, practical, beginner-friendly guidance that actually gets results.
Vinicius has tested dozens of smartphones from every major brand, explored dark sky locations across multiple states, and spent countless nights experimenting with settings, compositions, and editing techniques so that his readers don’t have to start from scratch. Every article on IncrivelX comes from real experience, real mistakes, and real lessons learned in the field.
When he’s not out shooting at midnight or writing in-depth guides for the IncrivelX community, Vinicius can be found exploring new cities with his phone always within reach, looking for the perfect shot hiding in the shadows.
His philosophy is simple: the best camera is the one you already have — you just need to learn how to use it in the dark.