Why Your Phone Struggles to Focus in the Dark (And What to Do With Night AF)
Why Your Phone Struggles to Focus in the Dark (And What to Do With Night AF)
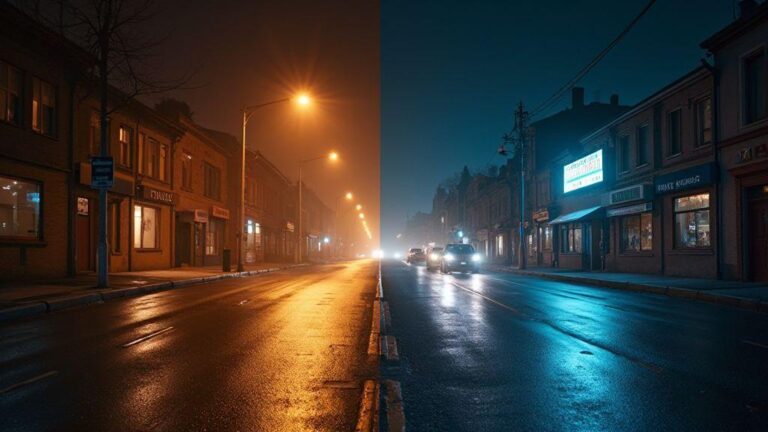
You’ve probably been there: you try to snap a photo in dim light, and the camera just won’t lock onto a sharp subject. Night scenes can tempt a good shot, but low light robs your camera of contrast—the very thing autofocus relies on. Your phone’s sensors can’t see enough detail to confirm what to focus on, so you get a blurry mess or a continuous front-to-back hunt. This isn’t you; it’s physics and the way cameras are built to work with limited light.
Autofocus in the dark depends on contrast, edges, and motion. In scarce light, edge definition fades, so the system can’t easily pick a sharp focal point. Subjects with soft edges or uniform color—think a night sky, a plain wall, or a dark shirt—are especially hard to lock onto. Some phones use laser or time-of-flight sensors to help, but those still need ambient light to shine. Mist, rain, or a bright nearby light can fool the system into focusing on the wrong thing and then refocusing. In short, low light makes focus a guessing game, and your phone often loses.
Behind the scenes, the sensor must discern detail with few photons. Fewer photons introduce more grain and noise, making autofocus decisions harder. A small lens aperture to keep depth of field wide can blur fine detail in darkness. Software tricks help sometimes, but they can oversharpen or create halos, which isn’t true focus. So your night shots end up soft or smeared as the camera battles to lock onto something solid.
How low light affects autofocus
In low light, the camera searches for contrast to lock focus. When contrast is scarce, you get hunting—the lens repeatedly tries to focus, then gives up and starts again. Movement or faces in the dark force the camera to guess, sometimes successfully, sometimes not. Phase-detection and contrast-detection autofocus both suffer in dim settings, which is why your photos can end up softer than you expect.
If you wait a moment in a brighter scene, autofocus snaps into place. A nearby bright source also helps—the camera sees more information and focuses faster. The cue is simple: in dim settings, you’ll need to give the camera more light or a clearer target.
Night AF camera setting explained
When you shoot at night, Night AF helps lock onto subjects in low light so photos aren’t blurry. You’ll notice sharper edges on lights, faces, and signs when Night AF is on. If you’ve tapped to focus and still got a soft image, Night AF uses brighter surroundings to guide the lens. Use it when the scene isn’t well lit and you want the camera to do the heavy lifting for focus.
Night AF works best when there are highlights—street lamps, windows, or headlights. Even in a dim room with one lamp, Night AF can help, but you might need to steady your hands or use a small tripod because the camera needs a moment to lock onto a signal in the darkness. In low light, the camera may delay focus while it searches for contrast. Night AF changes the game by adjusting how the lens and sensor work together to find that contrast quickly, resulting in faster focus, especially on close subjects like a face or eyes.
When Night AF will help your shot
- Night AF shines for moving subjects at night: people walking by or cars passing by can blur if the camera hunts. Night AF helps the camera latch onto the subject quickly and reduce blur in busy night scenes.
- For portraits in low light, Night AF helps keep the subject in focus even if the background is dark, preventing the soft look around features.
What Night AF changes in focus
- Night AF makes the camera search for focus using available light more aggressively, anchoring on contrast and bright points to stabilize the shot. The trade-off can be a moment longer to lock, but the result is crisper foreground focus in tricky lighting.
- Sometimes Night AF prioritizes the closest bright element. If that bright point isn’t your intended subject, reframe or tap to refocus after Night AF locks onto something else. Think of it as the camera choosing what it sees best in the moment, while you guide it back to your main subject.
Turn Night AF on fast
- Open your camera settings and enable Night AF before you shoot. If you have a quick toggle, keep it in your control panel for fast access.
- For best results, frame your subject and give a brief tap to confirm where Night AF should lock. If the camera seems slow, steady your hands or use a stable surface. Gentle lighting clues can help the camera lock faster.
How you can fix autofocus in low light
Autofocus can struggle in dim conditions, but you can guide it with a small workflow:
- Tap to focus and lock: Tap the brightest area first to give autofocus a strong contrast cue, then lock if your phone offers a lock option.
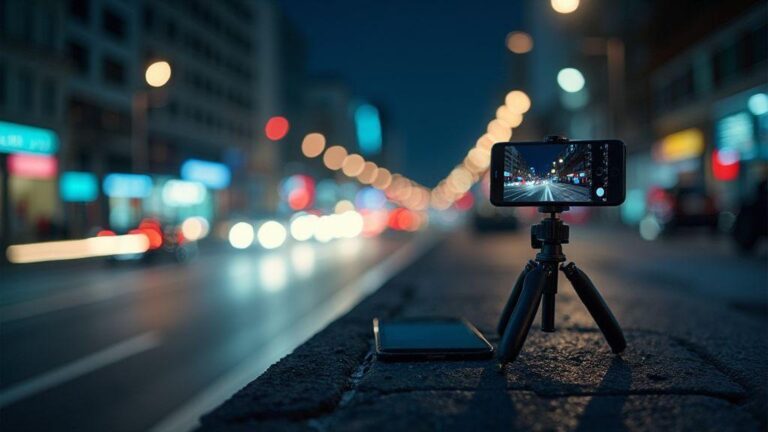
- Stabilize your shot: A stable stance or tripod reduces motion that can throw off focus after it locks.
- Use Night Mode or Night Sight: These modes stack exposure to capture more detail and edges, aiding focus.
- Don’t rely on zoom for focusing: Zooming while focusing can confuse the camera. Focus first, then zoom or crop later.
- Adjust exposure slightly: A tiny brightness tweak can help the sensor detect edges.
Quick test to spot the problem
- In a dim room, point at a plain wall or a person’s face and tap to focus. If it hunts and finally locks, low light is the issue. Move to a brighter corner and repeat to compare. If Night AF helps lock faster, you know the initial autofocus relies on insufficient light.
Use flashlight to help focus
A quick flashlight cue can save a shot. Tap and hold to lock exposure or AF, then use a short, gentle beam from a pocket torch to nudge focus without washing out the scene. Use flash briefly if your subject is moving slowly or if you’re framing a near-dark portrait, but avoid blasting lights that glare or drain the battery.
- When to use the torch briefly: If autofocus hunts, a quick flash can cue edges and textures. For moving subjects, a momentary light helps the camera pick contrast. For close portraits, a short flash can keep skin tones natural.
- Use the screen as a steady light: Dim the screen to provide a soft glow that helps the camera lock focus without overpowering the scene. Tilt the phone so the light hits the scene, not your eyes.
Gentle light tips to protect focus
- Keep light soft and even; harsh glare causes focus hunting.
- Use a small, controlled glow rather than a beam; it helps crisp focus.
- Lock focus, then reframe with a lighter setup.
When to use your torch briefly
- A brief, targeted flash helps your camera lock onto the right distance without washing out the scene. Shield the light in bright environments to avoid flare. In indoors, point away from reflective surfaces to prevent glare. Try a quick 0.5–1 second flash and then switch back to your normal low-light setup.
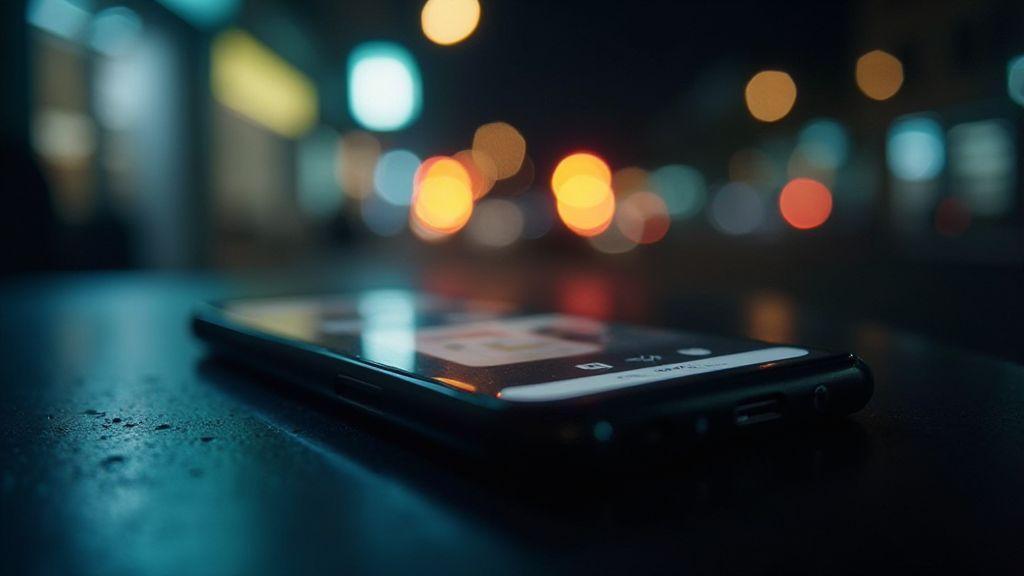
Use the screen as a steady light
- A dim screen can act as a constant light source. Dim enough to see your subject clearly without overexposure, this steady glow helps the camera maintain focus as you frame.
Manual focus smartphone camera tips
Manual focus gives you control when autofocus is unreliable in the dark. It’s a reliable way to get crisper edges, less blur, and consistent results across shots. Start simple, then tackle trickier scenes as you gain confidence. Practice small moves: barely adjust the focus, then snap. Manual focus helps you decide what’s sharp rather than what the camera thinks.
When you should use manual focus
- Scenes with low contrast: starry sky, a streetlight, or a face in dim light.
- Foreground and background compete for attention.
- Macro or detail shots where you want precise control.
- You want to evoke a specific mood, like a single crisp detail with a soft background.
How to access pro mode on your phone
- Look for Pro, Manual, or Night mode in your camera app. If you can’t find them, try a third-party app with true manual controls.
- In Pro mode, you’ll see sliders for focus, shutter, ISO, and white balance. Start with focus, then adjust exposure and temperature to taste.
- Some phones hide pro mode under a More or Advanced submenu. If needed, check hardware buttons or settings for a manual switch.
Set focus step by step
- Tap to frame your subject, switch to manual focus.
- Gently rotate the focus ring or slider until the subject looks sharp.
- Zoom in a little to confirm edge sharpness.
- Lock focus if available, or recheck after a slow shutter.
- Adjust exposure after locking focus to protect details.
Clean camera lens to improve focus
A clean lens helps autofocus lock onto real edges. Smudges, fingerprints, and moisture scatter light and can fool the camera into thinking there’s no good contrast. A quick, careful wipe can make a noticeable difference.
- Why smudges cause focus failure: Dirt and fingerprints add micro textures that complicate focusing, especially in low light where every pixel matters.
- How to clean safely: Use a soft, dry microfiber cloth. If needed, dampen slightly with lens-safe cleaner on the cloth and wipe in circles, finishing with a dry wipe.
Best cloth and motion to use
- Use a dedicated camera-lens microfiber cloth. Avoid rough fabrics that scratch or shed lint.
Software and hardware realities
Software updates and camera focus
- Software updates often fix focus bugs that crop up in night modes. Keep OS and camera apps current to reduce nighttime focus hiccups.
- If updates don’t help, try switching camera modes or check for apps running in the background that might steal focus resources.
Check OS and camera app updates
- Ensure both OS and camera app are current. If no updates are available, verify you’re on the latest supported version.
- Test with different lighting scenes to gauge whether the issue is mode-specific or systemic.
Reset camera settings
- If autofocus seems tangled with old preferences, reset camera settings to factory defaults. It won’t erase media; it just resets knobs and dials.
Backup and update safely
- Back up your data before making deeper changes. This gives you a safety net if you need to reset or repair.
Hardware limits that make your phone struggle
Night photos can look grainy or fuzzy due to real hardware limits. The tiny sensors and small lenses in phones can’t match the light-gathering power of larger cameras. Sensor size, aperture, and processing all influence how bright and sharp your images appear in the dark.
Sensor size and aperture matter
- A bigger sensor collects more photons, reducing noise and improving detail. A wider aperture (lower f-number) lets in more light, brightening images and giving a shallower depth of field.
- On phones, the compact design keeps the sensor small and the lens fast, but you still face limits: noise increases with zoom or crop, and autofocus can slow with dark scenes.
Smartphone night photography tips you can use
- Use a tripod or steady surface to lock the frame and allow longer exposures without blur.
- Compose and expose for low light: place the subject off-center to create depth, and lock exposure on the area you care about most.
- Keep a steady hand, and think about lighting cues rather than chasing the moment with speed.
- Top quick night tip: keep shutter speed steady at slow speeds, use Night Mode when available, and lower ISO when possible to reduce noise.
If you’ve been frustrated with blurry night shots, remember: small, repeatable steps beat chasing a perfect moment. Stabilize, tap to focus, use Night AF or Night Mode, and give your phone time to lock onto the scene. With practice, you’ll capture clearer memories even when the lights go down.

Smartphone Night Photography Enthusiast & Founder of IncrivelX
Vinicius Sanches is a passionate smartphone photographer who has spent years proving that you don’t need an expensive camera to capture breathtaking images after dark. Born with a natural curiosity for technology and a deep love for visual storytelling, Vinicius discovered his passion for night photography almost by accident — one evening, standing on a city street, phone in hand, completely mesmerized by the way artificial lights danced across wet pavement.
That moment changed everything.
What started as a personal obsession quickly became a mission. Vinicius realized that millions of people were carrying powerful cameras in their pockets every single day, yet had no idea how to unlock their true potential after the sun went down. Blurry shots, grainy images, and washed-out colors were robbing everyday people of memories and moments that deserved to be captured beautifully.
So he decided to do something about it.
With years of hands-on experience shooting city streets, starry skies, neon-lit alleyways, and creative night portraits — all with nothing but a smartphone — Vinicius built IncrivelX as the resource he wished had existed when he was just starting out. A place with no confusing jargon, no assumptions, and no gatekeeping. Just honest, practical, beginner-friendly guidance that actually gets results.
Vinicius has tested dozens of smartphones from every major brand, explored dark sky locations across multiple states, and spent countless nights experimenting with settings, compositions, and editing techniques so that his readers don’t have to start from scratch. Every article on IncrivelX comes from real experience, real mistakes, and real lessons learned in the field.
When he’s not out shooting at midnight or writing in-depth guides for the IncrivelX community, Vinicius can be found exploring new cities with his phone always within reach, looking for the perfect shot hiding in the shadows.
His philosophy is simple: the best camera is the one you already have — you just need to learn how to use it in the dark.