Why Shooting RAW Fixes Problems That Night Mode Cannot Solve
The Fundamental Problem: Night Mode’s Permanent Processing Decisions
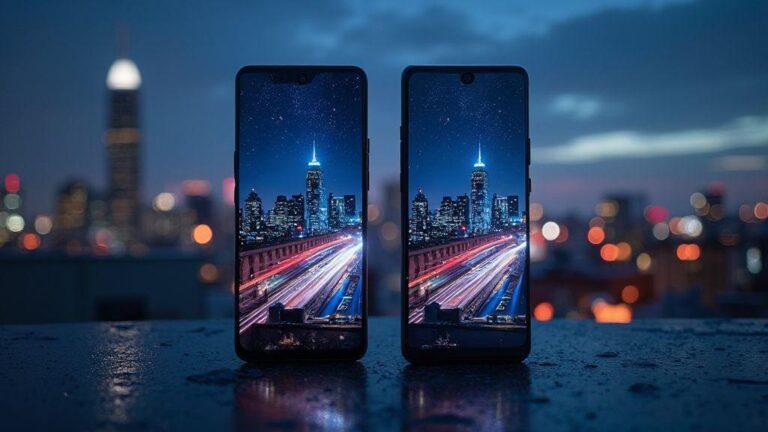
Why shooting RAW fixes problems that night mode cannot solve becomes crystal clear once you understand how these two formats handle image data differently. Night mode applies aggressive computational photography—combining multiple exposures, applying noise reduction, adjusting colors, and sharpening—all automatically and permanently. Your phone makes irreversible decisions about exposure, white balance, and detail enhancement the moment you press the shutter button. Once night mode processing completes, you cannot undo these decisions, cannot recover lost detail, and cannot correct the color shifts your phone introduced.
This represents the core limitation of night mode photography. Your smartphone’s automatic processing prioritizes immediate results over editing flexibility. The algorithm makes assumptions about your scene—how bright it should be, what colors should look like, how much noise reduction to apply—without understanding your creative vision. These assumptions are often wrong. Streetlights should glow warmly, not appear as blown-out white blobs. Shadows should reveal detail, not disappear into crushed black areas. Neon signs should display vibrant colors, not unnatural orange or blue casts. Yet night mode’s automatic processing locks you into these suboptimal decisions permanently.
RAW format, by contrast, captures all sensor data without any processing. Your phone records every piece of information the sensor captured—complete tonal range, original color data, maximum detail—and preserves it in an unprocessed state. This means you make all processing decisions later, during editing, when you understand your creative vision. You recover blown highlights that night mode destroyed. You correct unnatural color shifts. You preserve fine detail that night mode’s aggressive processing eliminated. You enjoy unlimited editing flexibility that night mode cannot match.
The difference transforms your night photography results. A technically perfect night mode image with permanent processing flaws becomes a technically perfect RAW image with complete editing control. You move from accepting your phone’s automatic decisions to making your own creative decisions. You move from being locked into permanent processing to having unlimited flexibility. You move from struggling with unfixable problems to solving every problem during editing.
Understanding Night Mode’s Processing Limitations
How Night Mode Actually Processes Your Images
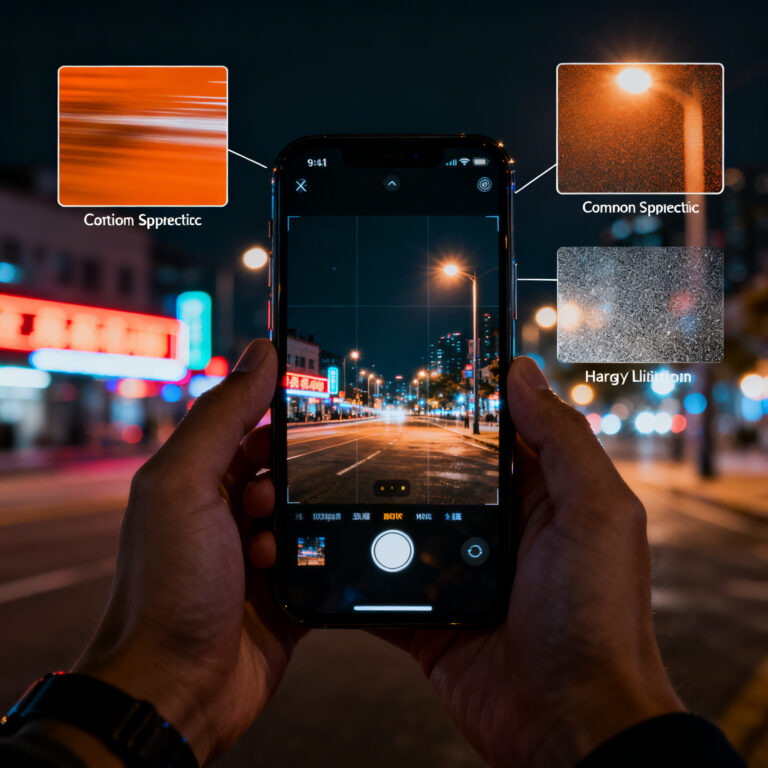
Night mode doesn’t simply brighten your image—it performs complex computational photography. Your phone captures multiple exposures (typically 5-10 frames) over several seconds, then combines them using exposure stacking. During this process, your phone applies aggressive noise reduction, sharpening, color correction, and detail enhancement. All these processing steps happen automatically, without your input or control.
Here’s the critical problem: night mode’s automatic processing makes permanent decisions that you cannot change later. Once your phone applies noise reduction, you cannot recover the detail it removed. Once it adjusts white balance, you cannot correct the color shift it introduced. Once it sharpens the image, you cannot reduce the sharpening artifacts it created. These decisions are baked into the JPEG file permanently.
The Processing Problems Night Mode Creates
Night mode’s automatic processing creates several unfixable problems:
- Blown highlights that cannot be recovered (white areas with no detail)
- Crushed shadows with no recoverable detail (black areas with no information)
- Unnatural color shifts that look artificial and wrong
- Loss of fine detail from aggressive noise reduction and sharpening
- Noise reduction artifacts that create a plastic, artificial appearance
- Limited editing flexibility in post-processing (you’re locked into night mode’s choices)
- Overexposed bright elements like streetlights and neon signs
- Underexposed dark areas that lose all shadow detail
Each of these problems stems from night mode’s fundamental limitation: permanent processing decisions that you cannot undo or modify.
Mistake #1: Accepting Blown Highlights You Cannot Recover
Why Night Mode Destroys Bright Elements Permanently
Why shooting RAW fixes problems that night mode cannot solve becomes obvious when you examine how each format handles bright light sources. Night mode struggles with streetlights, neon signs, car headlights, and other bright elements. The automatic exposure calculation doesn’t account for these bright sources, resulting in overexposure. The algorithm brightens the entire scene to capture shadow detail, but in doing so, it overexposes the bright elements beyond recovery.
Once night mode overexposes these bright areas in JPEG format, the detail is gone permanently. JPEG compression further reduces the limited data available in blown-out areas. You cannot recover this detail during editing because the information simply doesn’t exist in the JPEG file. The streetlight becomes a featureless white blob. The neon sign loses all its vibrant color and becomes a washed-out white area. The car headlight disappears into a blown-out highlight with no recoverable information.
RAW format, by contrast, preserves highlight data that JPEG destroys. RAW files contain significantly more tonal information in bright areas. When you shoot in RAW, your phone captures the complete brightness range, including data in areas that appear blown-out on your phone’s screen. During editing, you recover this hidden detail using the highlights slider in Lightroom Mobile. The streetlight regains its warm glow. The neon sign displays its vibrant colors. The car headlight shows detail and dimension.
How to Fix It: Recover Blown Highlights in RAW
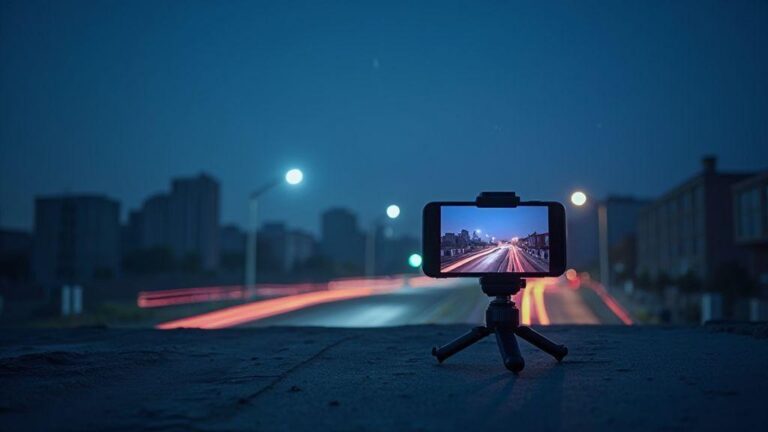
Step 1: Shoot in RAW Format Instead of Relying on Night Mode Enable RAW format in your camera settings. Select RAW+JPEG if your phone offers this option—you get both formats simultaneously, allowing you to compare results.
Step 2: Accept Slight Overexposure in RAW RAW files appear slightly overexposed on your phone’s screen, but this is normal. RAW preserves highlight data that appears blown-out but is actually recoverable. Don’t panic if your RAW preview looks too bright.
Step 3: Open Your RAW File in Lightroom Mobile Transfer your RAW file to Lightroom Mobile. Open the image and examine the histogram. You’ll notice the histogram extends to the right edge, indicating bright areas.
Step 4: Decrease the Highlights Slider Drag the highlights slider to the left to recover blown-out areas. Start with -30 to -50 and adjust based on your results. Watch as detail emerges in previously blown-out bright areas.
Step 5: Adjust Overall Exposure if Needed After recovering highlights, you may need to adjust overall exposure. Increase the exposure slider slightly to brighten the entire image while maintaining recovered highlight detail.
Step 6: Fine-Tune Using the Whites Slider The whites slider controls the brightest point in your image. Decrease it slightly to prevent re-clipping of highlights while maintaining brightness in other areas.
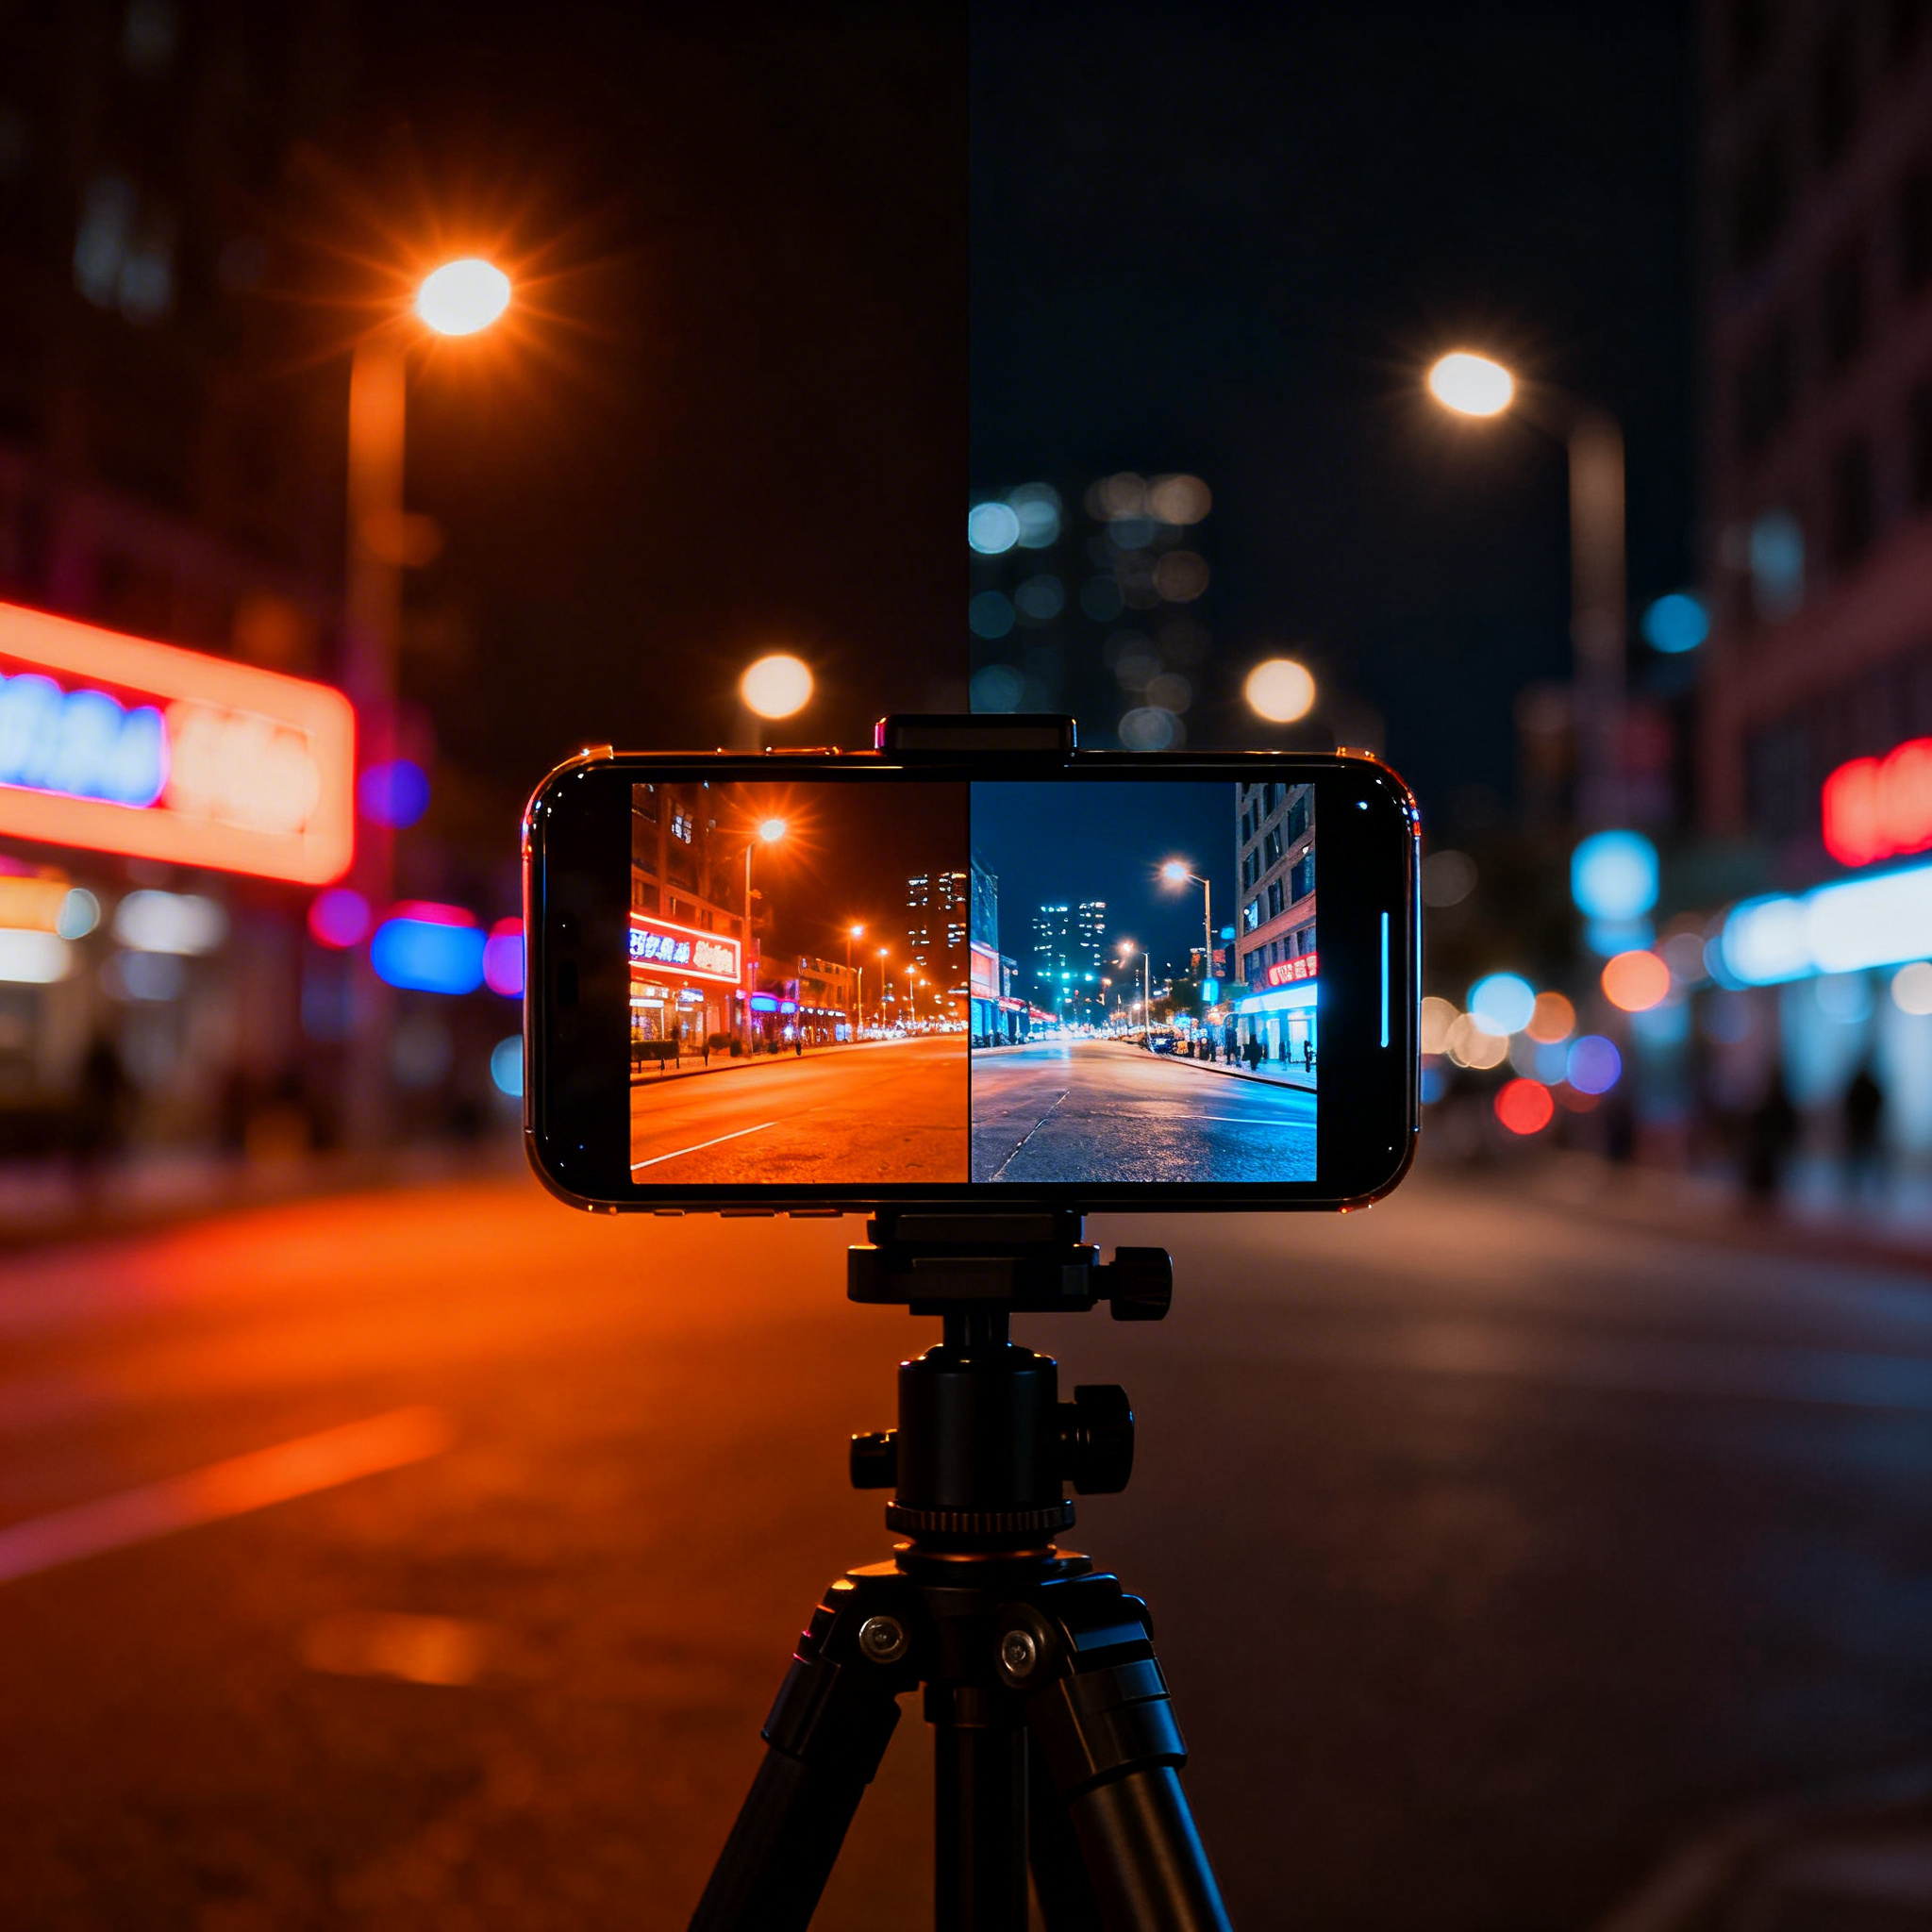
Step 7: Compare RAW Recovery vs. Night Mode Take identical shots in RAW and night mode. Edit the RAW file using these steps. Compare the results side-by-side. You’ll immediately see how RAW recovers detail that night mode destroys permanently.
Highlight Recovery Comparison:
| Aspect | Night Mode | RAW Format |
|---|---|---|
| Blown highlights | Permanent white areas | Recoverable detail |
| Streetlight detail | Lost forever | Recoverable glow |
| Neon sign colors | Washed out white | Recoverable vibrant colors |
| Car headlights | Featureless white | Recoverable dimension |
| Editing flexibility | None (locked) | Complete control |
| Final quality | Compromised | Professional |
Mistake #2: Accepting Unnatural Colors You Cannot Correct
Why Night Mode’s White Balance Shifts Look Artificial
Night mode applies automatic white balance correction that often produces unnatural, artificial-looking colors. Your phone’s algorithm attempts to correct for artificial lighting—streetlights, neon signs, fluorescent lights—but it makes assumptions that are frequently wrong. The result? Color shifts that look artificial and unpleasant.
Streetlights emit warm, orange-yellow light. Night mode might overcorrect this, making your image look too blue or too cool. Neon signs cast blue or purple hues. Night mode might overcorrect in the opposite direction, making your image look too orange. The algorithm doesn’t understand your creative vision or your scene’s context. It simply applies a generic white balance correction that works for some scenes but fails for others.
RAW format preserves original color data, allowing you to correct white balance precisely during editing. You’re not locked into night mode’s automatic white balance decision. You can adjust colors based on your creative vision, your scene’s actual lighting, and your aesthetic preferences. You can make streetlights glow warmly and naturally. You can make neon signs display vibrant, accurate colors. You can correct color casts without introducing artifacts or quality loss.
How to Fix It: Correct White Balance in RAW
Step 1: Shoot in RAW Format to Preserve Original Color Data Enable RAW format in your camera settings. RAW preserves the original, unprocessed color information from your sensor.
Step 2: Ignore Night Mode’s Automatic White Balance Don’t rely on night mode’s automatic color correction. You’ll correct colors precisely during editing.
Step 3: Open Your RAW File in Lightroom Mobile Transfer your RAW file to Lightroom Mobile and open it for editing.
Step 4: Identify Your Scene’s Dominant Light Source Before adjusting white balance, identify the primary light source:
- Warm streetlights = orange/yellow cast
- Neon signs = blue/purple cast
- Fluorescent lights = green cast
- Mixed lighting = complex color balance
Step 5: Adjust the White Balance Slider Drag the white balance slider based on your light source:
- For orange/warm casts: Slide toward cool/blue (5500-6500K)
- For blue/cool casts: Slide toward warm/orange (3500-4500K)
- For green casts: Adjust toward magenta/red slightly
Step 6: Use the Eyedropper Tool for Precise Correction Many editing apps include an eyedropper tool. Tap on a neutral gray area in your scene—concrete, a gray wall, neutral clothing. Your app automatically adjusts white balance based on that neutral reference.
Step 7: Fine-Tune Until Colors Look Natural Don’t over-correct. Your goal isn’t perfectly neutral colors—it’s natural, pleasing colors. A slight warm tone often looks better than perfectly neutral in night photography.
Step 8: Save Your White Balance Preset Once you find the perfect white balance for a specific location, save it as a preset. When you return to that location, instantly apply the same white balance to all your shots.
White Balance Correction by Light Source:
| Light Source | Color Cast | Correction Direction | Typical Kelvin Range |
|---|---|---|---|
| Streetlights | Orange/Yellow | Slide toward cool/blue | 5500-6500K |
| Neon Signs | Blue/Purple | Slide toward warm/orange | 3500-4500K |
| Fluorescent Lights | Green | Adjust toward magenta | 4500-5500K |
| Moonlight | Slightly blue | Slight warm adjustment | 5000-5500K |
| Mixed Lighting | Variable | Test multiple values | 4000-6000K |
Mistake #3: Losing Fine Detail to Night Mode’s Aggressive Processing
Why Night Mode Destroys Detail You Cannot Recover
Night mode applies aggressive noise reduction and sharpening that destroys fine detail. The algorithm prioritizes brightness and noise reduction over detail preservation. It removes grain aggressively, but in doing so, it removes fine texture and detail. It applies sharpening to compensate, but this sharpening creates artifacts and an artificial appearance.
The result? Images that look bright and clean immediately, but lack the fine detail and texture that make photographs look professional and natural. Skin texture disappears. Fabric details vanish. Building textures become smooth and plastic-looking. Water surfaces lose their ripple detail. The entire image takes on an artificial, over-processed appearance.
RAW format preserves all fine detail that night mode’s aggressive processing destroys. RAW files contain complete sensor data, including subtle texture and detail information. During editing, you apply subtle noise reduction that preserves detail while managing grain. You apply clarity and texture adjustments that enhance detail without creating artifacts. You maintain the natural appearance that night mode’s aggressive processing eliminates.
How to Fix It: Preserve Detail in RAW
Step 1: Shoot in RAW Format to Preserve All Sensor Data Enable RAW format in your camera settings. RAW captures complete sensor data, including fine detail that night mode’s processing destroys.
Step 2: Accept Slight Grain in RAW RAW files appear slightly grainy on your phone’s screen. This grain is actually recoverable detail—not noise. Don’t panic about grain; you’ll manage it during editing.
Step 3: Open Your RAW File in Lightroom Mobile Transfer your RAW file to Lightroom Mobile and open it for editing.
Step 4: Apply Subtle Noise Reduction (Not Aggressive) Use Lightroom’s noise reduction slider, but apply it subtly:
- Start at 30-40 (not aggressive)
- Increase only if grain remains excessive
- Avoid over-aggressive noise reduction (creates plastic appearance)
- Preserve fine detail while managing grain
Step 5: Use Clarity to Enhance Detail Clarity adds midtone contrast and detail. Increase clarity by 10-20 to enhance detail without creating harsh artifacts.
Step 6: Use Texture to Enhance Fine Detail Texture adds fine detail and surface information. Increase texture by 5-15 to enhance subtle details without over-processing.
Step 7: Compare RAW Detail vs. Night Mode Take identical shots in RAW and night mode. Edit the RAW file using these steps. Compare the results side-by-side. You’ll immediately see how RAW preserves fine detail that night mode’s aggressive processing destroys.
Detail Preservation Comparison:
| Detail Element | Night Mode Result | RAW Result |
|---|---|---|
| Skin texture | Smooth, plastic | Natural, detailed |
| Fabric details | Smooth, featureless | Textured, detailed |
| Building textures | Smooth, artificial | Natural, detailed |
| Water ripples | Smooth, featureless | Rippled, detailed |
| Fine grain | Removed aggressively | Preserved subtly |
| Overall appearance | Artificial, processed | Natural, professional |
Mistake #4: Accepting Limited Editing Flexibility
Why Night Mode Locks You Into Permanent Processing Decisions
Night mode applies permanent processing decisions—exposure, white balance, noise reduction, sharpening—all automatically and irreversibly. Once these decisions are made, you cannot undo them. You cannot adjust exposure without losing quality. You cannot correct white balance without introducing artifacts. You cannot recover lost detail. You’re locked into night mode’s choices, for better or worse.
This represents a fundamental limitation of night mode photography. You become a passive observer of your phone’s automatic processing, not an active creator making artistic decisions. Your phone decides how bright your image should be. Your phone decides what colors should look like. Your phone decides how much detail to preserve. Your phone decides how much noise reduction to apply. You simply accept these decisions and move on.
RAW format preserves all sensor data, allowing unlimited editing flexibility. You make all processing decisions during editing, when you understand your creative vision. You adjust exposure based on your artistic intent, not your phone’s algorithm. You correct white balance based on your scene’s actual lighting and your aesthetic preferences. You recover detail based on your quality standards. You apply noise reduction based on your noise tolerance. You control every aspect of your final image.
How to Fix It: Enjoy Complete Editing Flexibility With RAW
Step 1: Shoot in RAW Format Instead of JPEG Night Mode Enable RAW format in your camera settings. RAW preserves all sensor data, allowing unlimited editing flexibility.
Step 2: Preserve All Editing Options for Post-Processing RAW format doesn’t apply any processing, so all editing options remain available. You can adjust exposure, white balance, shadows, highlights, clarity, texture, vibrance, saturation, and more.
Step 3: Open Your RAW File in Lightroom Mobile Transfer your RAW file to Lightroom Mobile and open it for editing.
Step 4: Adjust Exposure Based on Your Creative Vision Increase or decrease exposure based on your artistic intent, not your phone’s automatic decision. You can brighten or darken your image without quality loss.
Step 5: Recover Shadows and Highlights Independently Adjust shadows and highlights separately to recover detail in dark and bright areas. Night mode locks these together; RAW allows independent control.
Step 6: Correct White Balance Without Artifacts Adjust white balance without introducing color artifacts or quality loss. RAW preserves complete color data, allowing precise correction.
Step 7: Apply Noise Reduction at Your Preferred Level Apply noise reduction based on your noise tolerance, not your phone’s algorithm. You control the balance between noise reduction and detail preservation.
Step 8: Enhance Detail With Clarity and Texture Apply clarity and texture adjustments based on your quality standards. You control the level of detail enhancement without creating artifacts.
Step 9: Adjust Vibrance and Saturation Enhance colors based on your aesthetic preferences. You control color intensity without creating artificial appearance.
Step 10: Compare RAW Flexibility vs. Night Mode Take identical shots in RAW and night mode. Edit the RAW file using these steps. Compare the results side-by-side. You’ll immediately see how RAW’s flexibility allows superior results.
Editing Flexibility Comparison:
| Editing Parameter | Night Mode | RAW Format |
|---|---|---|
| Exposure adjustment | Limited | Complete control |
| Shadow recovery | Locked | Independent control |
| Highlight recovery | Locked | Independent control |
| White balance | Permanent | Adjustable |
| Noise reduction | Permanent | Adjustable |
| Clarity enhancement | Permanent | Adjustable |
| Texture enhancement | Permanent | Adjustable |
| Vibrance/saturation | Permanent | Adjustable |
| Final quality | Compromised | Professional |
Conclusion: Why RAW Solves Problems Night Mode Creates
Why shooting RAW fixes problems that night mode cannot solve is now abundantly clear. RAW format preserves all sensor data, allowing you to recover blown highlights, correct unnatural colors, preserve fine detail, and enjoy unlimited editing flexibility. Night mode’s convenience comes at the cost of control, flexibility, and quality.
The transformation from accepting night mode’s limitations to leveraging RAW’s power represents a critical milestone in your photography journey. You move from being locked into permanent processing decisions to having complete control over your final image. You move from accepting blown highlights and unnatural colors to recovering detail and correcting colors precisely. You move from struggling with unfixable problems to solving every problem during editing.
Start shooting RAW on your next night photography session. Take identical shots in RAW and night mode. Compare the results. Edit the RAW file using the workflows outlined in this guide. You’ll immediately understand why RAW format solves problems that night mode cannot. Your night photography will transform from acceptable to exceptional.

Smartphone Night Photography Enthusiast & Founder of IncrivelX
Vinicius Sanches is a passionate smartphone photographer who has spent years proving that you don’t need an expensive camera to capture breathtaking images after dark. Born with a natural curiosity for technology and a deep love for visual storytelling, Vinicius discovered his passion for night photography almost by accident — one evening, standing on a city street, phone in hand, completely mesmerized by the way artificial lights danced across wet pavement.
That moment changed everything.
What started as a personal obsession quickly became a mission. Vinicius realized that millions of people were carrying powerful cameras in their pockets every single day, yet had no idea how to unlock their true potential after the sun went down. Blurry shots, grainy images, and washed-out colors were robbing everyday people of memories and moments that deserved to be captured beautifully.
So he decided to do something about it.
With years of hands-on experience shooting city streets, starry skies, neon-lit alleyways, and creative night portraits — all with nothing but a smartphone — Vinicius built IncrivelX as the resource he wished had existed when he was just starting out. A place with no confusing jargon, no assumptions, and no gatekeeping. Just honest, practical, beginner-friendly guidance that actually gets results.
Vinicius has tested dozens of smartphones from every major brand, explored dark sky locations across multiple states, and spent countless nights experimenting with settings, compositions, and editing techniques so that his readers don’t have to start from scratch. Every article on IncrivelX comes from real experience, real mistakes, and real lessons learned in the field.
When he’s not out shooting at midnight or writing in-depth guides for the IncrivelX community, Vinicius can be found exploring new cities with his phone always within reach, looking for the perfect shot hiding in the shadows.
His philosophy is simple: the best camera is the one you already have — you just need to learn how to use it in the dark.