ProRAW vs Edited JPEG: What to Post on Social Media for Best Night Photo Results
ProRAW vs Edited JPEG: What to Post on Social Media for Best Night Photo Results
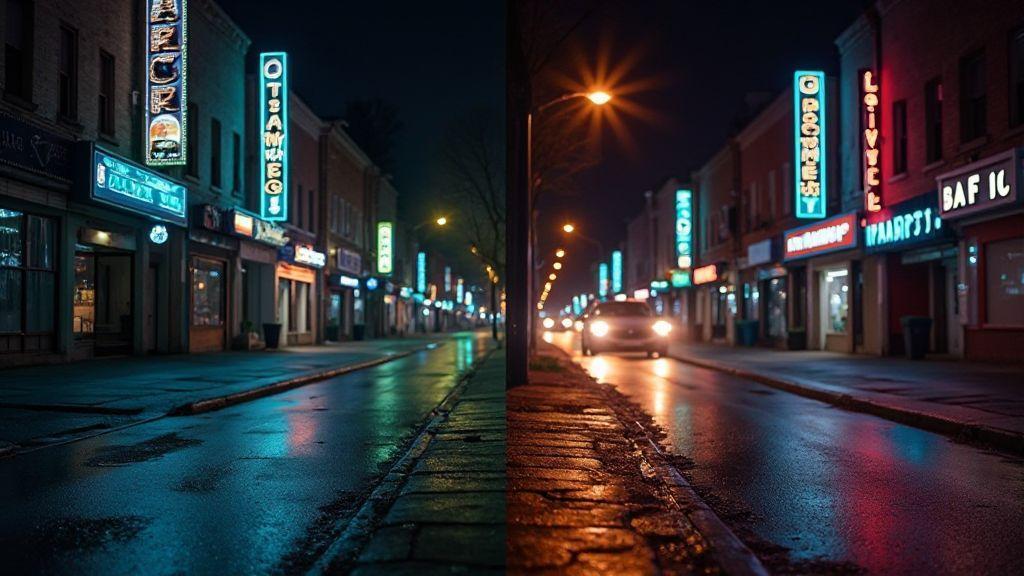
This guide compares ProRAW vs Edited JPEG: What to Post on Social Media for Best Night Photo Results and helps you decide the best format for sharing night photography. ProRAW captures more data for flexible edits, while JPEG offers a ready-to-post finish. Your choice depends on how much you value post-edit latitude versus speed and consistency.
ProRAW vs JPEG night photography basics
- ProRAW captures more scene data, providing flexibility to recover shadows and highlights without introducing color shifts.
- JPEG is a finished product ready to post, with adjustments baked in for fast sharing.
- If you want speed and consistency across devices, JPEG is simpler and more stable.
- Night photos shot in ProRAW gain dynamic range and mood, but come with larger files and more processing steps.
- JPEG sacrifices some latitude but yields clean, compact files suitable for immediate posting.
For social media, consider your audience and platform compression. ProRAW can be excellent for later tweaks, but larger file sizes and longer uploads can be a trade-off. Start with JPEG for quick posts and reserve ProRAW for a featured night shot you plan to edit.
How edited JPEG compresses detail
- Editing a JPEG can degrade detail because the file was already compressed.
- Pushing brightness, contrast, or color can blur fine edges and create halos or banding in gradients like the night sky.
- Keep edits light: small warmth adjustments, gentle shadow lifts, and subtle contrast work best.
- JPEG edits don’t recover as much data as RAW, so begin with a well-exposed shot.
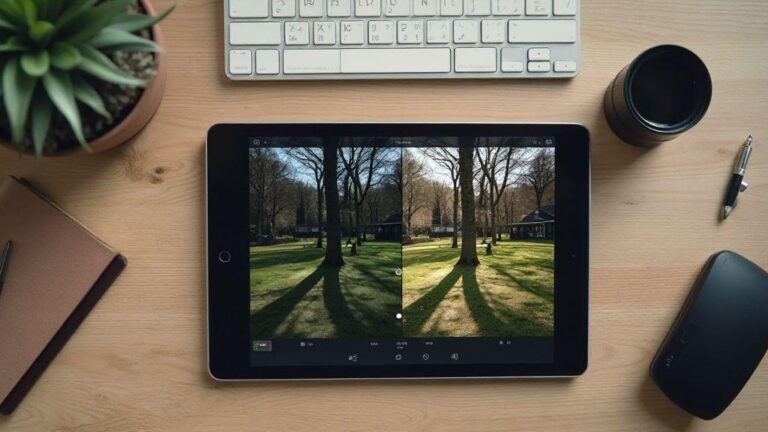
- When posting, compare straight JPEG, lightly edited JPEG, and a ProRAW-processed JPEG to see what holds up best on your screen.
Quick technical differences
- ProRAW: more dynamic range and color latitude; best for post-edit latitude.
- JPEG: baked-in compression; faster workflow and smaller files.
- Edits on JPEGs can degrade detail if pushed; edits on ProRAWs preserve more data for fine-tuning.
End with a conclusion
ProRAW offers greater control over dynamic range and color in night scenes, while Edited JPEGs deliver quick results with stable performance. Use JPEG for speed and ProRAW for later refinement, especially when you want to push shadows, recover highlights, or balance mixed lighting.
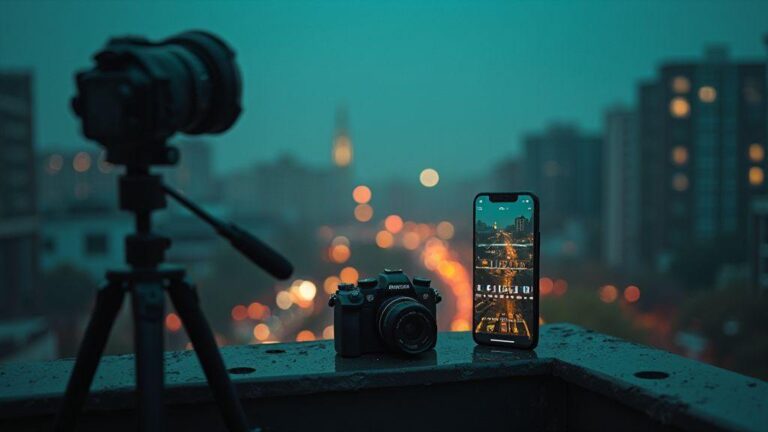
How ProRAW improves dynamic range and shadows
ProRAW captures more data in both bright and dark areas, helping you avoid clipping in highlights or crushing shadows. This data lets you recover texture from brick walls, street lamps, and storefronts without washing out the sky. The result is smoother tonal transitions and more natural edits, preserving color and atmosphere in moody night scenes.
Color fidelity improves as well, reducing clipping in tricky lighting such as neon signs and car headlights. ProRAW gives you latitude to refine exposure and contrast without introducing harsh color shifts, keeping the night’s energy intact.
Dynamic range: ProRAW vs JPEG
ProRAW keeps more information, letting you adjust highlights and shadows after the fact. JPEG’s data is compressed, making it harder to recover subtle gradients. ProRAW supports smoother tonal transitions and more natural edits, with better color fidelity across devices and platforms.
ProRAW night photo advantages
- You can brighten shadows and reduce blown highlights while keeping a natural grain.
- Color consistency improves across mixed lighting (street lamps, storefronts, and car lights).
- Stronger tonal editing without introducing artifacts, preserving the night’s mood.
When highlights and shadows matter
ProRAW shines when lights are bright and shadows are deep. You can balance a scene with street lamps and dark doorways without sacrificing color or detail, avoiding the dilemma of choosing between too-dark or too-bright.
Edit ProRAW for low light and noise control
ProRAW offers a high-resolution canvas, but aggressive edits can still introduce noise. Start with a clean baseline, then tailor micro-contrast, color, and tone mapping to keep the scene lively without oversharpening.
- Begin with a subtle exposure lift if needed; ProRAW already contains rich data.
- Balance white balance to keep street lamps from turning orange or blue.
- Adjust highlights and shadows to recover detail while preserving a natural look.
- Increase micro-contrast to sharpen edges without overdoing grain.
- Use light clarity to enhance textures in brick and pavement; be careful with skin tones if people appear.
- Apply a small amount of color desaturation to noisy channels in uniform areas (night sky, dark walls).
- Sharpen lightly to restore edge definition without introducing halos.
- Save a baseline edit for repeatability, and export a JPEG version for quick sharing.
Low light editing ProRAW steps
- Open ProRAW and check the histogram; lift exposure lightly if needed.
- Set white balance to maintain a natural color cast.
- Tweak highlights and shadows to recover detail while keeping a realistic look.
- Contrast and texture: boost micro-contrast; tighten edges without oversharpening.
- Address color noise with targeted desaturation in noisy channels.
- Sharpen lightly and save a reference version for consistency across shots.
- If sharing quickly, export a slightly different JPEG for social platforms.
Noise reduction edited JPEG tips
- Apply targeted luminance noise reduction on dark areas while keeping edges sharp.
- Avoid heavy color noise reduction in neon-lit scenes to preserve glow.
- Use masking to limit noise reduction to shadows and midtones; keep highlights clean.
- Balance sharpening after noise reduction; use a gentle radius and subtle sharpening.
- If shot on a tripod, you can push noise reduction slightly more in shadows.
- Compare before/after to ensure textures like brick, metal, and reflections remain.
Simple noise workflow
- Start with a light luminance NR.
- Apply selective masking to preserve bright areas.
- Finish with a touch of edge sharpening.
- Save a repeatable preset for future shots.
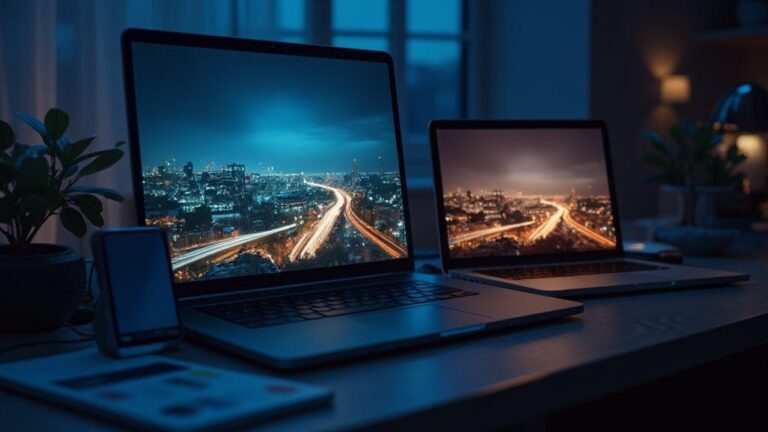
Export and workflow: ProRAW to JPEG for sharing
A consistent ProRAW to JPEG workflow preserves edits while producing social-ready files. ProRAW is your editing playground; JPEG is the quick-to-post version.
- Crop and straighten as needed for strong composition on small screens.
- Export as JPEG with a high-quality setting to balance detail and file size.
- Use sRGB color space for cross-device consistency.
- Rename files clearly and save to platform-specific folders for fast posting.
Workflow steps for ProRAW to JPEG export
- Open ProRAW and confirm edits are final.
- Crop/straighten as needed.
- Export to JPEG; keep a high-quality master for re-export.
- Choose a balanced quality level (around 80–90%).
- Apply sRGB color space.
- Rename with a descriptive title.
- Save copies for Instagram or other platforms.
Best export settings for social media
- Format: JPEG for broad compatibility.
- Quality: 80–90% for detail without huge file sizes.
- Resolution: 1080 px on the long edge for Instagram; 1440–2160 px where supported.
- Color space: sRGB.
- Sharpening: Light, only if the image looks soft after resizing.
- Noise reduction: Modest; avoid blurring star textures.
- Metadata: Remove sensitive data; retain copyright info if desired.
- Compression: Use native export settings; avoid extra steps that could degrade night detail.
Save files for Instagram
- Create a dedicated IG-optimized version labeled clearly.
- Balance detail and speed for quick posting.
- Keep a higher-detail master for future edits.
- Labeling speeds up your workflow on subsequent nights.
How compression effects on night shots change quality
Compression trades detail for smaller file sizes. Heavily compressed night photos can show banding, artifact halos, and color shifts. Different formats handle night detail differently; JPEGs compress easily but may smear gradients, while HEIC/WebP preserve more detail at similar sizes but may have compatibility issues. A tested workflow that previews at posting size helps maintain glow, texture, and mood.
Social media night photo format limits
Each platform has its own limits. Shoot with 16:9 or square for feeds, and consider vertical formats for stories. Platform processing can alter contrast and sharpness, so export versions to minimize negative effects. Use sRGB color space for consistent colors across devices.
Upload choices to reduce artifacts
- Moderate compression with widely supported formats (JPEG; WebP where supported).
- Export two versions: a high-detail master and a lighter social version.
- Enable subtle sharpening only after testing to avoid halos.
- Monitor noise reduction to preserve star textures and glow.
Choose between ProRAW and JPEG for speed and storage
Your decision hinges on speed, storage, and editing ambitions. If you need fast sharing and lean storage, JPEG is your friend. If you want future edits and more detail, ProRAW is the better choice. ProRAW files are larger and take longer to process; JPEGs are smaller and quicker to post.
- ProRAW provides richer color depth and greater exposure latitude, but requires more time and space.
- JPEG offers immediate posting with stable results on most devices.
- A practical approach is RAWJPEG: shoot both, post the JPEG instantly, and keep the ProRAW for later refinements.
File size and storage for ProRAW
ProRAW files are significantly larger than JPEGs, which means more storage and longer transfer times. Use bigger storage cards or cloud space, and ensure your editing setup can handle large files. If space is limited, test a small set of ProRAW frames to decide if the extra detail justifies the cost.
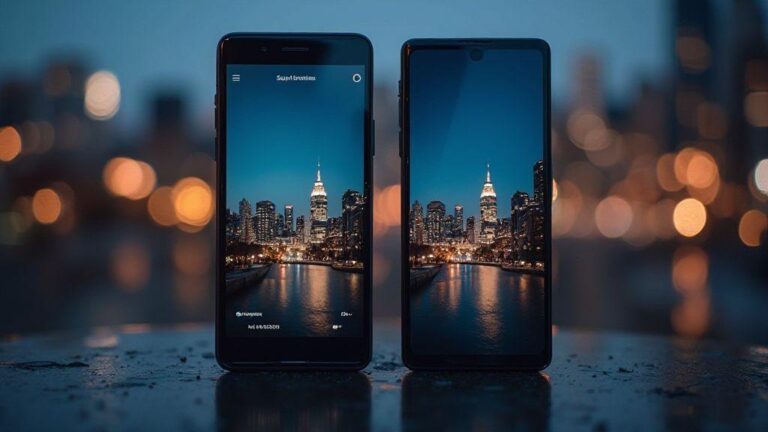
Best format for Instagram night photos
For rapid posting, JPEG is the go-to format for Instagram night photos. It’s fast, stable, and widely supported. If you plan to revisit or deepen edits, keep a ProRAW copy and post a JPEG version for quick engagement. The balance is to post quickly while preserving the option to polish later.
If you do choose ProRAW, export a clean, social-friendly JPEG from your editor when you’re ready to post. This keeps your ProRAW intact for future tweaks, while you share a lighter version to engage your audience now. The keyword here is balance: maintain posting momentum without sacrificing the chance to refine later.

Smartphone Night Photography Enthusiast & Founder of IncrivelX
Vinicius Sanches is a passionate smartphone photographer who has spent years proving that you don’t need an expensive camera to capture breathtaking images after dark. Born with a natural curiosity for technology and a deep love for visual storytelling, Vinicius discovered his passion for night photography almost by accident — one evening, standing on a city street, phone in hand, completely mesmerized by the way artificial lights danced across wet pavement.
That moment changed everything.
What started as a personal obsession quickly became a mission. Vinicius realized that millions of people were carrying powerful cameras in their pockets every single day, yet had no idea how to unlock their true potential after the sun went down. Blurry shots, grainy images, and washed-out colors were robbing everyday people of memories and moments that deserved to be captured beautifully.
So he decided to do something about it.
With years of hands-on experience shooting city streets, starry skies, neon-lit alleyways, and creative night portraits — all with nothing but a smartphone — Vinicius built IncrivelX as the resource he wished had existed when he was just starting out. A place with no confusing jargon, no assumptions, and no gatekeeping. Just honest, practical, beginner-friendly guidance that actually gets results.
Vinicius has tested dozens of smartphones from every major brand, explored dark sky locations across multiple states, and spent countless nights experimenting with settings, compositions, and editing techniques so that his readers don’t have to start from scratch. Every article on IncrivelX comes from real experience, real mistakes, and real lessons learned in the field.
When he’s not out shooting at midnight or writing in-depth guides for the IncrivelX community, Vinicius can be found exploring new cities with his phone always within reach, looking for the perfect shot hiding in the shadows.
His philosophy is simple: the best camera is the one you already have — you just need to learn how to use it in the dark.