Optimal Export Settings for Instagram Night Photos in 2026 (iPhone 17 & Galaxy S25)
Smart export presets for iPhone 17 and Galaxy S25
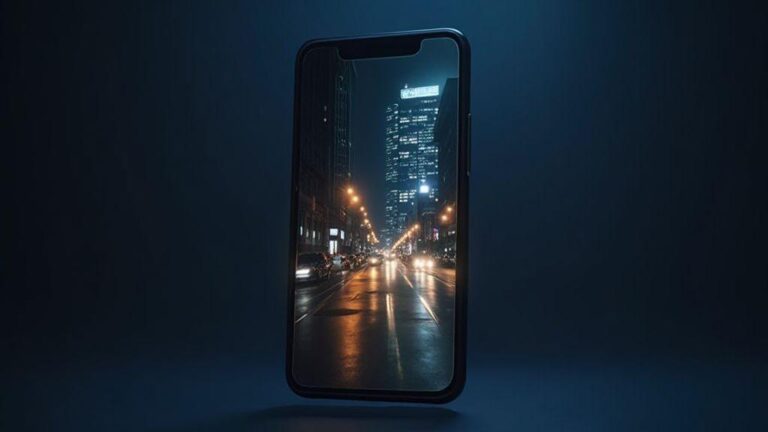
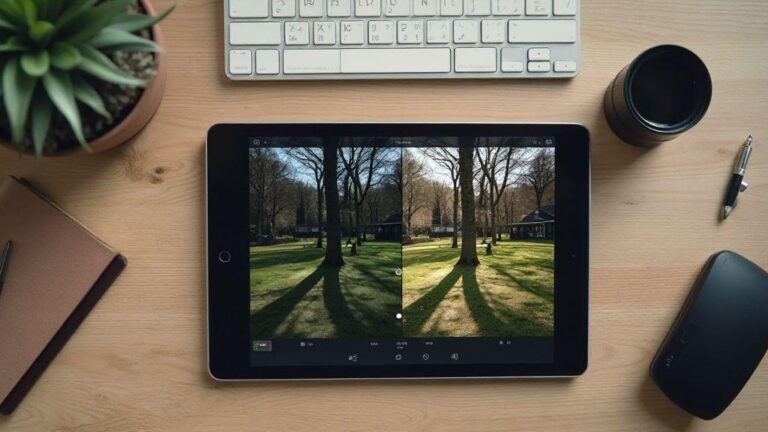
When editing night shots, you want quick, reliable results that look great on both main feeds and stories. Smart export presets tailored to iPhone 17 and Galaxy S25 save time and keep images polished. These devices deliver cleaner shadows, natural highlights, and color that stays true in low light. The goal is consistency across posts, so you don’t have to tweak every photo from scratch. Presets provide a dependable baseline you can trust.
Think of presets as night-shot shortcuts: apply the same preset across batches with a single tap, minimizing guesswork. Expect less noise, better contrast, and more accurate skin tones for a cohesive look across posts.
One preset won’t fit every scene—night lighting varies (street lamps, neon, long shadows). Use presets as starting points and adjust only what matters for each photo.
Use device-specific presets for night shots
Device-specific presets tailor the look to how iPhone 17 or Galaxy S25 captures night light. For iPhone 17, preserve detail in dark areas and prevent over-bright highlights from street lamps; lift shadows and balance color to keep skin tones natural. For Galaxy S25, lean into vibrant blues and warm accents while controlling noise with noise reduction. Aim for natural skin tones and clear details in windows, signs, and reflections.
Locking in presets speeds up your workflow: snap a photo, apply the iPhone preset if you’re on iPhone, or the Galaxy preset on Galaxy, and you’re close to done. If a scene reads cool, nudge warmth; if contrast is high, lift shadows slightly. A device-specific preset acts as your safety net against poor lighting.
Save one-tap presets in your editor
One-tap presets are the fastest route to consistency. Save a best-in-class night preset for each device and apply it with a single tap. Ensure it handles exposure, shadows, highlights, and color balance in one go. Label presets clearly (e.g., Dim Venue, Bright Street) to avoid guessing later and keep output reliable.
Pick the best file format: HEIC vs JPEG
Choosing the right format matters for editing and sharing. HEIC preserves more detail and tonal range, helpful when you push edits for contrast and dark areas. JPEG is widely compatible and lighter on some apps and devices. Your best move is to understand the trade-offs and export based on where the photo will be shared.
HEIC advantages and when to use them
HEIC preserves more tonal information per pixel, keeping darks readable and lights detailed. It supports more metadata and color information, helping when revisiting edits. HEIC also offers efficient compression, enabling more shots to be stored with less space.
When to choose JPEG for Instagram
JPEG is your fastest, most universal option for Instagram. If some platforms or devices don’t handle HEIC well, exporting to JPEG avoids extra steps and guarantees smooth posting.
Export HEIC if Instagram accepts it
If Instagram accepts HEIC on your device without issues, exporting as HEIC can preserve edits through upload. Test a few shots first; if you notice artifacts or color shifts, switch to JPEG and compare.
Instagram night photo resolution and aspect tips 2026
Keep your night photos popping on Instagram without losing detail. Align export sizes with Instagram’s accepted formats to minimize compression. Plan your export like packing a suitcase: fit the right dimensions, not just anything that fits.
Always export at the right size for the target format. Test previews to avoid artifacts in square and vertical crops. A calm, consistent routine reduces last-minute quality loss and helps you post with confidence.
Export sizes and aspect for Instagram
Export 1080 px wide for standard feed
Export at 1080 px wide for a clean standard feed. This size loads quickly and preserves detail in night textures. A light sharpening pass can prevent halos caused by Instagram’s compression.
Use 1350 px for tall portrait posts
For tall portrait night scenes, export at 1350 px to fill vertical space without sacrificing quality. This helps preserve details in shadows and highlights and avoids awkward compression during carousels or single-image posts. Watch file size to keep loading smooth on slower connections.
Match Instagram aspect to avoid extra compression
Match Instagram’s common aspect ratios before exporting: 1:1 (square), 4:5 (portrait), or 16:9 (landscape). Starting with a compatible aspect reduces Instagram’s extra compression and preserves glow and texture. For most night scenes, 4:5 is a forgiving default. Preview your export in both square and vertical frames to catch cropping or light-leak issues.
Color profile basics: sRGB vs Display P3
sRGB is the default color space for most social apps and web, keeping your night photos close to what you saw. Display P3 offers a wider gamut for punchy reds and greens on newer devices but can render colors differently on non-P3 screens. Edit with a goal in mind: will most viewers use older devices or newer ones? Your color space decisions should serve that audience.
Export in sRGB for consistent Instagram color
Exporting in sRGB helps maintain consistency across devices and feeds. If you edited in Display P3, a quick sRGB export tames the wider gamut and reduces color surprises for many viewers.
When P3 gives you richer display on your phone
Display P3 can deliver deeper reds and greens on compatible devices, but not all viewers will see the same result. If you want a bold, cinematic look, test P3 exports on several devices first. Often, you’ll edit in P3 for mood, then switch to sRGB for final export to Instagram.
Convert to sRGB before upload
Before posting, convert final images to sRGB. This safeguards color consistency across devices and Instagram processing. In most editors, choose Color Space or Convert to sRGB during export.
Balance noise reduction and sharpening for low light
A clean yet preserved glow is key. Start by identifying noisy shadows or overall softness. Reduce noise in shadows and midtones without crushing highlights from lights and reflections. Compare edits on small and large screens to ensure detail remains intact.
Then apply mild sharpening to reclaim edge clarity without reintroducing grain. If halos appear around bright edges, back off a notch. Balance mood: keep glow and atmosphere without turning the scene plastic or over-processed.
Reduce heavy noise first, then add light sharpening
Quiet the most noticeable grain first, then restore edge definition with a light sharpening pass. This sequence helps preserve textures in bricks and foliage while keeping skies and lights clean.
Avoid over-sharpening that boosts grain
Excess sharpening creates a crunchy, grainy look and color artifacts. If you see color fringes or halos, reduce sharpening and use masking to protect sky and skin tones. Sharpen only where edges are defined.
Use mild NR subtle sharpening
A light touch on both noise reduction and sharpening often yields the most natural result. After applying NR, recheck midtones and overall contrast. A gentle sharpening rinse should keep edges crisp without reintroducing grain.
Compression quality and chroma subsampling settings
Export to balance sharpness and file size. Avoid aggressive chroma subsampling that dulls night tones. Higher JPEG quality preserves gradients and highlights, while too-low quality can cause banding and muddy shadows.
Set JPEG quality around 85–92
Start around 85 for smaller files; 90–92 for crisper night skies and textures. Higher quality preserves subtle gradients, but larger files require more storage and bandwidth. Choose a consistent setting for your workflow.
Avoid 4:2:0 downsampling if you can export better
4:2:0 can dull color details in night shots. Prefer 4:2:2 or 4:4:4 if available to keep color fidelity after re-encoding by apps like Instagram.
Keep quality high to limit Instagram re-compression
Instagram re-encodes uploads, so keep data-rich exports to minimize detail loss. Higher quality and richer chroma reduce re-compression artifacts.
Best color and tone checks before you export
Compare your edits with the original to ensure shadows aren’t muddy and highlights aren’t blown. Check skin tones if people appear in the frame. Maintain a cohesive mood across batches with a consistent color grade.
White balance should suit the scene: avoid neon-blue skies if the scene reads warm. Test crops at different zoom levels to ensure color holds in smaller formats. Save a copy labeled with your preferred export settings, such as Night Edit – Final, to reuse your checks.
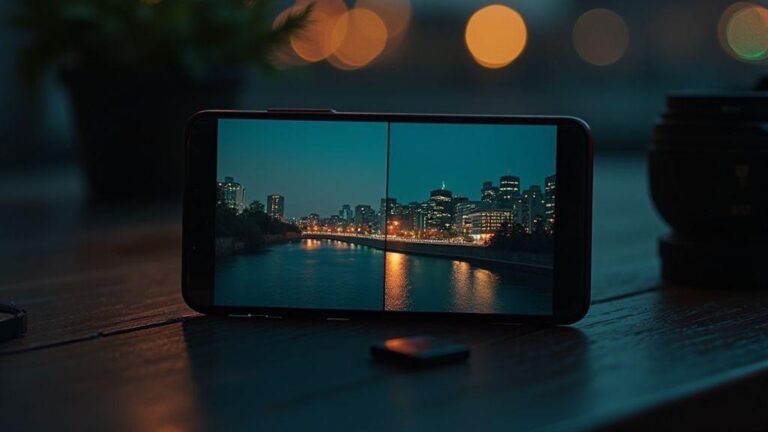
Check highlights and shadow clipping on your phone
View on your phone to verify highlight detail and shadow depth. Use a 1:1 side-by-side preview to confirm you’re not clipping important elements. Disable automatic brightness for testing accuracy.
Use a soft crop preview to see final framing
Preview with soft crops to ensure framing works across square and vertical formats. Ensure key lights stay within the safe area and avoid distracting foreground elements.
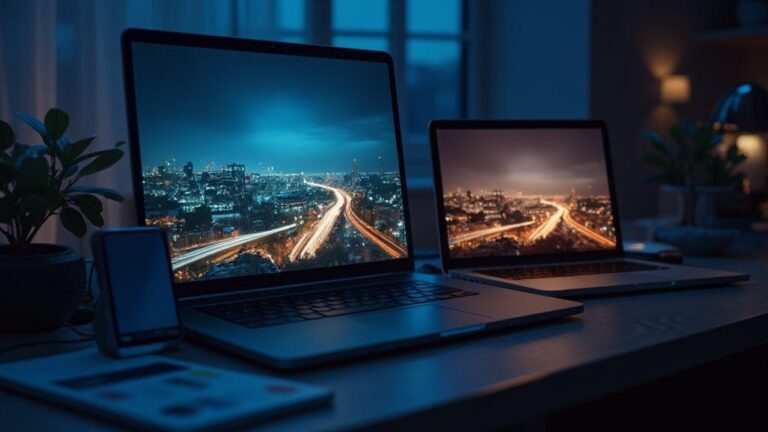
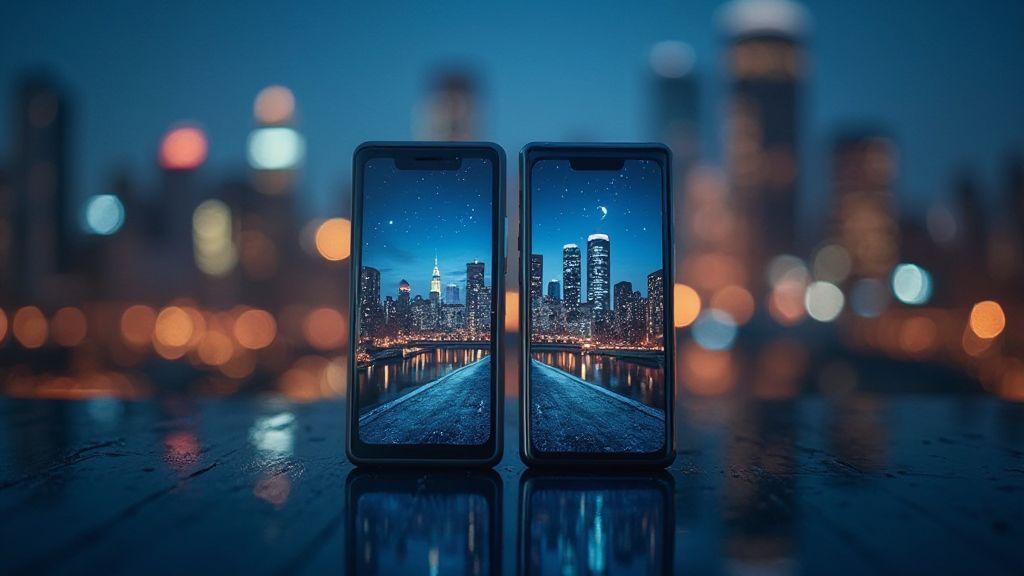
Proof on both iPhone 17 and Galaxy S25
Cross-check exports on both devices to ensure color, contrast, and framing translate well. Minor temperature or tint tweaks may be needed to achieve a consistent vibe.
Optimal Export Settings for Instagram Night Photos in 2026 (iPhone 17 & Galaxy S25)
From testing, here is a practical export workflow you can trust:
- Use a high-quality JPEG or a lightly compressed PNG for fine star details.
- Long edge: 2048 px for grid posts; also save a 1080 px version for quick stories.
- Enable sRGB color profile for cross-device consistency.
- Apply a modest sharpening pass after resizing to keep stars crisp without halos.
- Batch export multiple frames with the same settings for a cohesive feed.
In short: bold, accurate color with true brightness in highlights and depth in shadows. Pair the right crop with device proofs to ensure your final shot travels well on Instagram. Add a concise caption that reinforces the mood you built in editing, and you’re ready to wow your audience.
Instagram upload tips for low-light mobile photos 2026
- Upload from the official Instagram app to keep color and file size close to the original, reducing surprises after posting.
- The official app helps minimize metadata changes and keeps brightness/contrast stable across devices.
- If color shifts appear after uploading, stay with the official app path to preserve your edit.
Upload from the official app to keep color and size
- Using the official app gives you predictable file size and color fidelity, reducing surprises for viewers.
- If you must use other routes, test a few shots to ensure metadata and color stay stable.
Avoid heavy in-app filters that add banding
- Subtle tone adjustments are preferred over heavy filters that can introduce banding and poster-like effects.
- If you use a filter, test on a small area or duplicate version to preserve the original.
Use Wi‑Fi for consistent uploads
- A stable Wi‑Fi connection prevents incomplete uploads and ensures your final post matches your edit.
Test and refine your export workflow with simple metrics
- Start with a simple checklist: file type, resolution, and quality. Compare how the image looks after upload to spot detail loss or color shifts.
- Track how edits hold up after upload. Note which presets preserve stars and glow without washing out other areas.
- Build a small, repeatable system: export steps, a couple of preset notes, and the latest checks. A compact toolbox speeds up future posts.
Compare original vs uploaded image at 1:1
- Compare at the same size to spot differences in edge detail, noise, and color shifts.
- If the uploaded shot looks softer, adjust sharpening or resolution; if the sky loses gradient, tweak compression or bitrate.
Track which preset keeps best detail on Instagram
- Maintain a shortlist of presets that preserve highlights and shadow texture. Drop underperforming presets from your workflow.
Keep a test folder for quick A/B checks
- Use two versions of the same night shot, adjust one setting at a time, and compare on mobile screens to train your eye for quick, reliable checks.

Smartphone Night Photography Enthusiast & Founder of IncrivelX
Vinicius Sanches is a passionate smartphone photographer who has spent years proving that you don’t need an expensive camera to capture breathtaking images after dark. Born with a natural curiosity for technology and a deep love for visual storytelling, Vinicius discovered his passion for night photography almost by accident — one evening, standing on a city street, phone in hand, completely mesmerized by the way artificial lights danced across wet pavement.
That moment changed everything.
What started as a personal obsession quickly became a mission. Vinicius realized that millions of people were carrying powerful cameras in their pockets every single day, yet had no idea how to unlock their true potential after the sun went down. Blurry shots, grainy images, and washed-out colors were robbing everyday people of memories and moments that deserved to be captured beautifully.
So he decided to do something about it.
With years of hands-on experience shooting city streets, starry skies, neon-lit alleyways, and creative night portraits — all with nothing but a smartphone — Vinicius built IncrivelX as the resource he wished had existed when he was just starting out. A place with no confusing jargon, no assumptions, and no gatekeeping. Just honest, practical, beginner-friendly guidance that actually gets results.
Vinicius has tested dozens of smartphones from every major brand, explored dark sky locations across multiple states, and spent countless nights experimenting with settings, compositions, and editing techniques so that his readers don’t have to start from scratch. Every article on IncrivelX comes from real experience, real mistakes, and real lessons learned in the field.
When he’s not out shooting at midnight or writing in-depth guides for the IncrivelX community, Vinicius can be found exploring new cities with his phone always within reach, looking for the perfect shot hiding in the shadows.
His philosophy is simple: the best camera is the one you already have — you just need to learn how to use it in the dark.