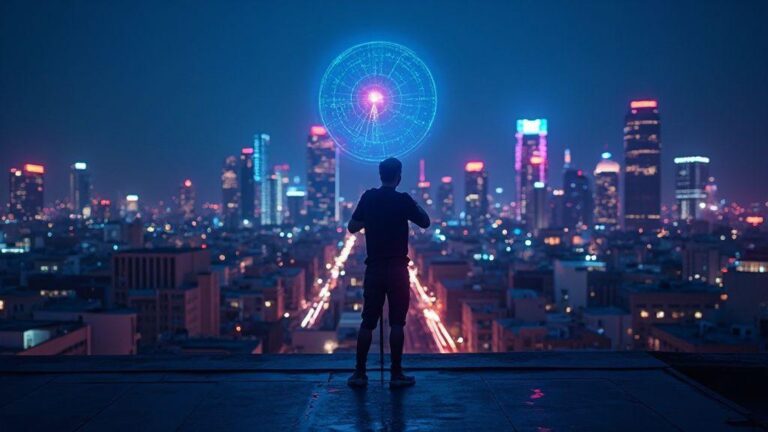
Night Portrait Settings on iPhone 17: Complete Beginner Walkthrough
Night Portrait Settings on iPhone 17: Complete Beginner Walkthrough
This Night Portrait Settings on iPhone 17: Complete Beginner Walkthrough guides you through organizing a smooth night portrait, from first setup to final edits. Follow these practical steps to keep faces sharp, backgrounds moody, and colors true in low light.
Quick setup for Night Portrait on iPhone 17
- Open Camera and pick Portrait mode. Portrait mode creates a soft background glow that makes your subject pop. For a night vibe, aim for a sharp subject with a gentle background glow. Frame your subject with a steady hand or a small tripod to avoid blur.
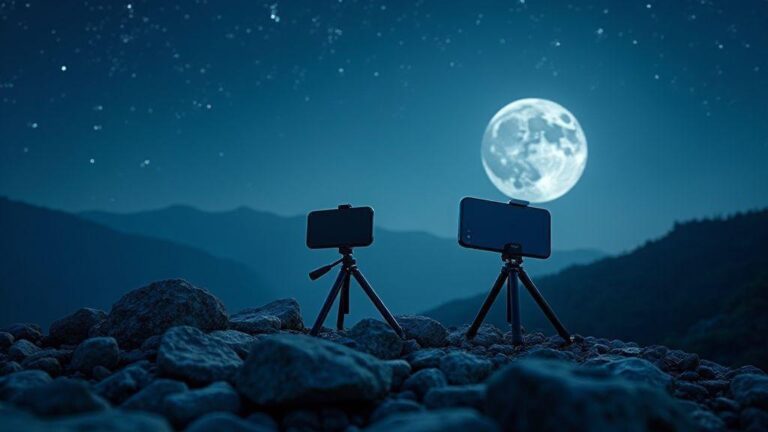
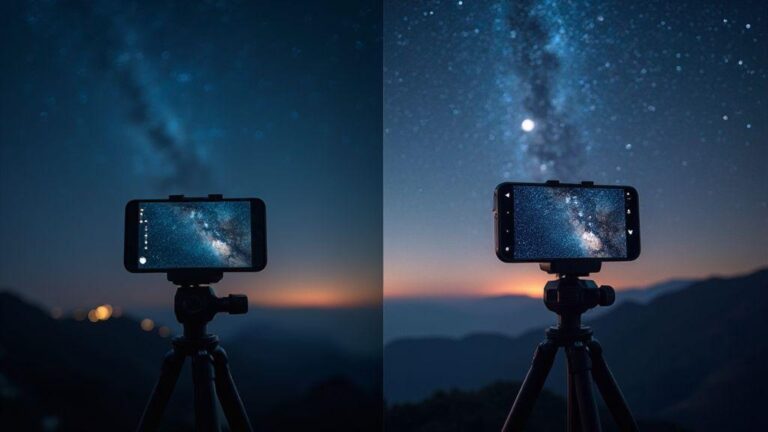
- Turn on Night mode in low light. Night mode extends exposure to reduce blur and noise. When the Night mode icon appears, use the slider to choose exposure time. Shorter exposures suit steady hands; longer ones require a tripod.
- Clean the lens before shooting. Wipe fingerprints or smudges with a microfiber cloth to keep edges crisp and avoid hazy edges.
Light and background for better faces
- Plan the frame so the subject stands out against a controlled background. Soft, nearby lights help skin tones feel natural and give the face depth without harsh shadows.
- Keep the light close to the subject for flattering warmth. Move lights to wrap softly across cheekbones and under the eyes, and balance warm with cool tones to prevent a washed-out look.
- Use multiple light sources to create depth. A main light close to the subject with dimmer fills helps the portrait read three-dimensionally on a phone screen.
Use nearby soft lights for skin tones
- Place light at about a 45-degree angle to reduce harsh shadows and shiny spots. A diffuser softens brightness while preserving warmth.
- Aim for warm white or amber tones and adjust brightness to keep skin natural. Two nearby soft lights (one angled, one slightly higher) can smooth skin and maintain character.
Position subject near light sources
- Face the light to minimize shadows under the brow and nose. A catchlight at eye level makes eyes look lively.
- If using multiple lights, keep the main light the softest, brightest, and closest, with dimmer fills to preserve depth.
Focus, exposure, and steady shots
- Lock focus on the eyes, then lock exposure. A steady finger on the shutter helps avoid motion blur.
- Use a metering focus on the subject’s face to keep skin tones balanced and highlights controlled.
- Practice a simple routine: focus on the eyes, lock exposure, then shoot with a steady hand.
iPhone 17 night portrait controls
- Understand Night mode basics. When aimed at a person, you’ll see a yellow indicator and timer. The sensor gathers light more effectively the longer you hold still.
- Adjust Night mode duration manually. Longer durations gather more light for smoother skin; shorter ones prevent blown highlights near bright street lamps.
- Try built-in portrait lighting effects. Natural, Studio, Contour, Stage, and more—each changes how shadows and texture fall on the face.
Switch lenses to frame the subject
- Wide lens captures more environment; ultra-wide adds mood but can distort edges.
- Telephoto brings the subject closer and reduces background noise. Switch lenses to match distance and composition.
Practical beginner tips
- Position the subject near light sources to improve glow and reduce shadows.
- Use a tripod or a steady surface whenever possible.
- Keep the subject within the portrait range and watch for halos around hair or edges; adjust distance or angle if needed.
- Enable Night Portrait early and adjust exposure to keep faces bright without washing out background.
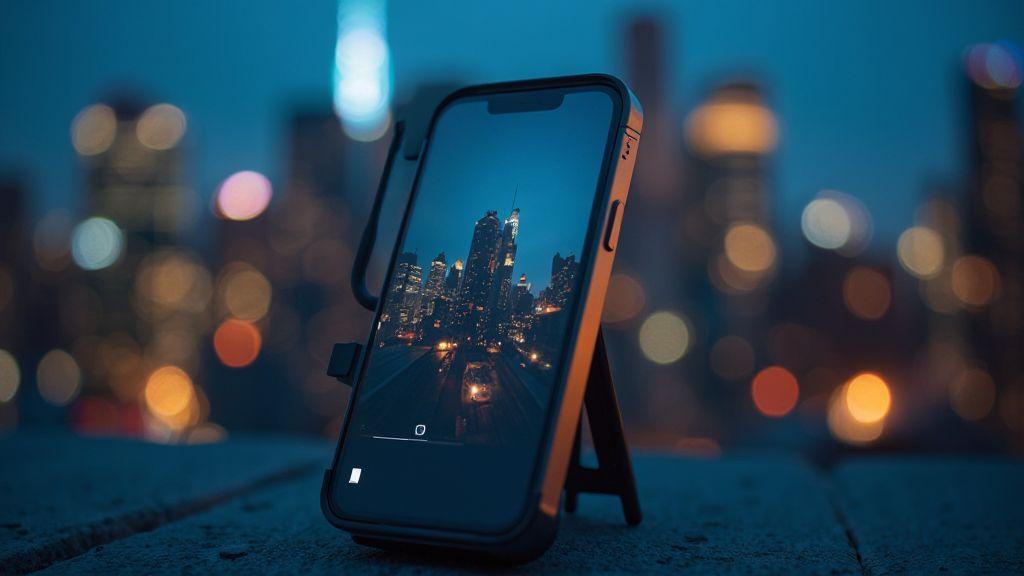
Edit night portraits on iPhone 17
- Open the photo in Photos > Edit. Adjust exposure to brighten the scene without washing out the subject. Tweak white balance (temperature and tint) to keep skin tones natural. Subtly adjust shadows to recover detail in dark areas.
- Reduce noise and finetune color. Use Noise Reduction and Details/Sharpness cautiously to maintain texture. Fine-tune Temperature and Tint for accurate skin tones; small adjustments go a long way.
- Save edits as a new copy. Duplicate or Save as New Version to preserve the original. Name edited copies clearly (e.g., Night Portrait – After Edit) for easy retrieval.
- Recheck and compare. Small changes can drastically affect mood; compare before/after to confirm you’ve kept realism.
Troubleshoot common low-light portrait issues
- Lighting is insufficient: add a small light source or move closer to the subject to reduce ISO noise.
- Camera shake: use a steady stance, elbows in, or a timer/remote shutter.
- Focus drifts: tap the subject to lock focus and exposure again if lighting changes.
- Scene mode differences: experiment with turning off flash and relying on Night modes for mood and texture.
- If blur persists, recompose and retry with steadier timing.
Beginner checklist and practice
- Enable Night Mode for portraits and lock focus/exposure on the subject.
- Use a lower ISO to reduce grain; keep distances moderate to preserve detail.
- Experiment with ambient lighting (street lamps, doorways) to add depth without harsh lighting.
- Practice adjusting focus, exposure, and warmth with different distances and angles to build confidence.
- Check for updates and retest regularly; software updates can improve autofocus, noise handling, and night rendering.
Quick reference: key controls and tips
- Night mode duration: longer for brighter scenes with a tripod; shorter for moving subjects.
- Portrait lighting effects: Natural, Studio, Contour, Stage, etc. Use to match mood.
- Lenses: switch between wide, ultra-wide, and telephoto to frame the subject and environment as needed.
- Focus and exposure lock: tap eyes, hold to lock exposure, reframe as needed.
- Editing: adjust exposure, highlights, shadows, white balance, noise, and color; save as new copy.
With this Night Portrait Settings on iPhone 17: Complete Beginner Walkthrough, you’ll approach night portraits with a confident workflow: setup, light, focus, capture, and edit. Practice these steps, and you’ll consistently produce sharp faces with mood-rich backgrounds.

Smartphone Night Photography Enthusiast & Founder of IncrivelX
Vinicius Sanches is a passionate smartphone photographer who has spent years proving that you don’t need an expensive camera to capture breathtaking images after dark. Born with a natural curiosity for technology and a deep love for visual storytelling, Vinicius discovered his passion for night photography almost by accident — one evening, standing on a city street, phone in hand, completely mesmerized by the way artificial lights danced across wet pavement.
That moment changed everything.
What started as a personal obsession quickly became a mission. Vinicius realized that millions of people were carrying powerful cameras in their pockets every single day, yet had no idea how to unlock their true potential after the sun went down. Blurry shots, grainy images, and washed-out colors were robbing everyday people of memories and moments that deserved to be captured beautifully.
So he decided to do something about it.
With years of hands-on experience shooting city streets, starry skies, neon-lit alleyways, and creative night portraits — all with nothing but a smartphone — Vinicius built IncrivelX as the resource he wished had existed when he was just starting out. A place with no confusing jargon, no assumptions, and no gatekeeping. Just honest, practical, beginner-friendly guidance that actually gets results.
Vinicius has tested dozens of smartphones from every major brand, explored dark sky locations across multiple states, and spent countless nights experimenting with settings, compositions, and editing techniques so that his readers don’t have to start from scratch. Every article on IncrivelX comes from real experience, real mistakes, and real lessons learned in the field.
When he’s not out shooting at midnight or writing in-depth guides for the IncrivelX community, Vinicius can be found exploring new cities with his phone always within reach, looking for the perfect shot hiding in the shadows.
His philosophy is simple: the best camera is the one you already have — you just need to learn how to use it in the dark.