Night Mode vs HDR Mode: A 2026 Comparison for Optimal Low-Light Photography Decisions
Night Mode vs HDR Mode: A 2026 Comparison for Optimal Low-Light Photography Decisions
This guide compares Night Mode and HDR Mode in 2026, helping you decide which to use for low-light situations. You’ll learn how each mode processes light, when to choose one over the other, and practical tips to get clearer, more natural night photos. By the end, you’ll know how Night Mode vs HDR Mode can shape mood, texture, and detail in real life.
How Night Mode vs HDR Work
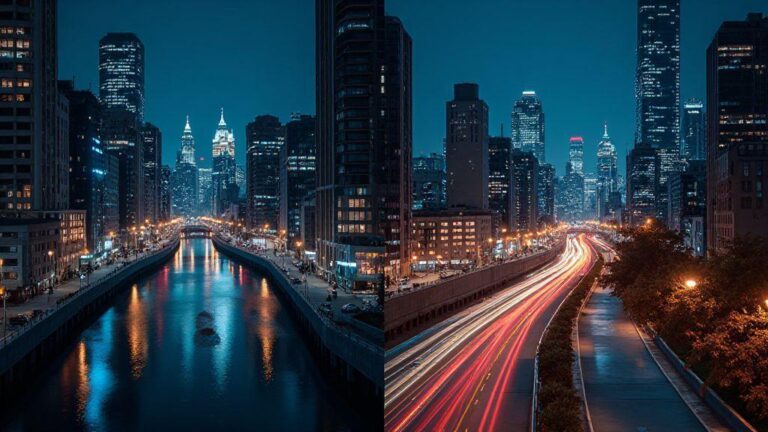
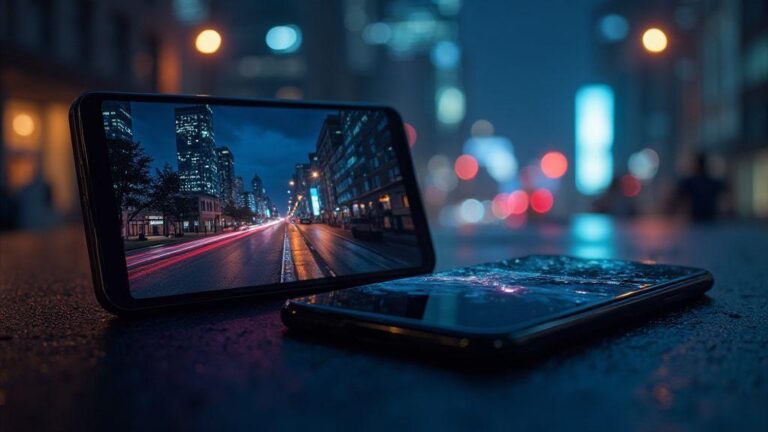
Night Mode and HDR are two tricks phones use to brighten scenes at night. Night Mode stacks multiple shots to pull in more light while preserving shadow detail. HDR takes several quick exposures at different brightness levels and blends them to balance highlights and shadows. Night Mode tends to preserve texture in dark areas; HDR keeps bright areas from blowing out. Think of Night Mode as a careful whisper to the shadows, and HDR as a fast snap that controls the brightest lights.
With both modes you’re teaching the camera to reveal what your eye misses in low light. Night Mode reduces noise and clarifies textures in walls, fabrics, and the night sky. HDR does a similar job but emphasizes contrast, keeping dim areas readable without flattening textures. The result: two vibes—Night Mode often feels warmer and more lifelike, while HDR can feel crisper in neon-lit scenes. Choose based on whether you want mood and texture or bright balance.
In practice, Night Mode usually takes a moment longer to capture because it stacks and aligns frames. HDR is quicker, blending exposures in a flash. If you’re moving, Night Mode may smear a bit; HDR handles motion better but can lose texture in moving subjects. Your best bet is to pick based on mood (Night Mode) or brightness balance (HDR).
Exposure stacking: Night Mode vs HDR
- Night Mode exposure stacking brightens shadows and reduces grain by aligning and blending multiple frames. It preserves subtle textures on walls, signage, and fabrics, especially in near-dark scenes.
- HDR exposure blending uses brighter and darker frames to keep highlights intact while revealing shadow detail. It’s ideal for high-contrast scenes, like a doorway with bright street light behind it, but can produce harsher transitions if the range is misjudged.
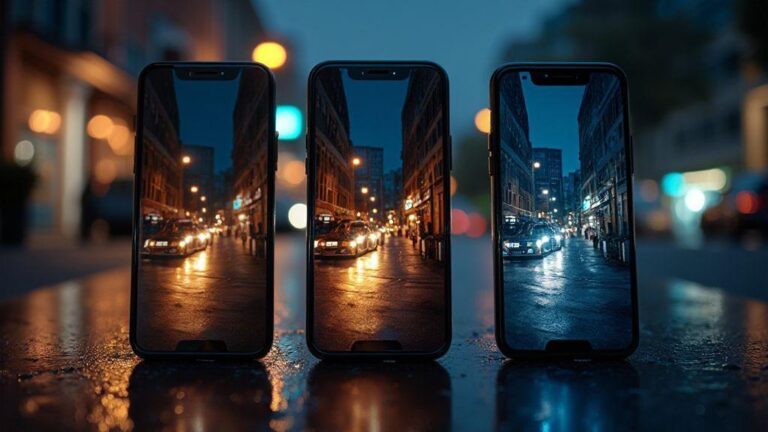
Smartphone camera night mode vs HDR
- Night Mode uses longer exposure and intelligent stacking to pull detail from shadows, producing smoother textures and natural color in dim light. It’s favorable for portraits and indoor scenes where skin tones matter.
- HDR captures multiple quick exposures to balance bright lights and dark areas, keeping neon signs and street lamps readable. It can flatten textures in busy scenes if blending isn’t perfect, but it’s fast for moving subjects and high-contrast urban night photos.
Key terms explained
- Night Mode: Stacks several shots to brighten the scene and reduce noise, aiming for natural color and texture in shadows.
- HDR (High Dynamic Range): Blends multiple exposures to keep both bright and dark areas detailed.
- Exposure stacking: Combining multiple photos at different exposures to increase brightness and reduce noise without losing detail.
When to Choose Night Mode or HDR
If you want clean shots after dark, Night Mode shines in low light with brighter colors and less noise. HDR blends exposures to preserve detail in both bright and dark areas. Your goal is readable faces, signs, and lights while keeping the mood. The choice depends on scene stability and lighting complexity, as well as your phone’s processing power.
Choosing between night mode and HDR
- Night Mode brightens shadows with longer exposure and higher ISO to reduce grain and preserve color.
- HDR blends several shots to balance highlights and shadows. If you’re moving, Night Mode may blur you, so HDR can be steadier. Indoors with soft lighting, Night Mode often wins for warmth and clarity. For scenes with bright highlights and dark corners, HDR helps you see both without clipping.
Best scenes for night mode and HDR
- Night Mode: Natural look in very low light—cozy interiors, dim restaurants, night walks. Great for warmth and true-to-life color.
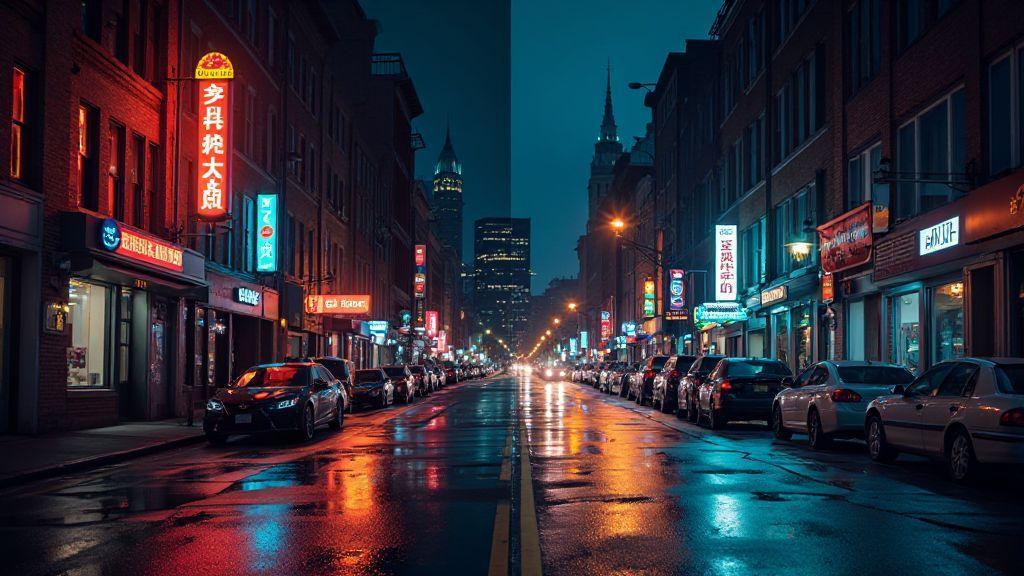
- HDR: High-contrast scenes—neon signs, bright windows, night skylines. Keeps highlights and shadows readable and can preserve texture in busy scenes.
Quick decision checklist
- Are you moving or standing still? If still, Night Mode may be better. If moving, try HDR to avoid blur.
- Is there a single bright light source? HDR handles this well; Night Mode may preserve warmer skin tones.
- Do you want natural or dramatic look? Night Mode tends warmer; HDR is sharper and more balanced.
- Is lighting mixed (neon signs, windows, dark corners)? HDR usually preserves detail across bright and dark areas.
- Do you care most about faces and skin tones? Night Mode often yields better color and noise control there.
Real-World Performance Differences
Night Mode tends to brighten shadows and reduce noise, delivering color and depth in dim scenes. HDR aims for balanced exposure across the frame, preserving highlights and texture in bright spots, but can render darker areas flatter if misjudged. In practice, Night Mode is slower but richer in color in low light; HDR is faster and steadier in high-contrast or moving scenes.
In 2026, Night Mode often yields warmer, more dimensional midtones, while HDR provides crisper edges and contrast. Your choice depends on whether you want cozy, true-to-life mood or sharp, dramatic light and shadow.
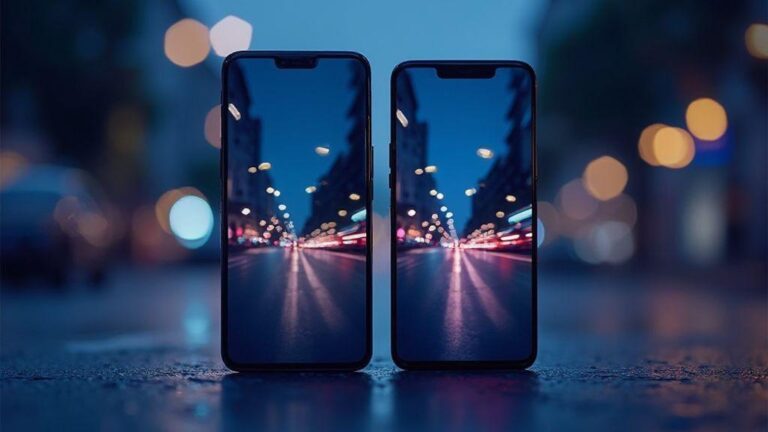
Night mode vs HDR comparison 2026
Night Mode tends to produce warmer, deeper shadows with improved texture in mixed lighting. HDR remains strong for high-contrast scenes like a city skyline at night, keeping bright windows and neon readable. For motion, Night Mode may blur slightly; HDR can freeze movement with a bit more clarity in the subject.
HDR vs night mode performance analysis
- HDR keeps highlights from clipping and maintains balance, but can flatten textures in very dark areas if the range is pushed.
- Night Mode reveals textures in shadows and tends to produce richer, warmer tones but requires a longer capture time.
In general, use Night Mode for cozy indoor scenes and textured night photography; use HDR for dramatic outdoor night shots with bright lights and high contrast.
Best Camera Settings for Low Light 2026
When shooting at night, balance sensitivity, speed, and color. Start with a baseline test in a dark scene, then adjust. Core ideas stay the same: enough light, controlled motion, and true colors.
Your phone can surprise you in low light. Go slow enough to capture detail; go fast enough to avoid blur. Practice with different scenes to learn how your camera handles light and motion. The better you understand your device, the more reliable your night photos will be.
ISO, shutter, and exposure tips
- ISO: Keep it moderate to avoid grain. If you need more brightness, raise ISO gradually while monitoring noise.
- Shutter: Faster shutter freezes motion but lets in less light; slower shutter brightens but risks blur. For still scenes, try 1/30 to 1/60 second and adjust as needed.
- Exposure: Adjust to keep highlights from blowing out while preserving shadow detail. Exposure compensation helps avoid flat results.
RAW, manual mode, and white balance
- RAW: Gives more data for post-editing; shoot RAW when possible for flexible edits.
- Manual mode: Direct control over ISO, shutter, and white balance for tricky lighting.
- White balance: Correct mixed lighting by adjusting warmth or coolness to keep skin tones natural.
Simple setting recipe
- Use manual mode or RAW if available.
- ISO around 400–800 for most night scenes.
- Shutter 1/40–1/60 second for a balance of light and stability.
- White balance: auto to start; adjust 1000–2000 K for warmer scenes or 5000–6000 K for cooler neon.
- Brace or tripod for stability.
Step-by-step night shot plan
1) Scout the scene for light sources and stable surfaces.
2) Set base exposure; enable Night Mode if available; or aim for a steady exposure around 1/10–1/30 second and manage ISO.
3) Lock focus and exposure to keep highlights controlled.
4) Use a tripod or solid surface; trigger with a timer or remote.
5) Take test frames; adjust ISO or exposure as needed.
6) Use burst mode for moving subjects; select the best frame later.
7) Review and tweak to learn what works best for your setup.
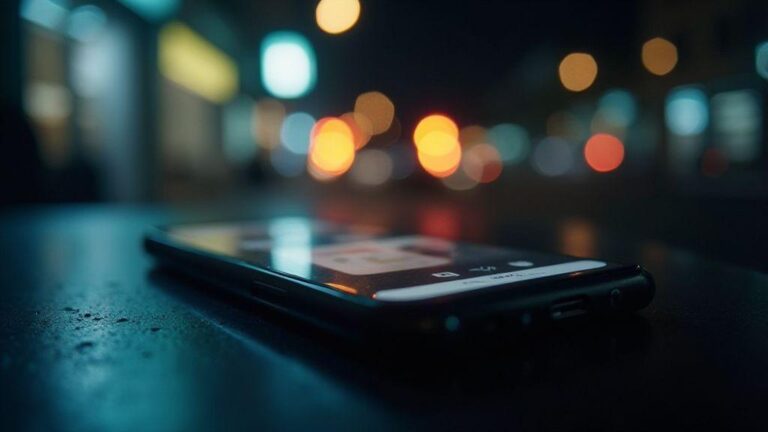
Computational Photography and Night HDR
Computational photography uses the phone’s processing power to fuse multiple frames and reduce noise without sacrificing detail. Night HDR blends exposures to preserve highlights and reveal texture in shadows, producing a balanced image closer to what you saw.
AI denoising and image fusion
AI denoising smooths grain while preserving textures, and image fusion combines the best parts of each frame for a crisper final image. Test by comparing shots with and without denoising; you’ll notice reduced speckling and more natural textures.
How this affects your shots
Computational photography helps you capture more usable light and detail without extra effort. AI denoising and fusion reduce grain, preserve texture, and maintain color under mixed lighting.
Low-Light Photography Techniques and Workflow
A steady workflow reduces shake and noise. Lock focus and exposure for consistency. Practice with different scenes to understand how your camera handles night light, motion, and color.
Use a tripod, timer, and steady support
A stable base is key for longer exposures. Use a tripod or a solid surface, and trigger with a timer or remote to minimize shake. Lean into walls or props to steady your hold when a tripod isn’t available.
Manage motion and moving subjects
Shorter shutters help with moving subjects but reduce light; balance is essential. For people, prompt a calm pace to avoid blur. For cars or crowds, raise ISO slightly to maintain a clean subject while keeping motion readable. Burst mode can help capture the right moment when motion is unavoidable.
Step-by-step night shot plan (reprise)
1) Scout the scene and choose a stable spot.
2) Set base exposure; use Night Mode if possible; or 1/10–1/30 second with moderate ISO.
3) Lock focus and exposure.
4) Stabilize and trigger with timer/remote.
5) Take test frames; adjust as needed.
6) Capture bursts for moving elements; pick the sharpest later.
7) Review to refine your setup.
Note: Night Mode vs HDR Mode remains a matter of scene, motion, and mood. For 2026, understanding how each mode processes light will help you make quick, confident decisions in the moment. The goal is readable faces, vibrant colors, and textures that stay true to what you saw.

Smartphone Night Photography Enthusiast & Founder of IncrivelX
Vinicius Sanches is a passionate smartphone photographer who has spent years proving that you don’t need an expensive camera to capture breathtaking images after dark. Born with a natural curiosity for technology and a deep love for visual storytelling, Vinicius discovered his passion for night photography almost by accident — one evening, standing on a city street, phone in hand, completely mesmerized by the way artificial lights danced across wet pavement.
That moment changed everything.
What started as a personal obsession quickly became a mission. Vinicius realized that millions of people were carrying powerful cameras in their pockets every single day, yet had no idea how to unlock their true potential after the sun went down. Blurry shots, grainy images, and washed-out colors were robbing everyday people of memories and moments that deserved to be captured beautifully.
So he decided to do something about it.
With years of hands-on experience shooting city streets, starry skies, neon-lit alleyways, and creative night portraits — all with nothing but a smartphone — Vinicius built IncrivelX as the resource he wished had existed when he was just starting out. A place with no confusing jargon, no assumptions, and no gatekeeping. Just honest, practical, beginner-friendly guidance that actually gets results.
Vinicius has tested dozens of smartphones from every major brand, explored dark sky locations across multiple states, and spent countless nights experimenting with settings, compositions, and editing techniques so that his readers don’t have to start from scratch. Every article on IncrivelX comes from real experience, real mistakes, and real lessons learned in the field.
When he’s not out shooting at midnight or writing in-depth guides for the IncrivelX community, Vinicius can be found exploring new cities with his phone always within reach, looking for the perfect shot hiding in the shadows.
His philosophy is simple: the best camera is the one you already have — you just need to learn how to use it in the dark.