ISO vs Shutter Speed for Night: Prioritizing Settings on Your 2026 Smartphone
ISO vs Shutter Speed for Night: Prioritizing Settings on Your 2026 Smartphone
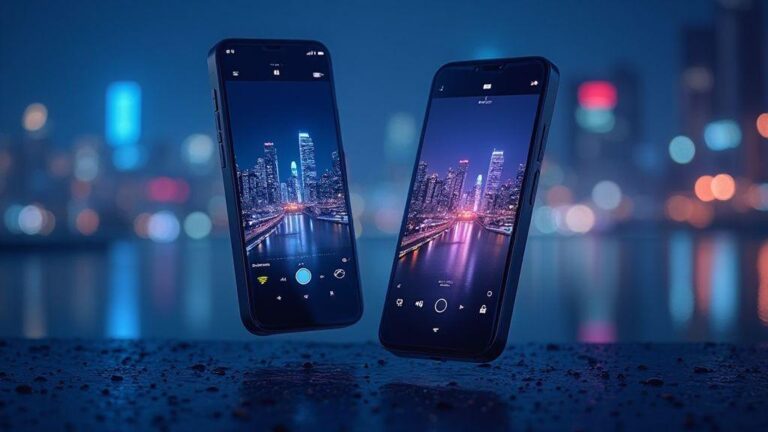
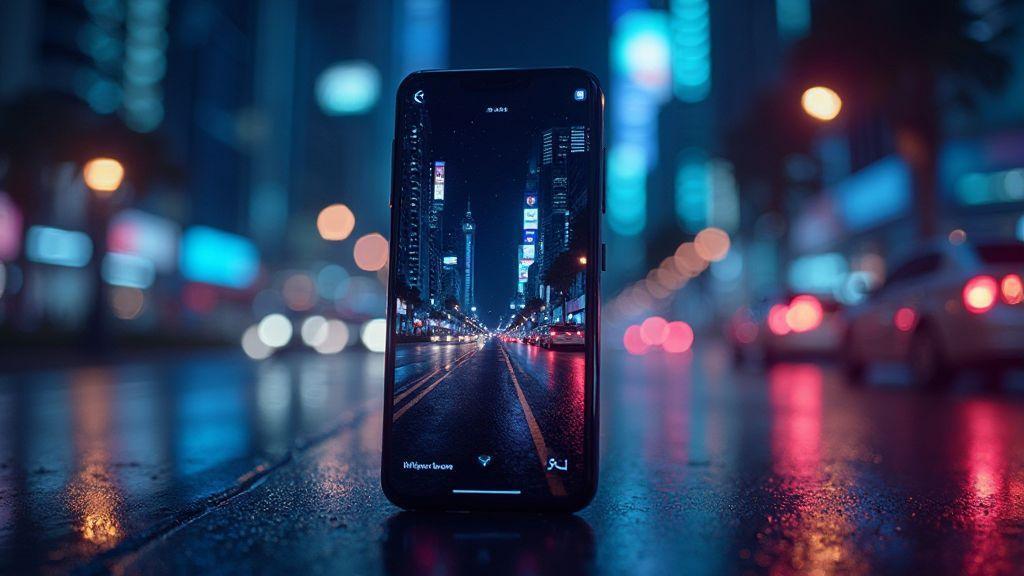
You’ll find that on modern smartphones, ISO and shutter speed are the two levers you pull to control night photos. ISO is the sensor’s sensitivity, and shutter speed is how long the camera lets light in. When you’re shooting at night, you want enough light to see your subject, but not so much that grain or blur takes over. In 2026 phones, smart processing helps you push both without as much noise, but you still need to understand the basics to get clean photos you’ll actually post.
On a dim street, you can crank ISO higher to brighten the image, but that adds grain. With brighter signs, you can use a lower ISO and a longer shutter to keep details sharp. Manual adjustments give you control when you want a clean, natural look, even if automatic modes try to balance things for you.
The bottom line: ISO and shutter speed work as a team. Raise one, and you usually adjust the other to keep exposure in check. Your 2026 smartphone offers faster shutter options for action and longer ones for still scenes. You’ll learn which combo makes night shots pop without looking fake or blurry.
What ISO does on modern phone sensors
On today’s sensors, ISO brightness comes from amplifying the light signal. Smartphones use smart processing, but you’re still choosing the starting brightness. Higher ISO brightens the image but introduces more grain and texture. In very dark conditions, a higher ISO helps you see your subject, with the trade-off of noise.
Different phones handle high ISO differently. Some keep noise low with strong processing; others show speckle texture as soon as you push past low ISO. Start at a mid ISO, compare with a lower ISO shot if light allows, and aim for the cleanest result with the lowest practical ISO.
How shutter speed affects motion and light
Shutter speed is how long the sensor is exposed to light. Fast shutter (e.g., 1/1000) freezes motion but can be too dark in low light. Slow shutter (e.g., 1/4) lets in more light and preserves ambient motion, which can be cool or cause blur in portraits. On a night walk, slower speeds let in ambient light but increase the risk of hand shake and blur.
For a person walking, a moderate shutter (1/60) often yields a clean shot with some motion preserved. For static scenes, you can push to 1/8 or 1/4 to collect more light and color. While phones may stabilize a bit, your steadiness matters most. Practice with a steady stance or a small tripod for sharper results.
When to choose ISO over shutter speed (and vice versa)
Choosing between ISO and shutter speed isn’t a single-rule decision—it’s about control and the scene. If you want a brighter image without blur, push ISO higher. If motion blur or camera shake is a concern, favor a faster shutter and keep ISO lower. Handheld, low-light scenarios tend to lean toward ISO; moving subjects or needing a crisp horizon favors shutter speed. In practice, you’ll mix both, but this guide helps you decide which to prioritize.
Think of ISO as the sunset dimmer for your phone: raise it to light up a scene, but expect more grain. Your 2026 smartphone handles higher ISOs better than older models, but noise remains a trade-off. Raised ISO can save a static night shot without a tripod, but if your scene is steady, a careful ISO choice plus a longer exposure can reduce grain.
When speed matters—hand shake or a quick moment—you’ll want a faster shutter. If you can steady the phone, you can lower ISO and keep noise down. The practical rule: keep ISO as low as possible, raise it only when you cannot steady the camera and still need light.
Best for handheld static scenes at night
Static scenes at night reward a careful ISO setup. Start with a moderate ISO and adjust to taste. If the image looks dark but clean, you’ve found a good balance. Lock the shutter steady (use a tripod if possible) and let ISO do the work. For handheld use, begin around ISO 400–800 on many smartphones and increase only as needed to maintain a steady exposure. The goal is a sharp night shot with minimal grain.
How higher ISO increases noise on small sensors
Higher ISO amplifies the signal, which also amplifies imperfections on small sensors. Noise reduction helps, but there’s a limit before details smear. If you’re after clean lines and smooth tones, stay mindful of ISO. Noise tends to be more visible in uniform areas like skies or walls, while textures may still look rough at high ISO. When boosting ISO, crop less and keep your subject close to minimize noise.
Raise ISO only when you cannot steady the phone
Raise ISO when hands shake and a tripod isn’t available. Do quick tests: compare a photo at current ISO to a small bump, weighing noise against blur. If blur dominates, you need steadier support or a faster shutter, not just more ISO. The aim is a sharp image with acceptable noise.
When to choose shutter speed over ISO (balancing ISO and shutter speed in mobile photography)
In dim scenes, increasing ISO can introduce noise. A faster shutter can preserve motion clarity, sometimes with a modest ISO increase if needed. For stationary scenes, a slower shutter with lower ISO often yields cleaner results. In practice, you’ll find a rhythm: slower shutter for static scenes to maximize light, faster shutter for moving subjects to preserve shape. Your 2026 smartphone handles this balance well once you know how each setting pushes the image.
Freeze moving subjects with faster shutter
When subjects move, a fast shutter (1/250s or faster) keeps edges crisp. If light drops, raise ISO just enough to keep a fast shutter without introducing excessive noise. Autofocus helps, but you still control shutter speed to manage motion. For kids playing or cyclists, start high and adjust as needed.
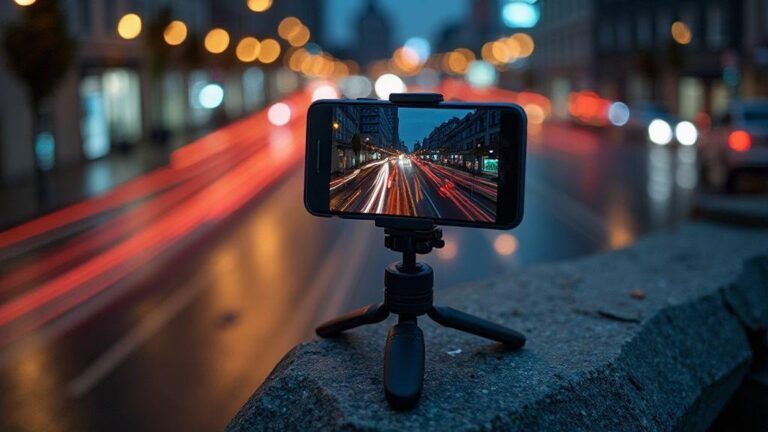
Use slow shutter for light trails and star streaks
A slow shutter (2–5 seconds) captures light trails in dusk or neon-lit scenes. Use a tripod to avoid camera shake. For star trails, long exposures with modest ISO stacked over many frames create a sky full of streaks. A stable base is essential to avoid motion blur.
Always mount on a tripod for long exposure smartphone night shooting
A tripod provides a steady base for long exposures, trails, and stacking. If you don’t have one, use a stable surface and a timer to reduce shake. For star trails or long light paths, a tripod is worth it for professional-looking results.
Reduce noise in night photos
Noise is a common trait in night photography, but control beats luck. Keep ISO low while achieving usable exposure, and adjust shutter time instead of blasting ISO. If you must go higher, use a tripod or stable surface to allow a longer exposure with less ISO. Night mode helps by stacking frames, reducing grain, but motion can still blur moving subjects. Shooting RAW when possible preserves data for denoising later.
Night modes and multi-frame stacking smooth out dark areas and preserve colors. Stack frames to average grain, but beware of motion blur with moving subjects. RAW helps you retain detail for denoising apps later, though RAW files are larger and require storage.
Use manual camera app and shutter priority on your smartphone
A manual camera app lets you control shutter speed, ISO, and focus; shutter priority lets the camera pick ISO while you set speed. Start faster (1/125s or higher) for moving subjects; slow (1/30s or 1/15s) for motion blur in low light. Practice to find a balance and lock settings once you’ve found a reliable combination. Shutter priority helps you freeze traffic or create light trails, while manual apps give precision to push limits safely.
Practice builds confidence. When using shutter priority, the camera adjusts ISO to maintain exposure, which helps avoid grain. If you see excessive grain, increase shutter speed or adjust exposure compensation slightly. A tripod stabilizes long shutter speeds, and grid lines aid composition.
How to set shutter priority and lock ISO
In shutter priority, pick a shutter speed and let the camera tune ISO. Start at around 1/60s for dim scenes, speeding up for moving subjects. If the image is underexposed, raise ISO gradually. Locking ISO can prevent brightness creeping up on you, keeping exposure steady. For even more control, use a manual app to lock both shutter speed and ISO. Some phones allow exposure locking after choosing a speed to prevent flicker from lights. Check focus, as long shutter speeds can soften moving targets.
Use exposure compensation and histograms for checks
Exposure compensation nudges brightness without changing shutter. Use small positive compensation for dark scenes, negative for blown highlights. Review the histogram to avoid clipping shadows or highlights. A balanced histogram helps ensure your night shots are consistent and ready for editing.
Save custom presets for repeatable night shots
Create presets with fixed shutter speeds, ISO ranges, and white balance tuned for favorite night spots. A typical preset might be 1/60s, ISO 400–800, plus slight positive exposure compensation for neon scenes. Save presets for busy streets, neon signs, and long-exposure trails. If RAW is supported, save RAW plus preset for later fine-tuning. Presets make night photography predictable and efficient.
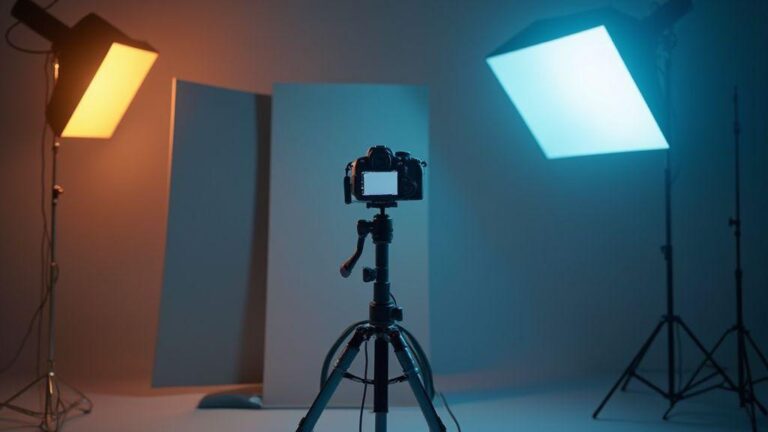
Workflow and gear: tripod, bracketing, editing, and exposure
Sharp night shots start with gear and a careful sequence. A sturdy tripod is essential; if unavailable, prop the phone on a stable surface and use a timer or remote. Bracketing—shoot three frames at different exposures—gives you options in editing. Review histograms to ensure detail in shadows and highlights. When finished, edit RAW on mobile, starting with exposure and white balance, then adjust contrast and texture. Export a final high-quality version for sharing.
Your tripod is your foundation. Set it at eye level to avoid awkward angles. For busy scenes, use a timer or remote to minimize shake. Bracketing provides flexibility for blending later. The final goal is a balanced set that preserves natural light with low noise.
Mount, timer, or remote to avoid shake
A tripod or stable surface reduces shake. Use a timer (2 seconds for close shots) or a remote (no contact). In outdoor scenes, a compact setup can still stabilize well. For bracketing, keep timers consistent per shot to maintain frame stability. Consistency across frames yields crisper, cleaner night photos.
Bracket exposures and review the histogram
Shoot three exposures: under, normal, and over. If using auto exposure, switch to manual to control brightness. Keep ISO low and rely on shutter for exposure, then blend later if needed. After shooting, compare histograms: aim for a broad spread without clipping. The keeper is the frame with the best detail in shadows and highlights, often used for blending or post-processing.
Export RAW and finish edits on mobile for best results
Export RAW files to preserve detail for edits. Start with white balance and exposure, then adjust shadows, highlights, and clarity. Use denoising sparingly to avoid flattening texture. Save a master RAW file and a finished mobile edit copy for consistent color and edges across your night gallery.
This version preserves the original structure and guidance while trimming redundancy and sharpening the SEO focus around the keyword. The exact phrase ISO vs Shutter Speed for Night: Prioritizing Settings on Your 2026 Smartphone appears prominently as the main heading and is referenced throughout to reinforce SEO relevance.

Smartphone Night Photography Enthusiast & Founder of IncrivelX
Vinicius Sanches is a passionate smartphone photographer who has spent years proving that you don’t need an expensive camera to capture breathtaking images after dark. Born with a natural curiosity for technology and a deep love for visual storytelling, Vinicius discovered his passion for night photography almost by accident — one evening, standing on a city street, phone in hand, completely mesmerized by the way artificial lights danced across wet pavement.
That moment changed everything.
What started as a personal obsession quickly became a mission. Vinicius realized that millions of people were carrying powerful cameras in their pockets every single day, yet had no idea how to unlock their true potential after the sun went down. Blurry shots, grainy images, and washed-out colors were robbing everyday people of memories and moments that deserved to be captured beautifully.
So he decided to do something about it.
With years of hands-on experience shooting city streets, starry skies, neon-lit alleyways, and creative night portraits — all with nothing but a smartphone — Vinicius built IncrivelX as the resource he wished had existed when he was just starting out. A place with no confusing jargon, no assumptions, and no gatekeeping. Just honest, practical, beginner-friendly guidance that actually gets results.
Vinicius has tested dozens of smartphones from every major brand, explored dark sky locations across multiple states, and spent countless nights experimenting with settings, compositions, and editing techniques so that his readers don’t have to start from scratch. Every article on IncrivelX comes from real experience, real mistakes, and real lessons learned in the field.
When he’s not out shooting at midnight or writing in-depth guides for the IncrivelX community, Vinicius can be found exploring new cities with his phone always within reach, looking for the perfect shot hiding in the shadows.
His philosophy is simple: the best camera is the one you already have — you just need to learn how to use it in the dark.