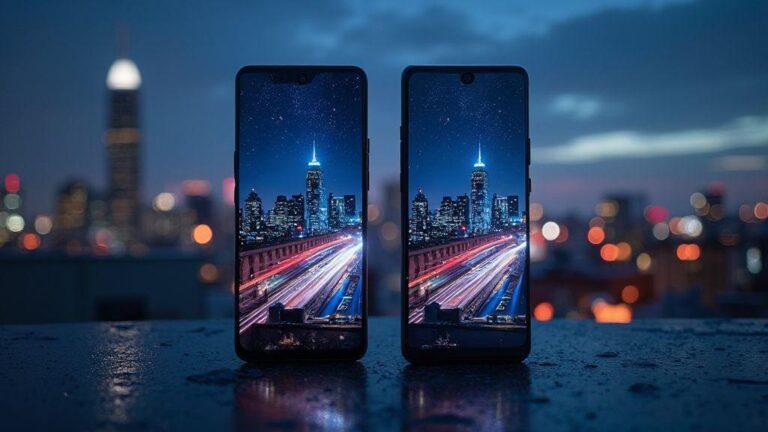
How to Shoot Neon Signs at Night Without Blowing Out the Colors: Pro Tips
How to Shoot Neon Signs at Night Without Blowing Out the Colors: Pro Tips
Neon signs glow in bold colors, and your goal is to keep those colors vivid without washing them out. This practical guide offers real-world steps you can use on the street, not theory. Tiny tweaks to exposure and focus can save you from dull hues, and it reads like a chat with a friend who’s chased bright reds, electric blues, and molten pinks without losing detail. How to Shoot Neon Signs at Night Without Blowing Out the Colors: Pro Tips emphasizes a repeatable workflow: set base camera settings, check highlights to avoid clipping, and balance light and shadow so the neon shines while the surroundings stay legible.
Every night and sign is different. Adapt quickly, read the histogram, and trust your eyes. Practice will help you recognize which colors tend to blow out and how to prevent it. Be intentional with each shot rather than blasting through frames.
Quick exposure rules you can use
- Expose for the neon, not the entire scene. If the sign clips, highlights go white. Use a highlight warning and back off until the colors look right on the LCD. Keep ISO low to avoid grain, and choose a moderate shutter to avoid motion blur from passersby or flickering signs.
- Use manual exposure with a flat meter reading. Lock in a small positive exposure for the sign edge to keep the letters crisp. In very dark scenes you can nudge exposure a hair, then adjust in post. The goal is no clipping in the brightest parts while preserving shadow detail.
- Rely on the histogram: after base exposure, ensure a gentle push to the right but avoid a hard spike. If you’re blowing out the sign, dial down and recheck.
Manual mode neon photography techniques
- In manual mode, you control what the scene remembers. Start with a stable tripod to keep composition while you experiment with exposure.
- Try a longer focal length to isolate the sign, but don’t lose surrounding context. A wider lens keeps the street alive but can introduce flare; adjust your angle or use a hood. Shorter shutters can freeze flicker; longer shutters can glow the sign—decide the look you want.
- White balance matters with neon that casts strong color. Choose a WB preset that preserves the sign color, or shoot RAW and adjust later. The goal is color accuracy that still feels punchy.
Exposure settings for neon signs
Neon signs glow bright, but their colors can steal attention if you’re not careful. Start in manual mode to control shutter and aperture. If the scene is mostly dark with a bright sign, push ISO down to 100–400 to keep noise low, then dial in shutter and aperture to give the sign depth without clipping. A steady tripod, longer shutter for trails, or shorter shutter to lock glow are all options. Check LCD often and compare brightness against the histogram. Aim for neutral color balance that preserves the neon’s punch without hot spots.
Best shutter and aperture combos
- For a clean, sharp sign with a hint of glow, try f/5.6–f/8. This keeps the sign crisp while preserving background ambiance.
- For dramatic glow trails, use longer shutters around 1/2 to 2 seconds with a tripod. Brighter signs on dim streets can sit around 1/125 or 1/60, then fine-tune ISO and WB.
- Test several frames quickly: compare edges and glow at different apertures and shutter speeds. If clipping occurs, back off exposure a notch; if surroundings go too dark, nudge ISO or aperture modestly.
Exposure settings guide
Think of a recipe you can adjust: start ISO 100, shutter 1/125 to 1/60, and aperture between f/5.6 and f/8. If the sign is overexposed, reduce the shutter or stop down; if the sign looks dull, open up or raise ISO a touch. To balance, use a longer shutter with lower ISO. If handheld, keep 1/60 or faster and brace yourself. For dramatic city scenes, you might go to 1/30 with a tripod. Always check histogram and LCD after each shot.
- Use spot metering to protect highlights: meter the brightest part of the sign, lock exposure, and shoot. RAW lets you lift shadows later without washing the glow.
- If you see tiny hot spots, re-meter just the sign and tweak aperture or shutter slightly. The aim is faithful glow with enough room for the city.
Use spot metering to protect highlights
Spot metering helps keep neon from blowing out. Meter the brightest sign area, lock exposure, and shoot. If the rest of the scene falls dark, recover shadows in RAW. If hot spots appear, re-meter and adjust. The result is a faithful glow with context preserved.
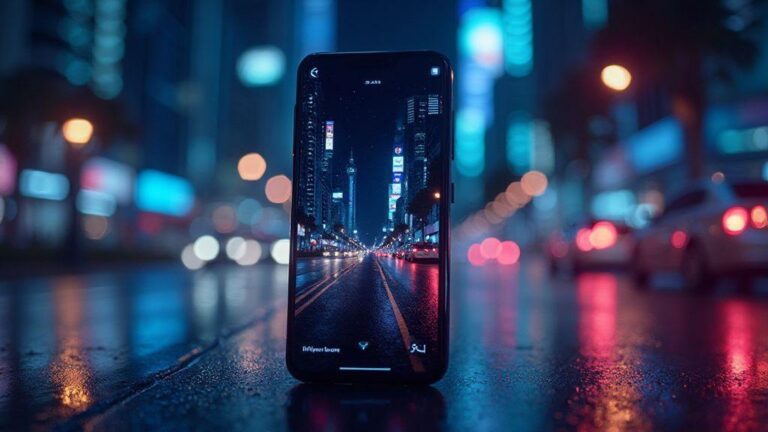
How to photograph neon signs without blowing out colors
Neon colors should stay rich in post without being blown out. Start by judging how bright the sign is relative to the scene. If you’re close, reduce exposure; if the sign sits in a dark street, protect highlights while revealing surroundings. Practice with quick tests to see how settings affect color and brightness. Keep notes for future nights.
- Prevent blown highlights: shoot with slightly lower exposure than you think you need. Use exposure compensation if neon tends to overexpose, and consider lower ISO or a touch narrower aperture. Watch the histogram for spike toward the right; if you see it, dial back. A little extra darkness around the sign reduces edge saturation and preserves color.
- Bracket to capture full range: start with a base exposure, then bracket a couple stops under and over. RAW helps maximize post options. Bracket consistently in framing, and consider tripod for accuracy. If unsure, bracket -1 to 1 EV.
Shutter speed and long exposure neon sign photography
Long exposure turns neon into silky trails while preserving color. Use a sturdy tripod and remote shutter. Start around 1/4 to 2 seconds for bold trails, then try 1/8 or 1/2 second to compare. If you go too long, signs can overexpose; too short, you miss trails. bracketing 1/4, 1/2, and 1 second often yields a sweet spot. Long exposure is ideal when you want motion to complement the neon without washing it out, such as cars and pedestrians creating light paths.
- When to use long exposure: use it at night or in heavy shadow where neon is your anchor. Shorter times are better for crisp sign text; longer times for painterly trails.
- Motion and streaks: longer shutter speeds create motion lines that guide the eye toward the sign. Balance ISO and aperture to maintain color integrity.
White balance for neon colors
White balance can shift neon hues. Start by evaluating ambient light. Street lamps may push color toward yellow or orange. Preview a midtone gray card to compare colors, and adjust until neutrals read near gray. Use custom WB or Kelvin for a true glow. Because neon can cast strong color, presets can overcorrect; test and compare with a Kelvin setting to keep blues, pinks, and greens clean. Shoot RAW to tweak later.
- Set custom WB in Kelvin: 4000–5000K for cool blue neon, around 5200K to warm slightly, and 3000–3500K for pinks and reds. Adjust in 100K increments. Save preferred values for repeat nights.
- Presets: use Daylight or Auto WB as a baseline, then compare to Tungsten or Fluorescent to keep blues and pinks clean. RAW helps you tweak afterward.
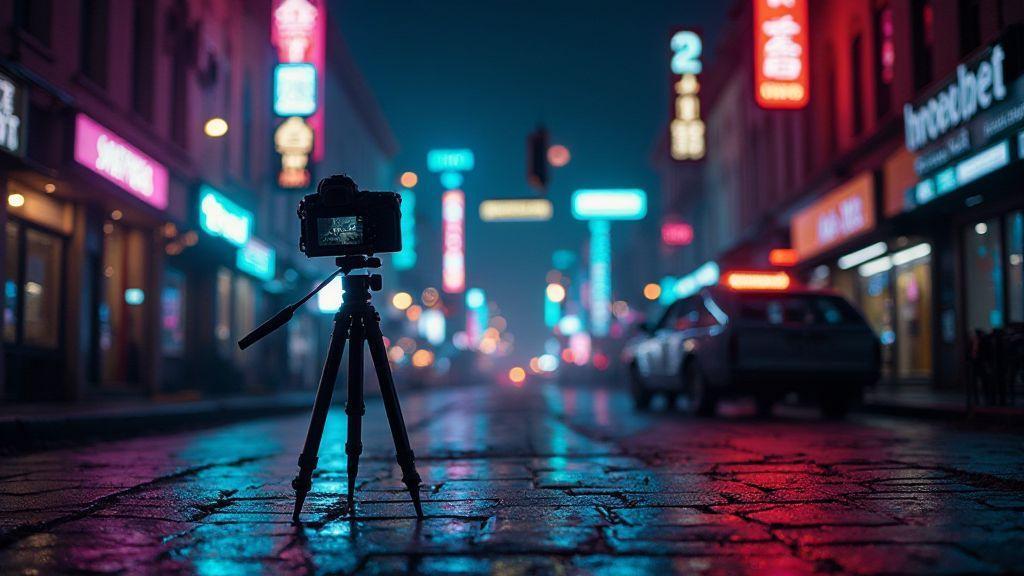
Lens and filter choices for neon signs
Choose glass that handles low light without dulling the glow. A 50mm or 35mm is a solid start; a 24mm wide lens helps you capture more context but watch for distortion. Primes render neon cleanly and give cleaner background bokeh. If handheld, use a lens with stabilization or a fast aperture (f/1.8–f/2.8) to keep ISO down. Filters can be tricky with neon:
- Polarizers reduce reflections from glass storefronts and glare from glossy surfaces. Use a gentle rotation to avoid washing out color.
- ND filters let you lengthen shutter for motion or softness, but neon is bright indoors, so light ND is usually enough. Shoot RAW to recover detail if needed. Filters don’t fix bad composition; test shots help you refine angles.
Frame at different focal lengths to compare edge definition and distortion. Side lighting often creates appealing edge glow; small changes in angle can improve color integrity. Use quick bursts to compare looks and note which combos preserve color with minimal flare.
- When to use ND or polarizer: use polarizers to cut glare, use ND for motion blur in dim scenes. Test both and adjust exposure by a stop or so to taste.
- Avoid cheap UV filters: they flare and dull neon. If you must use one, pick a high-quality filter with coatings.
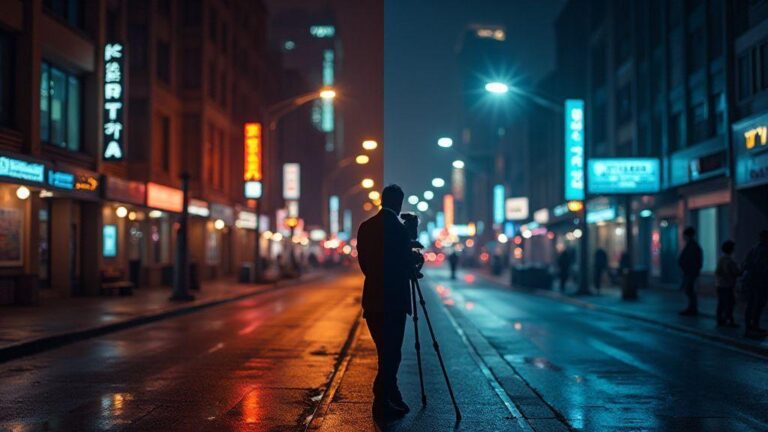
Focus, composition, and neon sign photography tips for night
Night shoots with neon require a plan for sharp edges, clean frames, and bold colors. Focus manually in low light; auto-focus may hunt. Use a small aperture to keep more of the scene sharp and raise ISO if needed. Keep shutters long enough to capture atmosphere but short enough to preserve color.
Composition matters: use the rule of thirds but let the sign be the hero. Observe reflections, cars, and storefronts to ensure the glow dominates while the environment adds mood. Pack a sturdy tripod, remote or timer, and a lens with good edge performance. Shoot at a base exposure that avoids clipping, then adjust in small steps. Every shot should tell a small night story.
- Manual focus for sharp neon edges: zoom in on a bright edge in live view, focus past the glow to the crisp edge, then verify at 100% magnification. If the sign flickers, take a quick reference shot and adjust.
- Negative space and crop tight: give the glow room to breathe; crop when the surroundings are cluttered. Frame to cut reflections and glare by tilting your lens or using a dark card.
Post-processing neon colors without clipping
Post must preserve glow without washing out details. Start with histogram and highlight warnings, then pull back overly bright areas. Use curves or highlight reductions to tame bold regions, keeping neon on the hotter end of the spectrum without dulling texture. Adjust color balance to keep neon hues true; selective adjustments help blues, pinks, and greens stay bright while the rest remains calm. Test crops to ensure color holds across the frame and compare to your base exposure to avoid overcorrection.
- Recover highlights and protect color: lift shadows slightly and use highlight recovery to reclaim glow without color shifts. Isolate neon with masks and apply gentle contrast/saturation only to those areas. Shooting RAW makes recovery easier. Micro-adjustments yield natural neon without harsh edits.
- Local adjustments to boost tone: brighten the glow precisely where needed, deepen contrast inside the sign, or add a gentle gradient to keep edges clean. Subdue the background so the neon remains the focus.
How to Shoot Neon Signs at Night Without Blowing Out the Colors: Pro Tips wraps practical, repeatable steps into a workflow you can use on any neon-night outing. With careful exposure, white balance, and thoughtful post, you’ll keep neon hues vibrant, preserve surrounding mood, and produce images that feel intentional rather than accidental.

Smartphone Night Photography Enthusiast & Founder of IncrivelX
Vinicius Sanches is a passionate smartphone photographer who has spent years proving that you don’t need an expensive camera to capture breathtaking images after dark. Born with a natural curiosity for technology and a deep love for visual storytelling, Vinicius discovered his passion for night photography almost by accident — one evening, standing on a city street, phone in hand, completely mesmerized by the way artificial lights danced across wet pavement.
That moment changed everything.
What started as a personal obsession quickly became a mission. Vinicius realized that millions of people were carrying powerful cameras in their pockets every single day, yet had no idea how to unlock their true potential after the sun went down. Blurry shots, grainy images, and washed-out colors were robbing everyday people of memories and moments that deserved to be captured beautifully.
So he decided to do something about it.
With years of hands-on experience shooting city streets, starry skies, neon-lit alleyways, and creative night portraits — all with nothing but a smartphone — Vinicius built IncrivelX as the resource he wished had existed when he was just starting out. A place with no confusing jargon, no assumptions, and no gatekeeping. Just honest, practical, beginner-friendly guidance that actually gets results.
Vinicius has tested dozens of smartphones from every major brand, explored dark sky locations across multiple states, and spent countless nights experimenting with settings, compositions, and editing techniques so that his readers don’t have to start from scratch. Every article on IncrivelX comes from real experience, real mistakes, and real lessons learned in the field.
When he’s not out shooting at midnight or writing in-depth guides for the IncrivelX community, Vinicius can be found exploring new cities with his phone always within reach, looking for the perfect shot hiding in the shadows.
His philosophy is simple: the best camera is the one you already have — you just need to learn how to use it in the dark.