How to Photograph Bridges at Night with a Smartphone (Detailed Tutorial)
How to Photograph Bridges at Night with a Smartphone (Detailed Tutorial)
This detailed tutorial covers gear, apps, manual settings, composition, and post-processing to help you master night bridge photography with a smartphone. It emphasizes reliable gear, steady technique, and thoughtful light to create cinematic bridge images.
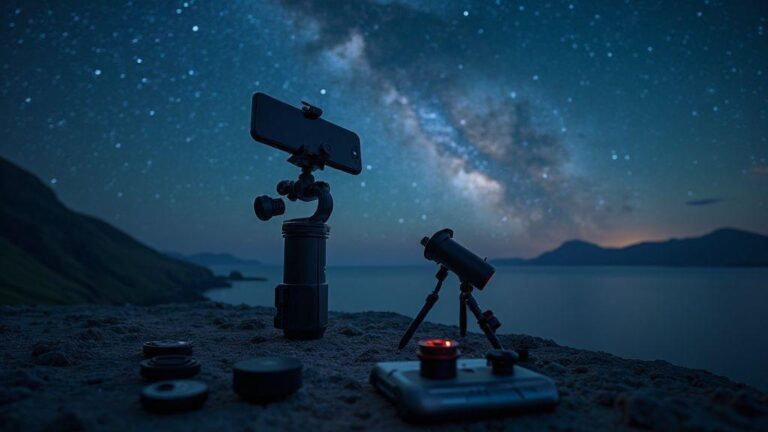
Essential gear and apps for your night bridge photos
Shooting bridges at night comes down to reliable tools and tricks that yield clean, sharp images. Start with a solid camera or smartphone, a sturdy mount, and apps that guide long exposures and focus tweaks. You don’t need every gadget, but you want steady shots, accurate focus, and quick access to exposure controls—think of building a tiny toolbox you can pull out when the lights come on.
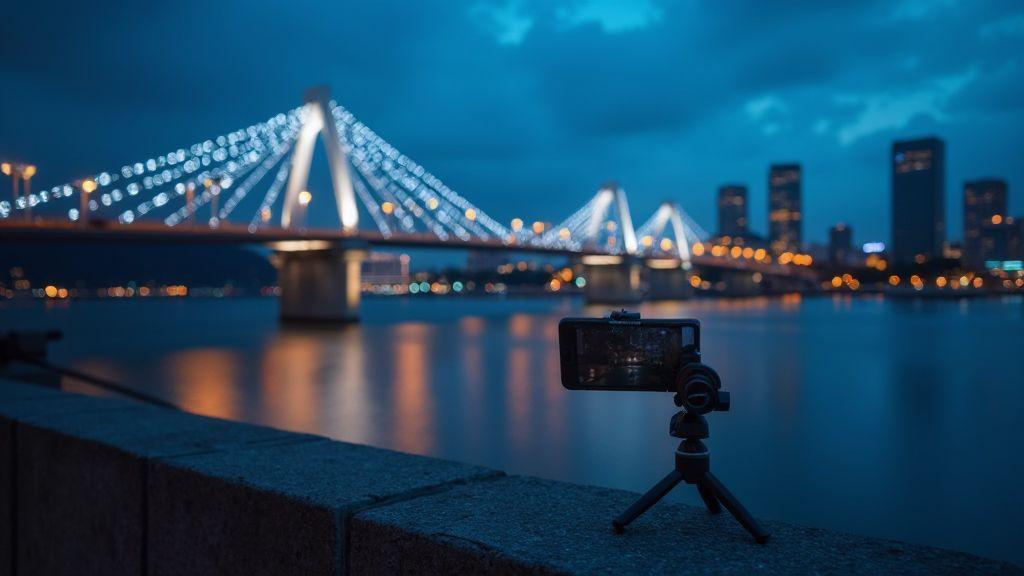
Your phone or camera should handle long exposures without scary noise or wobble. If you’re using a camera, bring a tripod that can cope with uneven bridge surfaces. For phones, a steady mount is essential. Lock exposure to prevent flicker, and use a remote shutter release or timer to avoid camera shake. A simple note app or a map to mark the bridge’s best vantage points saves time when the sun goes down. With these essentials, you’ll chase the glow without fighting your gear.
Finally, pack a small bag with spare batteries, a microfiber cloth, and a compact power bank. Night bridges can drain power quickly, and you’ll want to wipe away dust or droplets. A lightweight battery belt or pouch helps if you’re moving between locations. The goal is to stay hands-free and focused on composition, not gear hunting.
Apps for how to photograph bridges at night with a smartphone
Your smartphone can do a lot with the right apps and a few tricks. Start with an app that lets you lock exposure and focus, then switch to a longer exposure mode without the phone trying to guess every frame. Look for Manual or Pro modes, RAW shooting, and a simple timer to reduce shake. Use HDR sparingly; RAW plus controlled exposure often beats automatic tone mapping. Test a few shots at lower ISO to keep noise down, then raise only as needed for brightness.
Live view magnification helps you inspect a bridge’s details and see how the lights fall. Use the histogram as your guide rather than peering at a tiny screen. Practice framing with the phone on a tripod during blue hour so your brain learns the glow of the bridge and you’ll trust your instincts when it gets dark. With the right apps, you’re guiding light with intention, not guessing.
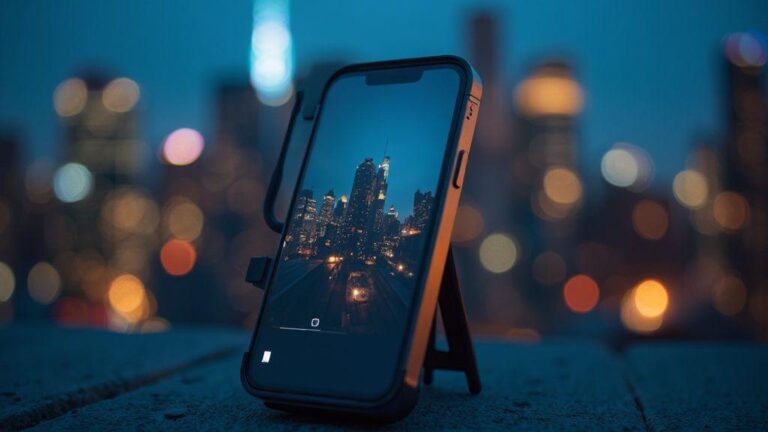
Use a phone mount, clamp, or mini tripod you can trust
Your mount is the backbone of your night shots. A sturdy phone mount or mini tripod keeps the frame steady through long exposures, gusts, and passersby. Look for adjustable legs or a clamp that grips railing without slipping. A stable grip matters more than fancy electronics; if the phone tips, every shot wobbles. If you’re shooting from a walkway edge, a low-profile tripod keeps you out of foot traffic while giving a clean silhouette. Trust is built by testing in daylight first, then at dusk so you know it won’t fail when the lights come on.
Mounts with quick-release options save time when moving between vantage points. If possible, choose one that folds compactly and handles some weather. A compact kit becomes your best friend on a bridge. The more confident you are in your setup, the more you can focus on composition—lining up arches with reflections and planning where light trails land.
Set your manual camera settings for night bridges
You’ll get sharper, more dramatic shots when you take control. Treat your camera as a tool you tune, not a button you press. Start with a steady stance or tripod, because low light loves stillness. Your goal is to capture the bridge’s lines and reflections without blur, so balance light and detail. Use a slower shutter if there’s movement or soft lighting, and push ISO only as needed to keep noise low. If you’re shooting with a phone, enable Pro or Manual mode and set white balance to a cooler tone to bring out lights along rails and towers.
Practice patience and adjust in small steps. If you see motion blur on water or lights, lower ISO and extend the shutter slightly. If the image looks dull, raise ISO a touch, but beware of grain. The aim is steady exposure across the frame—highlights on lamps, details in shadows, and no muddy areas. A tiny tweak in shutter speed or ISO can shift the mood from flat to cinematic. When you set the scene, imagine telling a quiet story about the bridge at night: crisp skyline, clear reflections, and glow that isn’t washed out. For smartphones, use a stable surface or tripod and consider a timer or remote shutter to minimize movement.
Set ISO low and extend shutter time (manual camera app settings for night bridges)
Lower ISO helps keep the scene free of noise, especially where lights meet the water. Start around ISO 100–200 and observe how lights hold shape without halos. Pair this with a longer shutter time, typically 2–8 seconds for steady lighting. If the scene looks too dark, extend the shutter in small increments rather than boosting ISO. This yields crisper edges and smoother reflections.
When extending shutter, you may see water or traffic motion. If it’s distracting, drop exposure a touch or pick a higher f-number to tighten depth of field. On smartphones, use a manual mode to lock exposure and shutter length. The payoff is clean highlights and a staged glow along the bridge’s lines. You’ll notice night shots breathe with clarity when you start from a solid exposure.
Quick litmus test: shoot 2 seconds at ISO 100 and a modest f-stop. If highlights bloom, shorten the shutter or lower ISO; if too dark, try 4 seconds and ISO 200. The goal is a stable silhouette with bright, defined edges.
Shoot RAW and enable long exposure smartphone bridge photography
RAW files capture every bit of light the sensor gathered, allowing post-processing without data loss. If your device supports RAW, enable it before shooting. RAW provides latitude for color, contrast, and texture in the bridge’s metals and cables. Long exposure yields smooth light trails on moving water. With RAW, you can recover shadows and adjust highlights more freely.
Experiment with a few frames at different exposures—e.g., 4 and 6 seconds—while keeping ISO low. Compare results to see where highlights stay sharp and shadows retain detail. Post-processing RAW is less intimidating, letting you fine-tune white balance, vibrance, and texture without fighting compressed data.
If you’re using a phone, third-party apps can offer RAW and long-exposure modes for cinematic results. It’s a small practice today that pays off when you want a standout night shot tomorrow.
Compose bridge shots at night on your phone
You’re after moments, not perfect gear. Set exposure to a steady level, then lock focus on a bright bridge area. Aim for sharp edges and clean color, avoiding blown highlights. Use grid lines to keep the bridge centered and the horizon level. If your phone has night mode, switch it on, but don’t rely on it alone—steady hands and thoughtful framing still matter. Practice framing with a two-shot approach: a wide view and a tight detail shot of cables or arches. The magic of night bridge photography lies in how lights tell a story when you slow down and let the scene breathe. Lower ISO and longer shutter are your friends, but balance glow and motion.
Think about what draws the eye first—water, lamps, or skyline silhouettes. Guide that eye with the bridge’s lines toward a focal point, such as a beacon or distant city lights. You can shoot through a window for a painterly effect, and a dark foreground can add depth if the bridge lights pop. Focus on a single strong element rather than the entire scene. Review shots and pick the one that feels cinematic, not just lit.
As you shoot, treat your phone as a pocket tripod. Keep elbows in, wrists steady, and breathe out slowly when tapping the shutter. If you use night mode, pause briefly after capture to stack light, but don’t overdo it—movement plus long exposure can blur. If color fringing or noise appears, switch to a lower ISO and longer exposure, then adjust in editing. The aim is clean lines, crisp edges, and a mood that matches the evening air. Night bridge shots on a phone aren’t about one perfect capture; they’re a series that shows you understand light, angle, and timing.
Use leading lines, symmetry, and reflections (composing bridge shots at night on phone)
Leading lines such as railings, road markings, or suspension cables pull the viewer toward a bright point. Symmetry works well over calm water or a quiet street, creating a balanced image when the bridge sits centered. Reflections in still water are magical—shoot when the surface is calm and light glazes the water. If there are two banks of light, frame so the reflection sits between them for a mirrored effect. Try slightly off-center angles to discover the strongest balance.
Play with lines that converge beyond the bridge, adding dynamic tension. If the bridge has arches, shoot from a low angle to stack arches toward the sky, then switch to a higher viewpoint to show how the structure sits in the city. Keep the frame simple to let the lines stand out. A light crop can tighten composition while preserving the lines.
Reflections can be tricky; even a non-perfect mirror can add interest with a dark shoreline or a silhouette. Place a single bright light in the frame so its glow reflects cleanly. Your phone makes vertical and horizontal reflections easy to compare—see which makes the bridge feel taller or more expansive. The goal is a harmonious blend of symmetry, leading lines, and a glow that elevates the night scene.
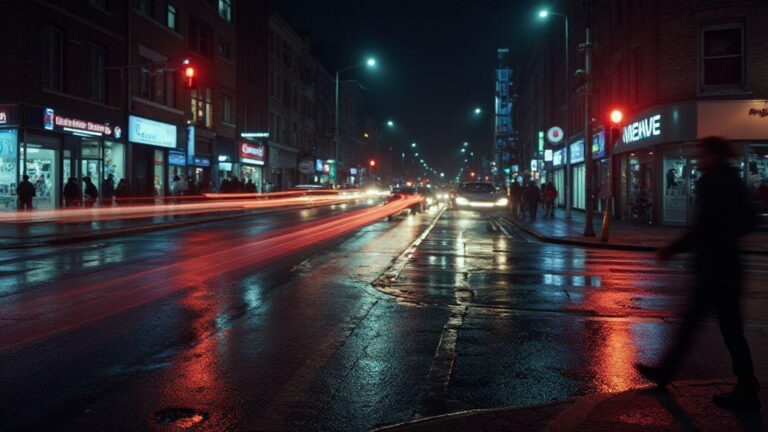
Frame light trails and water motion for drama (light trails bridge photography smartphone)
Longer exposure on a smartphone reveals light trails from passing cars or boats that aren’t visible to the naked eye. If possible, enable a longer shutter or use a tripod-like grip to steady the shot. Position the bridge off-center to let trails move through the frame, creating a sense of motion. Low ISO helps keep grain at bay, and a small aperture yields crisper trails against a dark background.
Near water, shoot when the surface is calm for a glossy mirror. Trails over water contrast motion above with stillness below. Check stabilization options—even a slight shake can ruin smooth arcs. Practice timing with a few seconds of exposure to balance trail length with bridge sharpness. Start with 1–2 seconds, then extend as you gain confidence. The aim is to convey motion without compromising the bridge’s clarity.
Try high and low angles to add depth
Vary your height to shift mood. A low angle emphasizes the bridge’s arches and underside lighting; a high angle reveals the full span and the city beneath, telling a sense of place. If you’re on a pedestrian walkway, crouch and shoot slightly upward to elongate tower lines. When moving to a higher vantage, tilt the camera slightly to keep the silhouette clean and avoid a flat top-down look.
Depth comes from contrast: a dark foreground, brighter midground, and a detailed background. A low angle can reveal texture in the bridge’s surface, while a higher angle shows how the bridge threads through the surroundings. Keep lines straight using the horizon or centerline, and adjust your stance in small increments to find the strongest angle.
Master long exposure and light trails techniques
Long exposure turns night scenes into cinematic moments. Start with a stable spot and still stance so the camera stays put while the world moves. Practice with simple subjects first, then tackle busier scenes. Small exposure or ISO adjustments can make a night shot sing—or fall flat. When you hit the timing right, motion becomes the subject and the still parts anchor the image.
Tune settings to balance brightness and blur. Begin with a mid-range ISO to reduce grain, and test shutter speeds between 1 and 4 seconds for trails, longer for smoother water. If the scene is too dark, increase exposure gradually or widen the aperture, but watch for noise. Light trails thrive on contrast: neon signs or car lights against a dark sky yield the most drama.
Compose with motion in mind: include a clear foreground anchor like a railing or silhouette to add depth. Use curved lines from trails to guide the eye to a point of interest. Shoot multiple frames from the same spot to compare trail quality at different shutter speeds. If unsure, shoot sequences at 2, 5, and 8 seconds and pick the best. Practice helps you understand how motion interacts with light in your cityscape.
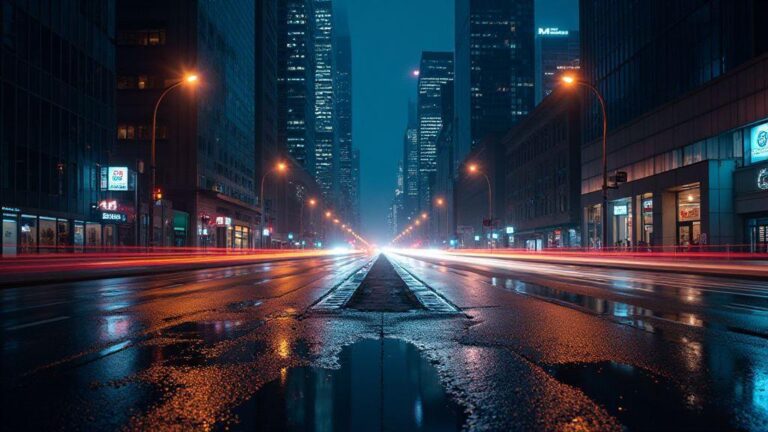
Plan shutter speeds for car and water motion (long exposure smartphone bridge photography)
Plan shutter speeds with a clear goal: smooth car trails or silky water. For cars, 2–4 seconds at dusk often yields clean trails; in busy areas, 1–2 seconds keeps trails crisp. For water, 4–8 seconds creates a glassy surface. If a bright bridge or signage is nearby, test 1–3 seconds to control highlights. A small tripod or stable surface is crucial for consistent results.
Shoot in RAW if possible and bracket shots with small exposure steps. If light changes quickly, don’t linger on one shot. Compare trails: jagged trails mean underexposure or camera movement; smeared trails mean too long exposure. With a few attempts, you’ll find your balance and your bridge photos will look deliberate, not accidental.
Use ND filters and timing for bright scenes
In bright scenes, ND filters cut light without altering color or white balance, allowing long shutters while preserving highlight detail. Start with a low-strength ND for dusk or early night, and a stronger one for bright streets or illuminated rivers. Plan the shot around the strongest light you can tolerate to maintain the long-exposure effect. Tap to focus on a mid-distance object, then switch to manual focus to avoid hunting as light changes. With an ND, you can keep the shutter open long enough to reveal motion without overexposure.
Timing matters as much as gear. Watch traffic and time your shutter press when headlights are evenly spaced. For water, shoot after rain or when the river is calm but dark enough to hold color in reflections. The right timing plus the ND filter helps you capture clean trails and smooth water in bright places.
Use timer or remote shutter to avoid shake
To prevent blur during long exposures, use a timer or remote shutter. Set the timer for 2–10 seconds so your finger won’t jostle the camera. Bluetooth remotes work well because you don’t touch the phone at all. Some smartphones include a camera timer in the app—use it to keep shutter release steady. This small habit saves you from soft edges and keeps your lines crisp.
Tripod alternatives to keep your phone steady
When shooting night scenes on a smartphone, you can steady your image without a full tripod. Use railings, walls, or benches as anchors. A beanbag or soft pouch under the phone absorbs movement and dampens shake. Stacked coins can elevate the phone just enough to align with the horizon or an arch. Combine these options: place the phone on a beanbag, brace against a railing, and adjust your stance for steadiness. This lightweight setup helps you maintain clean lines when the ground is uneven.
Use railings, beanbags, or stacked coins (tripod alternatives for smartphone night shots)
Railings provide an immediate steadiness. Lean the phone against the edge and keep a firm grip; if the rail is slick, support the phone with a finger underneath to prevent slips. Beanbags offer quiet stabilization in crowded areas. Rest the bag on a ledge or railing and place the phone on top to dampen micro-movements. Stacked coins act as a tiny riser to align the shot with the horizon or arch. Try combining these: a phone on a beanbag, lightly pressed against a railing for extra rigidity. For city skylines, emphasize high contrast between lights and darks. Verify that your subject isn’t moving; a moment of calm yields crisp lines.
Use stabilization features and low-shake tricks (steady night bridge photos without tripod smartphone)
Turn on stabilization features if available, and keep exposure short enough to avoid blur. A slight brace against a railing helps while the phone stabilizes. Slow shutter speeds benefit long light trails only if you stay still. Breathe, hold, and press the shutter gently. If motion worries you, use burst mode and pick the sharpest frame later.
For extra stability, shoot from a low angle with elbows tucked in or rest your forearms on a bench or wall to create a solid base. Use a timer or remote shutter to minimize movement. Your night bridge photos will feel calmer and crisper without a full tripod.
Test stability before each shot and adjust
Before snapping, gently nudge your phone to feel any give. If the frame shifts, adjust your stance and re-balance. A quick test shot reveals any creeping movement. If the photo looks soft, reposition and try again. This tiny ritual pays off with crisp lines and clean reflections.
Edit and merge exposures to polish your night bridges
Blending multiple shots creates a balanced look where texture, lights, and reflections sit together without blowing out. Start with a darker frame for shadows and a brighter one for highlights, then blend. If motion exists, use shorter exposures to freeze details and longer ones to glow lamps. The aim is a wide tonal range that feels natural, not flat.
An HDR workflow with three to five frames (underexposed, normal, overexposed) helps align the bridge without warping. Keep midtones intact to preserve texture. If your device supports dedicated HDR, use it and tweak sliders to taste. For smartphones, local adjustments on sky and water can help—keep the sky smooth while the bridge remains crisp. Save multiple variants (strong vs softer contrast) and choose the best. With careful blending, you can achieve a museum-quality night-bridge look.
Merge exposures with HDR exposure blending for night bridge smartphone
Three frames work well: underexposed for lights, normal for overall exposure, and overexposed for darkest areas. Use edge alignment to keep the bridge straight. When blending, emphasize midtones so the bridge texture remains sharp and not muddy. Compare to a single shot to see improved texture in railings and masonry. If halos appear around bright bulbs, reduce highlight recovery and push shadows slightly. Adjust warmth to keep the scene inviting rather than artificial.
Local adjustments are useful: brush sky and water separately to keep the sky smooth while preserving edge detail on the bridge. Save versions with strong and softer contrast to pick your favorite. A well-guided HDR blend can produce a clean, cinematic night-bridge shot on a smartphone.
Reduce noise and tweak contrast and color for clarity
Noise hides in shadows and color gradients, so apply light denoise after blending. Avoid overdoing it to keep detail in brickwork and cables. Then adjust contrast to restore depth: brighten midtones enough to reveal texture while keeping highlights controlled. A touch of saturation on lamps and reflections makes the scene feel alive without oversaturating.
Color tweaks matter too. If the bridge reads too blue, warm it to mimic streetlight glow. If water hue shifts, enhance subtle greens or golds in reflections. Small shifts go a long way toward a polished night scene.
Export full-res files for sharing and print
Keep the original, then export a high-quality full-res version (TIFF or high-quality JPEG) for prints or competitions. If you’re sharing online, export a web-optimized version too, but retain the full-res file. Tag the version with the night vibe you aimed for—contrast, color balance, and texture.

Smartphone Night Photography Enthusiast & Founder of IncrivelX
Vinicius Sanches is a passionate smartphone photographer who has spent years proving that you don’t need an expensive camera to capture breathtaking images after dark. Born with a natural curiosity for technology and a deep love for visual storytelling, Vinicius discovered his passion for night photography almost by accident — one evening, standing on a city street, phone in hand, completely mesmerized by the way artificial lights danced across wet pavement.
That moment changed everything.
What started as a personal obsession quickly became a mission. Vinicius realized that millions of people were carrying powerful cameras in their pockets every single day, yet had no idea how to unlock their true potential after the sun went down. Blurry shots, grainy images, and washed-out colors were robbing everyday people of memories and moments that deserved to be captured beautifully.
So he decided to do something about it.
With years of hands-on experience shooting city streets, starry skies, neon-lit alleyways, and creative night portraits — all with nothing but a smartphone — Vinicius built IncrivelX as the resource he wished had existed when he was just starting out. A place with no confusing jargon, no assumptions, and no gatekeeping. Just honest, practical, beginner-friendly guidance that actually gets results.
Vinicius has tested dozens of smartphones from every major brand, explored dark sky locations across multiple states, and spent countless nights experimenting with settings, compositions, and editing techniques so that his readers don’t have to start from scratch. Every article on IncrivelX comes from real experience, real mistakes, and real lessons learned in the field.
When he’s not out shooting at midnight or writing in-depth guides for the IncrivelX community, Vinicius can be found exploring new cities with his phone always within reach, looking for the perfect shot hiding in the shadows.
His philosophy is simple: the best camera is the one you already have — you just need to learn how to use it in the dark.