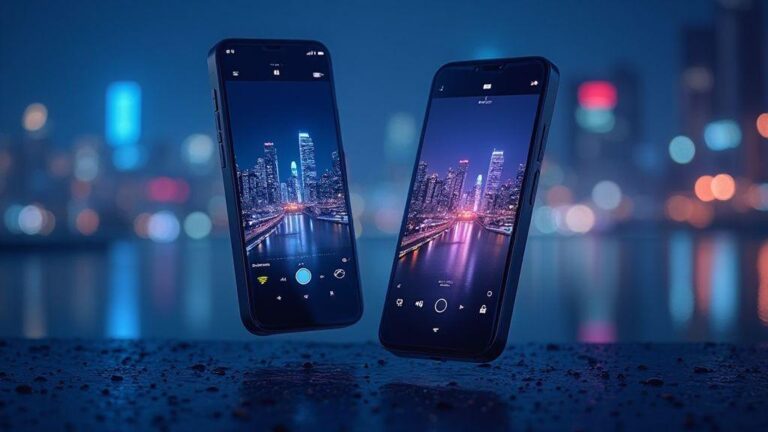
Fixing Orange Streetlight Color Cast Using White Balance on Your Phone
Why streetlights make your photos look orange
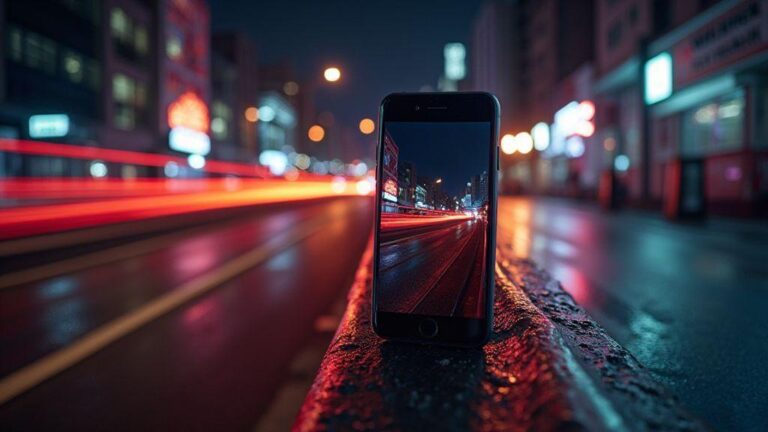
Streetlights can turn your pictures orange if you don’t understand the light and your camera. You’ll notice it at night or in busy streets when the orange tint hides true colors in cars, signs, and people. You can fix this by choosing the right white balance and by recognizing the light ahead of time. Your goal is to keep skin tones and colors true, not orange or purple, so you won’t have to guess in post.
When you walk under streetlights, your camera sees light differently than your eyes. The lamps emit a warm glow that can overpower other colors in your frame. If you shoot too quickly without thinking about white balance, your photo can look like a sunset in the middle of the night. Small changes in settings now save you big time later.
Think of it as tuning an instrument. The wrong color from the lamp clashes with what you want to show. You want your photo to look natural, not cooked by a yellowish lamp. By understanding the light, you’ll frame better shots and avoid wasted editing time. Your eye can spot the warm hue, and your camera can be set to counter it.
Sodium vapor lamps and their warm color
Sodium vapor lamps are common on streets and glow with a strong warm orange. This light makes everything look more yellow and less blue. Recognize the glow to know what color balance to choose. The color comes from the lamp’s chemistry, not the camera. These lamps push color toward orange because they emit a narrow band of wavelengths, which the sensor often translates as warmth. A cooler white balance or post-correction helps, but the best move is to head off the problem at the source.
Typical color temperature of streetlights in Kelvin
Typical streetlights sit around 2700K to 3200K, which is warm. When you see that orange glow, you’re in that range. A higher number, like 4000K or 5000K, nudges toward neutral or cooler tones. Pick a Kelvin value that brings skin tones back to natural and keeps the scene looking right. Outdoors at night, start around 3200K and adjust.
If people look too yellow, raise the Kelvin to 3600K or 4000K. If the scene looks blue, drop toward 3200K. Do quick test frames to compare. Your eye will tell you when the colors match what you see. A quick tweak can save an entire set from orange embarrassment.
How white balance on your phone fixes streetlight color casts
Fixing orange streetlight casts using white balance on your phone neutralizes the glow so the scene looks closer to what you see. By adjusting the color temperature, you shift toward cooler tones, balancing the warm light from the streetlamp. White balance isn’t magic; it’s a control to match the light around you. Tap white balance to tell your camera, This light is warm, so make the image cooler. If you want a shirt to look blue rather than orange, push toward blue tones. The result is colors that feel natural, not filtered.
For street photography, this means skin tones stay natural and buildings don’t look oversaturated with orange. In the moment, set a cooler preset or a neutral custom setting and compare results. It’s a simple fix that makes a big difference after sunset.
What white balance does to remove orange tint
White balance shifts the color temperature to balance the warm light. When you remove the orange, your photo looks closer to real life, with accurate skin tones and true whites. Auto WB can still produce a warm cast under strong orange lighting. Choosing a cooler balance tells the camera to prioritize neutrality and prevents the orange wash. The orange glow fades while the mood remains, giving you vibrant yet natural photos.
Auto white balance vs manual control on phones
Auto white balance is convenient but can stumble in tricky lighting. Under bright orange streetlights, it may cling to warmth or chase a cooler look that doesn’t match the scene. Manual control locks in the exact temperature for consistent color across shots. Start with a cooler preset (like cool daylight) or a neutral custom setting, then compare with auto. You’ll quickly feel the difference: more accurate colors and natural skin tones.
Use manual white balance with Kelvin on mobile photography
Manually dialing in Kelvin gives you direct control over color. Compared with auto, it reduces guesswork and yields more consistent results across mixed lighting. When you shoot under mixed or harsh lights, manual Kelvin helps you pin down a look before you snap. The goal is neutral whites that reflect the actual scene, keeping mood intact while preserving believable color.
Values influence emotion: softer, warmer tones feel cozy; cooler values feel clean and modern. Your phone becomes a small studio, and you’re the designer. Lock the Kelvin once you reach neutral whites to keep colors steady as you shoot more frames.
Set Kelvin values near 1800–3200K for sodium lights
Sodium streetlights push orange, so start around 1800–3200K to counter that bias. Low end leans into warmth; mid-to-cooler range neutralizes the glow. A starting point around 2500K often neutralizes heavy orange; fine-tune based on what you see.
Move the slider toward blue to reduce orange cast
Pushing Kelvin toward blue is a direct fix for orange casts. A cool bias helps reclaim natural whites and balanced colors. Make small adjustments and reassess. A slight blue shift can recover skin tones and restore color in signs and clothing without overdoing it.
Lock the Kelvin once you get neutral whites
When whites look right, lock the Kelvin value. Locking maintains consistent color as you frame more shots. If you encounter different light sources later, you can adapt, but locking now gives you a solid baseline.
Apps and phone modes that let you fix orange streetlight color cast
The quickest wins come from apps and modes that offer manual white balance, RAW capture, and Kelvin settings. With these features, you can cool or warm the scene to match reality. You’ll notice more natural colors, with less muddy skin tones and amber haze from streetlights. If you’re on a budget, use built-in modes that let you adjust white balance or a neutral preset. A Pro or Manual mode often provides deeper control, and bias toward cooler kelvin values can counter orange casts.
Pro mode, Kelvin, and RAW
Pro mode or apps with Kelvin and RAW give true pixel-level control. Set a precise Kelvin to neutralize orange, then shoot RAW to fine-tune later without losing color data. Expect a learning curve, but the payoff is crisp, natural colors across varying lighting.
Popular tools: Lightroom Mobile, Open Camera, Camera FV-5
- Lightroom Mobile: shoot RAW, adjust White Balance temperature, and lock it. Global tweaks after capture help when nearby lighting adds new color casts.
- Open Camera: solid manual controls, including RAW and Kelvin presets, ideal for street scenes.
- Camera FV-5: precise ISO, shutter, and white balance for exact looks.
Enable manual white balance in your app settings
Flip on Manual White Balance in your app (WB or Kelvin). Start around 5000–6500K, then test. If it’s too orange, push toward 6000K or higher; if too blue, ease back toward 5200K. Compare shots side by side and save a preset for consistency.
Shoot RAW so you can reduce orange tint later
RAW preserves color data, giving you latitude to adjust white balance, exposure, and color without artifacts. Turn on RAW in iPhone or Android settings, or use a third-party app. Edit with temperature and tint sliders: cool the image with temperature first, then fix green/m magenta shifts with tint. Small, layered corrections yield the best results.
Simple on-phone edits to remove orange tint smartphone photos
On-device edits can quickly remove orange casts and restore color accuracy. Start with temperature and tint sliders: cool the image to reduce orange, then adjust tint to fix residual color casts. Use selective color to target orange and yellow tones, reducing their saturation while preserving skin tones and sky.
Use the temperature and tint sliders first
Cool the scene with temperature until skin tones look natural and whites read white. If needed, shift tint toward green to cancel residual orange or toward magenta to fix gray shadows. Compare before and after to ensure a natural look.
Use selective color to target orange and yellow tones
Target orange and yellow ranges, lowering their saturation just enough to reduce warmth while preserving detail in lamps and signage. Add slight luminance to orange if you need more detail without washing out color.
Save a copy so you keep the original
Always save a copy before edits. This lets you compare, experiment, and revert if needed.
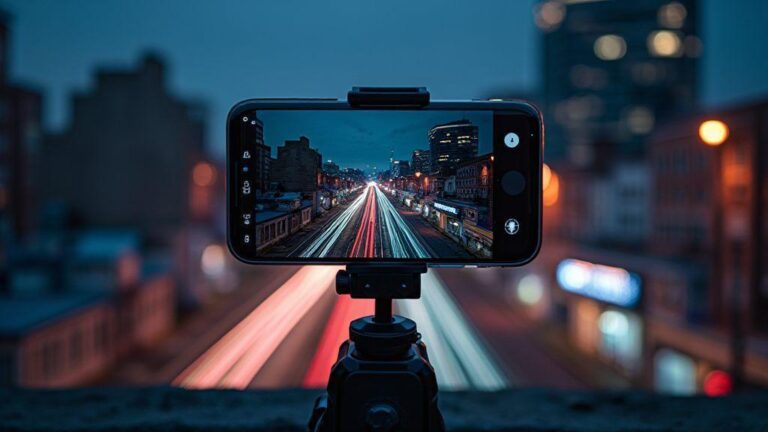
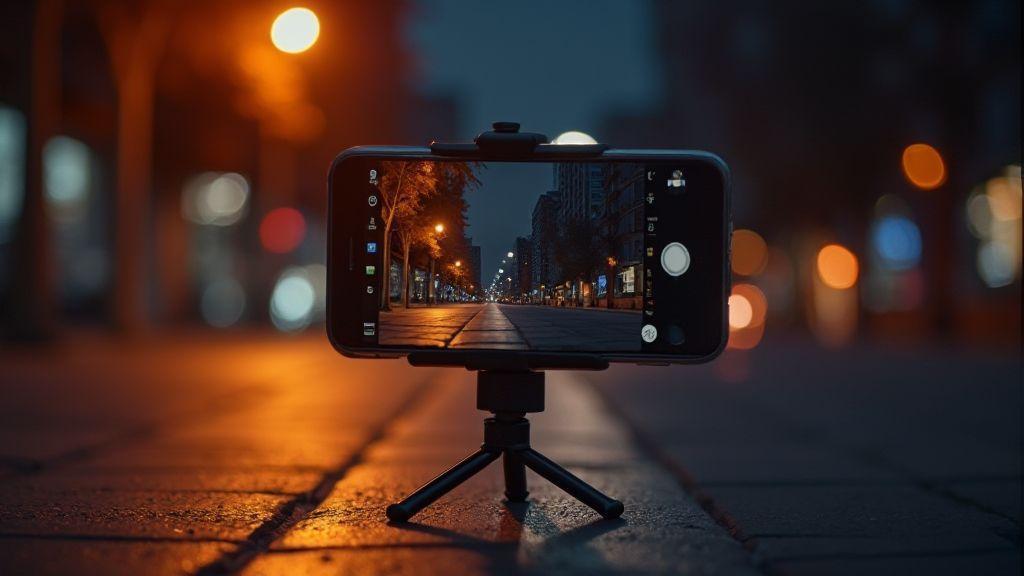
Practical shooting tips to fix orange tint in streetlight photos
Plan light sources and what you want to keep true. Validate white balance and exposure before pressing the shutter. Quick tests—two shots, one with auto WB and one with manual tweak—help you learn what reads best. When editing, combine small WB tweaks with slight exposure adjustments rather than a single drastic fix. If you shoot RAW, you have more latitude to correct color post-capture.
Use a gray card or white object to set custom WB
A quick reference frame with a gray card or white object helps lock in an accurate white balance in mixed lighting. Use this as a baseline, then switch back to your scene for framing.
Avoid mixing lights from different fixtures
Different lamp colors can create orange chaos. If possible, shoot with a single light source or wait for more uniform lighting. If you must shoot in mixed lighting, balance WB toward warmer tones for the whole frame and adjust in post as needed.
Lower ISO and correct exposure to cut color noise
Lower ISO reduces color noise that can amplify orange. Achieve proper exposure first, then adjust WB. If you must push ISO, keep WB changes modest and plan to correct in post.
How to keep white balance consistent across night shots
Lock a baseline WB mode and reuse it across shots. If available, use AWB lock or a custom preset to prevent color shifts when lights change. Don’t chase perfect WB for every tiny change; aim for consistency so your sequence reads as one story. For phones, use WB lock or a cool preset to maintain a unified palette across frames.
Repeat the same Kelvin value for a series
For long sequences, pick one Kelvin value and stick with it. Note conditions (lamp type, distance, brightness) so you can reproduce the look later. If a lamp changes color, rely on your core reference to anchor edits.
Troubleshooting when adjusting white balance to remove orange cast
Confirm your target WB matches the scene. In mixed lighting, use a neutral gray card and shoot RAW if possible. Compare histograms to identify temp errors. If color remains warm, balance color channels with careful WB adjustments and consider shooting multiple quick frames for comparison.
Mixed lighting can still cause residual color casts
Prioritize neutral areas for WB reference and use RAW to fine-tune later. If needed, balance skin tones in post while preserving environment colors. Tethering can help review color in real time on a larger screen.
High ISO can create banding when you push temperature
High ISO can introduce banding or color noise. Lower ISO and adjust exposure first, possibly using a tripod or additional light. If you must push WB at high ISO, keep changes modest and plan for post-processing.
Fixing Orange Streetlight Color Cast Using White Balance on Your Phone is a practical skill for cleaner city photography. Mastering Kelvin, RAW capture, and thoughtful editing lets you reclaim natural colors and skin tones, even under challenging street lighting.

Smartphone Night Photography Enthusiast & Founder of IncrivelX
Vinicius Sanches is a passionate smartphone photographer who has spent years proving that you don’t need an expensive camera to capture breathtaking images after dark. Born with a natural curiosity for technology and a deep love for visual storytelling, Vinicius discovered his passion for night photography almost by accident — one evening, standing on a city street, phone in hand, completely mesmerized by the way artificial lights danced across wet pavement.
That moment changed everything.
What started as a personal obsession quickly became a mission. Vinicius realized that millions of people were carrying powerful cameras in their pockets every single day, yet had no idea how to unlock their true potential after the sun went down. Blurry shots, grainy images, and washed-out colors were robbing everyday people of memories and moments that deserved to be captured beautifully.
So he decided to do something about it.
With years of hands-on experience shooting city streets, starry skies, neon-lit alleyways, and creative night portraits — all with nothing but a smartphone — Vinicius built IncrivelX as the resource he wished had existed when he was just starting out. A place with no confusing jargon, no assumptions, and no gatekeeping. Just honest, practical, beginner-friendly guidance that actually gets results.
Vinicius has tested dozens of smartphones from every major brand, explored dark sky locations across multiple states, and spent countless nights experimenting with settings, compositions, and editing techniques so that his readers don’t have to start from scratch. Every article on IncrivelX comes from real experience, real mistakes, and real lessons learned in the field.
When he’s not out shooting at midnight or writing in-depth guides for the IncrivelX community, Vinicius can be found exploring new cities with his phone always within reach, looking for the perfect shot hiding in the shadows.
His philosophy is simple: the best camera is the one you already have — you just need to learn how to use it in the dark.