Best Noise Reduction Settings in Lightroom Mobile 2026 for Night Photos
Best Noise Reduction Settings in Lightroom Mobile 2026 for Night Photos
Noise in night photos happens when you push your camera beyond its comfort zone. You’ll see grain in the shadows, speckles in dark areas, and blotchy colors in the highlights. The main culprits are high ISO, small sensors, long exposures, and underexposure. In Lightroom Mobile, the fix isn’t magic; it’s careful dialing. Start by lowering ISO if you can retake, or nudge exposure slightly to reduce shadow noise, then use noise reduction sliders to clean what you already have. Avoid over-smoothing—keep detail in stars, textures, and skin tones for a natural look.
Treat noise as part of the night’s story, not a separate boss. Color specks are color noise; grayish grain is luminance noise. Your goal is sharp, faithful images with just enough noise removed to look clean. Use noise reduction as a gentle spa for your pixels, not a blanket that erases character. With practice, you’ll know which areas need more attention and where a touch of grain enhances mood.
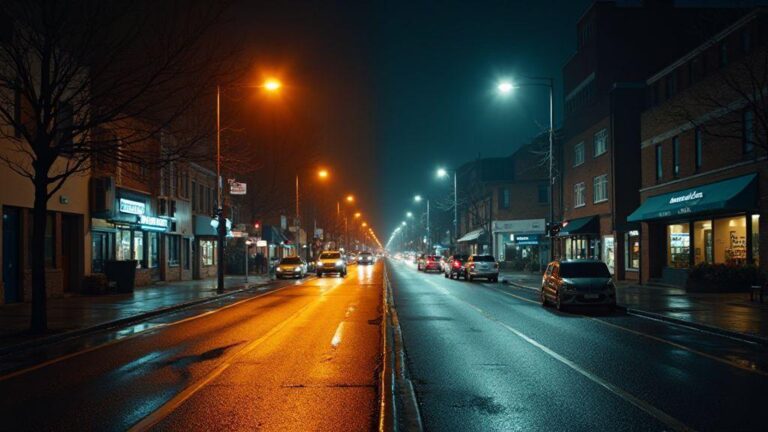
If you’re shooting handheld, tailor your approach to the scene: a quiet city street can tolerate a bit more noise, while a starry sky should stay crisper. Lift shadows slightly to reduce noise in dark areas, then apply targeted noise reduction so bright parts still sparkle. The result should be clarity with a natural, non-plastic look.
Luminance vs color noise explained
Luminance noise appears as gray specks that dull texture. It’s the most common noise in night shots. Color noise shows up as colored pixels that don’t belong, like purple or green specks in shadows. Address luminance first to recover texture, then tidy up color noise to preserve color accuracy.
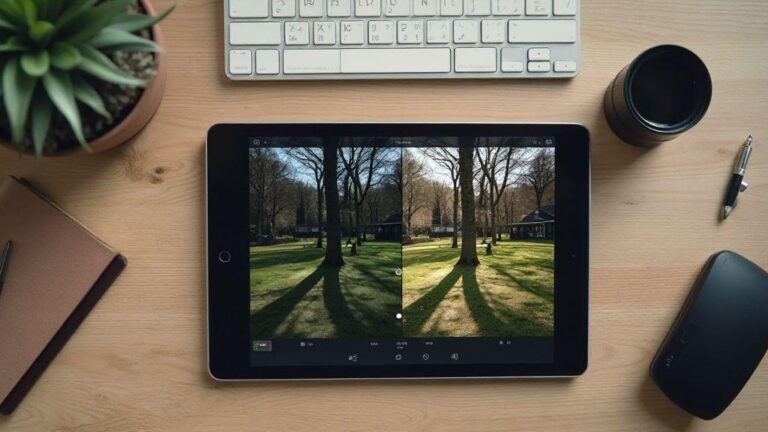
Use the Luminance slider to smooth gray specks and the Color slider to reduce stray color pixels. Move sliders gradually, checking at 100% zoom to preserve detail. If your scene has dark textures (trees, brick, star trails), prioritize luminance. If you see rainbow specks in smooth areas, apply a gentle color noise reduction. A sweet balance often yields a natural look.
How Detail and Contrast affect results
Detail controls edge sharpness and fine textures. Pushing Detail too far with noise present can amplify grain. Backing off Detail may reduce crispness in stars or brickwork. Keep enough detail to feel texture-rich, but not so much that noise becomes obvious.
Contrast tweaks depth. Higher Contrast can make noise more noticeable in dark regions but can improve the image’s pop. Lower Contrast can hide some noise but may flatten the scene. The goal is depth without amplifying grain. In most night photos, keep Contrast moderate and use masks for precise noisy parts.
For crisper night photos with cleaner shadows, keep Detail moderate and adjust Contrast after setting luminance and color noise. Preview often at typical viewing sizes to avoid overcorrecting and losing mood.
Key slider names in Lightroom Mobile
- Luminance
- Color
- Detail
- Contrast
These four are your core toolkit for night noise. Start with Luminance to reduce grain, then Color to fix color specks. Use Detail to protect edges, and tune Contrast to keep the scene believable. Small tweaks add up to a cleaner, more natural result.
When to use AI Denoise in Lightroom Mobile 2026
AI Denoise helps when night photos look grainy or lights feel noisy. If ISO is high in low light, this tool can clean up without sacrificing too much detail. Use it after basic exposure and contrast adjustments, since AI Denoise smooths remaining noise after you’ve set the base look. Think of it as a gentle rinse that preserves stars, streetlights, and cloud edges while softening digital salt and pepper in the shadows. For motion blur or severe color noise, you’ll still need careful tweaks, but AI Denoise is the right next step for a quick, presentable result.
Batch edits benefit as well: apply a consistent denoise level across shots from the same shoot. Start light, then adjust per image as needed.
How AI Denoise differs from manual sliders
AI Denoise targets noise by analyzing textures and edges to decide what to keep. Manual sliders give direct control but can over-smooth or erase texture in bricks and reflections if misused. AI Denoise is a solid first pass; then you can polish with manual tweaks for precise control.
If you’re comfortable testing, run AI Denoise lightly, compare to the original, and refine with Texture, Sharpening, and Color Noise as needed. The combo is powerful: AI handles the heavy lifting, you fine-tune for mood and detail.
RAW vs JPEG outcomes with AI denoise
- RAW: AI Denoise benefits from more color information and detail. It targets grain without flattening texture, preserving micro-detail in highlights.
- JPEG: AI Denoise can still help, but compression artifacts limit latitude. Expect more aggressive smoothing in some areas, which can be useful for social posts. Use AI Denoise to salvage the shot without overdoing it on JPEGs.
RAW gives the most flexibility for large prints or substantial edits later.
AI Denoise limits and best uses
AI Denoise isn’t magic. It won’t recover data that isn’t there. Severe underexposure or extreme color noise can be overcorrected or smear details. Best: moderate to strong noise in shadows and midtones, high ISO night shots, and scenes where mood matters as much as sharpness. Pair with solid exposure and white balance, then fine-tune textures and sharpening to taste.
Be mindful of halos around tiny highlights or slight texture loss in fine areas. If needed, run a lighter pass and use targeted adjustments to Texture or Clarity after the AI pass. Aim for a natural look that stays true to the scene.
A simple denoising workflow for night shots
Night photos benefit from a clear, stepwise workflow. Start by treating RAW with a light touch, then tighten edges so the night scene stays sharp where it matters. Move from broad noise reduction to targeted sharpening, preserving structure in dark areas like skies and brickwork. End with a natural balance that preserves mood.
If you want a quick win, apply a conservative pass first and compare with the original. Small adjustments often yield a livelier night scene without sacrificing mood.
Import RAW and set basic exposure
Import RAW for maximum flexibility. Check exposure and white balance to match the scene you remember. A cooler tint can help stars pop without turning everything blue. Review the histogram to avoid clipping highlights or crushing darks. If highlights feel blown, pull back a bit and lift shadows to reclaim detail.
Tweak contrast sparingly; a touch of clarity can help micro-details without increasing noise. If you see color noise in uniform areas, tackle it later in the denoise step to preserve color information. Build a clean base for subsequent steps.
Reduce noise, then sharpen and refine
Begin with a targeted noise reduction pass. Lightly reduce luminance noise, watching texture in the sky and architectural edges. Avoid smudging fine lines around windows, railings, or star trails. If you overdo it, halos can appear around high-contrast features.
Next, address color noise in midtones with a gentle pass. After denoise, scan for unnaturally flat areas and reintroduce texture with a touch of micro-sharpness. Apply sharpening lightly—focus on edges without amplifying grain. The goal is clarity, not crushed pixels.
Quick checklist before you export
- Confirm exposure and white balance match the scene.
- Check histogram for clipping; adjust shadows/highlights as needed.
- Apply a light luminance noise reduction, then color noise reduction.
- Add a touch of texture or clarity to preserve starry skies and brick lines.
- Use a small amount of sharpening only on edges.
- Compare with the original to avoid overdoing it.
- Save a master file and a web-friendly version for sharing.
Optimal luminance and color noise settings
Luminance and color noise settings clean grain while preserving sharp edges. Start with a light touch to smooth shadows; excessive luminance reduces texture on fine edges. For color noise, reduce stray color pixels in smooth areas such as skies or glass, but avoid washing out color everywhere. The aim is a natural, calm night scene with preserved textures.
Think of it as polishing a photo taken with a handheld light: over-polish dulls the glow; under-polish leaves grain. Balance luminance and color noise together to keep trees, buildings, and skies looking natural while quieting noise in the dark areas.
Starting points for optimal luminance color noise reduction
A proven starting point: set luminance noise reduction mid-range (roughly 20–40) and inspect textures (bricks, leaves) at 100%. For color noise, start around 10–25 and adjust if skin tones or warm lights lose punch. If skin tones or highlights look off, back off luminance a notch and adjust color noise more carefully.
For very noisy images (high ISO), you may go higher: luminance 40–60 to smooth the grind while watching edges. Color noise can push to 25–40 if colored dots persist in smooth areas. Always compare side-by-side and zoom in on critical edges to ensure texture remains intact. The goal is a balanced, clean look that stays natural.
Fine-tune with Detail and Contrast controls
Detail helps recover sharpness after noise reduction. If edges feel soft, nudge Detail upward—don’t overdo it to avoid reintroducing grain. Contrast enhances depth after noise removal; a small boost makes lights pop without halos. If you overstep, you can create halos around bright points, so adjust slowly and compare with the original.
If you reduce detail to suppress noise, you may need a touch more contrast to keep the image lively. If you raise detail, ease color noise slightly to avoid a plastic look. The aim is a natural glow where lights are soft and shadows retain structure.
Example safe ranges to try
- Luminance: 20–60
- Color: 10–40
- Detail: 20–40
- Contrast: -5 to 10
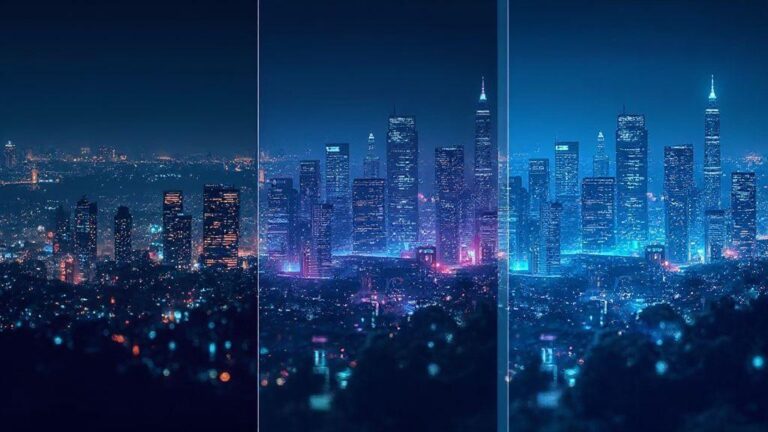
Start small, compare, and adjust. For the Best Noise Reduction Settings in Lightroom Mobile 2026 for Night Photos, begin with moderate luminance, light color noise, and then refine Detail and Contrast in small steps. Expect cleaner skies and crisper edges without losing the night mood.
Save time with presets for noise reduction
Presets speed up night editing by providing a ready-to-go balance between noise reduction and detail. Save a base preset with a moderate denoise level and light sharpening, then create variants for different scenes (city lights, indoor low light, etc.). Presets ensure consistency across a night shoot, helping your night photos look cohesive in a portfolio or social feed.
If you’re new to presets, start with a gentle noise reduction balance and save as Night Noise Base. Create a few scene-specific variants with precise names so you can apply the right one in seconds. Compare results with and without presets to avoid overcorrecting.
Create presets for Best Noise Reduction Settings in Lightroom Mobile 2026 for Night Photos
Pick a baseline that looks right for most night scenes. Dial noise reduction to a moderate level, then adjust sharpness lightly to keep edges defined without bringing back grain. Save this as a preset, for example Night Noise Base. Then tailor a few variants for common scenes (city lights, indoor low light) and save with precise names to apply in seconds.
As you test presets, compare results with and without them on the same image. A good preset should prevent overcorrection or undercorrection while keeping the scene’s character. If a preset flattens a frame, adjust exposure or contrast slightly and re-sync.
Apply and sync presets across similar shots
Applying and syncing presets across similar night shots accelerates your workflow. Apply a base preset to a batch of photos from the same scene to achieve a cohesive look quickly. Syncing presets ensures consistency; if a frame needs a tweak, adjust and re-sync. This keeps your night gallery deliberate, not templated.
When presets misfire, tweak the affected image’s exposure or contrast a notch and re-sync. The result should be a cohesive set with individual frame character.
When to avoid automatic presets
Automatic presets aren’t magic; they can flatten unique lighting. If a night scene has unusual light sources (neon signs, mixed color temperatures, or dramatic shadows), presets can push colors off balance or wash out texture. In such cases, apply manually or skip the preset for that frame. Watch for over-sharpening after a preset, which can amplify grain.
How to reduce ISO noise in night photography
Shoot with a plan to minimize noise, then clean up what remains without losing stars or edges. Small bright stars can smear if you push denoise too hard, so protect edges and star points during edits and blend denoise with careful exposure tweaks. The right workflow keeps night scenes crisp and natural.
Shoot RAW and expose to the right for less ISO noise
RAW gives more data to work with later. Expose to the right by pushing the histogram toward brighter tones without clipping highlights. A slightly brighter exposure, with careful pulling back in post, yields less aggressive noise in darker parts. Check highlights and shadows to maintain detail.
Use local masking to protect edges and stars
Local masking lets you apply noise reduction where you want less—smooth skies—while protecting stars and edge textures. Paint the mask to preserve sharp points and edges like bricks, tree bark, and sign edges. This keeps the Milky Way texture and star points intact while smoothing flat areas.
Combine denoise with exposure corrections
Denoise first, then adjust exposure as needed. Start mild to keep the sky clean without washing out stars. If the sky looks flat, reintroduce depth with slight exposure and contrast tweaks. Use a layered approach: noise reduction on a separate copy, then blend with a mask to protect texture where it matters.
Sharpening after denoising without bringing back noise
After denoising, sharpen sparingly to avoid reviving noise. Target edges that need crispness (street lights, stars, building lines) with a selective brush. Use 100% view to ensure balance, and adjust Amount and Radius to prevent halos. Masking helps keep flat areas smooth while edges stay sharp. Review on multiple devices to ensure a natural look.
Use Masking to protect flat dark areas
Masking guards flat areas (skies, deep shadows, road surfaces) from sharpening. Sharpen textured areas like bricks, tree bark, and lighted signs while keeping smooth tones quiet. A careful mask maintains edge fidelity without introducing noise into dark zones.
Lower Radius and Amount for night images
Night images benefit from small-radius sharpening. Use a lower Radius to keep sharpening within the pixel neighborhood and avoid halos. Pair with a modest Amount to prevent over-contrast in dark areas. If noise persists after denoise, reduce Amount further and sharpen only textured lines with a mask.
Export and share night photos with low noise
Export settings affect perceived noise. Export with moderate file size to preserve detail without excessive compression. Check the histogram before exporting to avoid crushed shadows or blown highlights. View the exported file on multiple devices to ensure noise remains clean and the image reads well.
Choose size and quality to reduce noise in night photos
Smaller files can compress more and amplify noise. Choose a resolution appropriate for the platform and avoid unnecessary upscaling. A well-chosen quality setting with subtle sharpening yields a clean, natural look.
Use TIFF or high-quality JPEG to avoid compression artifacts
TIFF preserves lossless detail for archives or client review. For online sharing, high-quality JPEGs reduce file size while keeping detail. Use lossless or high-quality JPEG with noise-reduction-aware sharpening sparingly after export to avoid reintroducing grain.
Best export presets for night photos
Look for presets labeled for night photography or low-light scenes. They tune exposure, shadows, and highlights to reduce noise while preserving mood. Start with light noise reduction and modest sharpening, then tailor to taste. For handheld city nights, choose a preset that smooths shadows without flattening texture. Save favorites to avoid guesswork.
Troubleshoot common denoising problems fast
Denoising can misfire if over-applied on skin or fine details. If faces look waxy, ease back smoothing. If colors look muddy, adjust midtones rather than cranking luminance. Compare crops with the full image to ensure texture remains intact. If color shifts appear after denoise, balance color channels separately.
Quick fixes you can try now
- Apply a light global denoise, then mask out faces and key details to preserve texture.
- If it looks flat, add a subtle clarity boost on midtones after denoise.
- Tweak color noise reduction mildly and recheck.
- Compare with the original to confirm mood and color integrity.
If you’re aiming for the Best Noise Reduction Settings in Lightroom Mobile 2026 for Night Photos, use a balanced starting point, apply selective denoise, and refine with masking and targeted sharpening. The right combination keeps night scenes clear, natural, and ready to share.

Smartphone Night Photography Enthusiast & Founder of IncrivelX
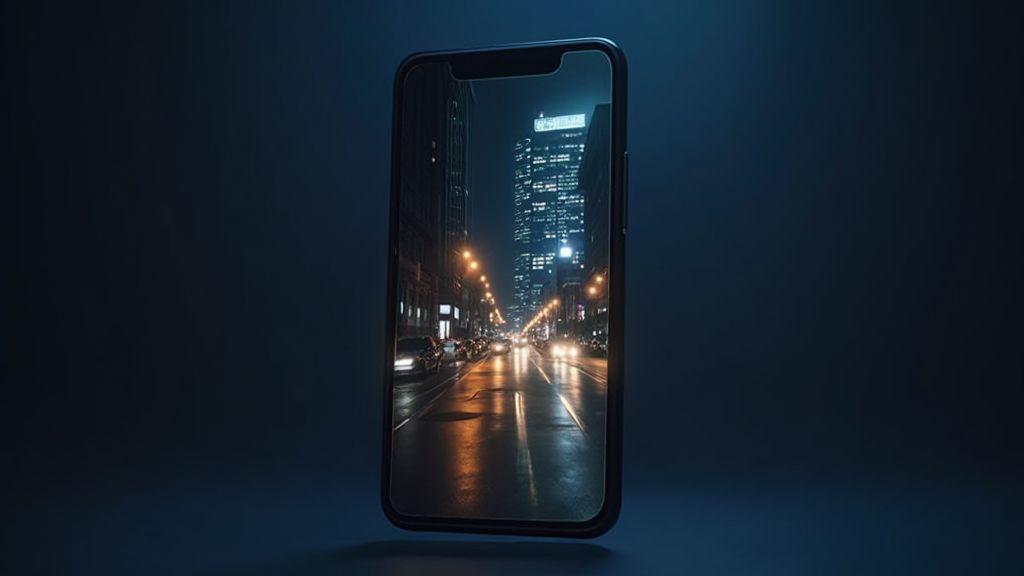
Vinicius Sanches is a passionate smartphone photographer who has spent years proving that you don’t need an expensive camera to capture breathtaking images after dark. Born with a natural curiosity for technology and a deep love for visual storytelling, Vinicius discovered his passion for night photography almost by accident — one evening, standing on a city street, phone in hand, completely mesmerized by the way artificial lights danced across wet pavement.
That moment changed everything.
What started as a personal obsession quickly became a mission. Vinicius realized that millions of people were carrying powerful cameras in their pockets every single day, yet had no idea how to unlock their true potential after the sun went down. Blurry shots, grainy images, and washed-out colors were robbing everyday people of memories and moments that deserved to be captured beautifully.
So he decided to do something about it.
With years of hands-on experience shooting city streets, starry skies, neon-lit alleyways, and creative night portraits — all with nothing but a smartphone — Vinicius built IncrivelX as the resource he wished had existed when he was just starting out. A place with no confusing jargon, no assumptions, and no gatekeeping. Just honest, practical, beginner-friendly guidance that actually gets results.
Vinicius has tested dozens of smartphones from every major brand, explored dark sky locations across multiple states, and spent countless nights experimenting with settings, compositions, and editing techniques so that his readers don’t have to start from scratch. Every article on IncrivelX comes from real experience, real mistakes, and real lessons learned in the field.
When he’s not out shooting at midnight or writing in-depth guides for the IncrivelX community, Vinicius can be found exploring new cities with his phone always within reach, looking for the perfect shot hiding in the shadows.
His philosophy is simple: the best camera is the one you already have — you just need to learn how to use it in the dark.