Astrophotography Mode vs Night Mode: When to Use Each for Superior Night Sky Shots
Astrophotography Mode vs Night Mode: When to Use Each for Superior Night Sky Shots
This guide compares Astrophotography Mode and Night Mode, helping you decide which tool fits the moment to capture stunning night skies. You’ll learn when each mode shines—from star-filled skies to urban nights—and how to blend techniques for the clearest, most dramatic images.
When you should choose Astrophotography Mode
Astrophotography Mode excels in dark skies, revealing faint stars and nebulae that fade with standard settings. It favors long exposures, frame stacking, and careful light gathering to preserve star points and sky detail. Use it for Milky Way arcs, remote star fields, and scenes where the sky is the star. Be mindful of noise; balance exposure, ISO, and processing to tame grain.
If your camera supports stacking or multiple-shot options, Astrophotography Mode lends itself to collecting several frames and merging them to reduce noise and reveal subtle structures. It’s especially helpful in locations far from light pollution, where the sky should read as a velvet backdrop rather than a muddy smear. This mode shines for the sky, not for moving foreground subjects.
Astrophotography Mode isn’t a cure-all. In scenes with bright foregrounds or fast-moving subjects, excessive exposure can wash out the sky. For crisper star points against silhouettes, mix in shorter exposures or switch to a standard mode for portions of the scene and blend later. Use Astrophotography Mode when you want clean star fields, subtle color shifts, and an expansive sky.
When to use Astrophotography Mode
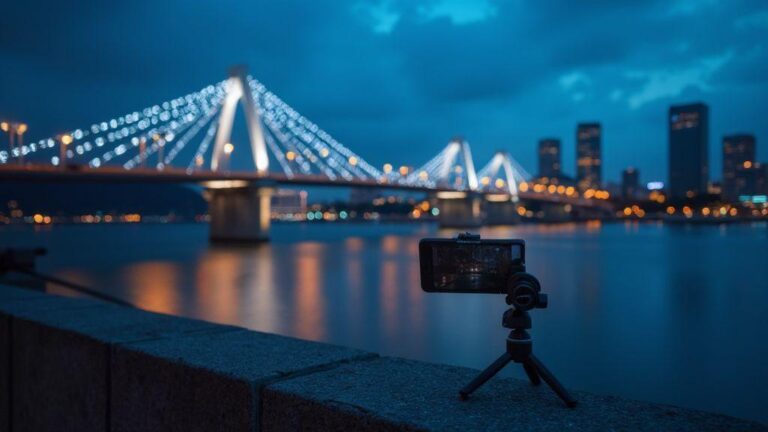
Astrophotography Mode works best under dark skies with minimal light pollution. It makes faint colors and star trails practical through stacking. With a tripod, you maximize sky detail without camera shake. Check your histogram afterward to ensure faint details are captured without clipping bright stars—keeping the night sky honest and detailed.
If the scene includes a brighter foreground—cabin windows, a lake reflecting moonlight, or town glow—you may need foreground-friendly adjustments. Pair Astrophotography Mode with techniques like light painting for the ground or shorter exposures for the ground, then blend the sky from Astrophotography Mode with a properly exposed ground shot in post. The result is a scene that feels both alive and true to what you witnessed.
Patience and stacking matter: shoot multiple frames, then align and blend to reduce noise and reveal color wisps in the void. When you’re ready, the final image will show depth and texture that single frames can’t.
Best mode for night sky photography
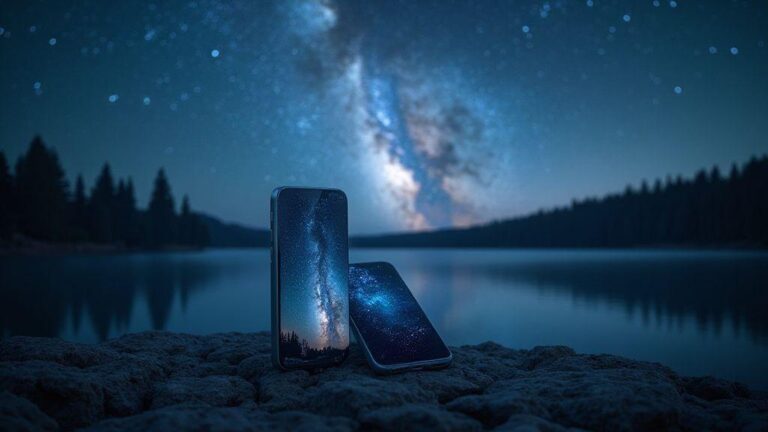
For night sky photography, the best approach lets you balance sky and ground without rushing. In practice, Astrophotography Mode typically wins for the sky, prioritizing sensitivity and long exposures to reveal faint stars and the Milky Way. Keep the foreground manageable—shoot a separate exposure for it or use light painting to maintain detail while keeping the sky dramatic.
Night Mode can be a solid backup when you need quick, balanced results in mixed lighting. It optimizes noise and brightness across the frame for faster results. If you’re new or pressed for time, Night Mode can deliver solid starter images you can refine later. The key is to choose the mode that matches your priority: star density and sky drama, or foreground detail and speed. Blending approaches in post is always an option.
Long exposure prep checklist
- Set the tripod solid and level for a stable base.
- Choose a dark location with minimal wind and light pollution.
- Pick a wide, fast lens; consider f/2.8–f/4 to balance light and star sharpness.
- Use a timer or remote to avoid camera shake (two-second delay helps).
- Shoot RAW for maximum post-processing latitude.
- Frame with a foreground element that won’t flood the sky with light.
- Check focus manually on a bright star, then lock it.
- Use the lowest ISO that yields a usable shutter speed (usually ISO 800–3200, up to 3200 on calm nights).
- Plan for exposure stacking: 15–30 seconds per frame, across 1–2 minutes total, depending on sky darkness.
- Bring spare batteries and memory; long sessions drain both quickly.
When you should use Night Mode for low light
Night photography benefits from a smart plan. In low light, dedicated Night Mode helps reduce noise, preserve color, and keep shadows readable. It often lowers ISO and extends shutter time to balance mood and brightness, making it useful for uneven lighting, city scenes, and mixed illumination. The result is more honest color and texture with less post-work.
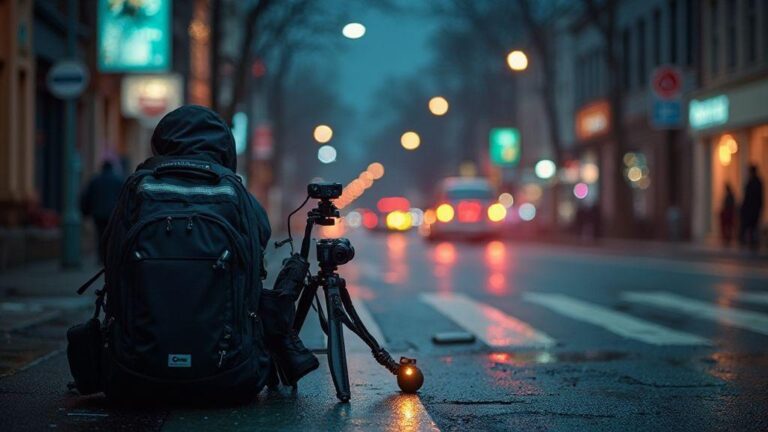
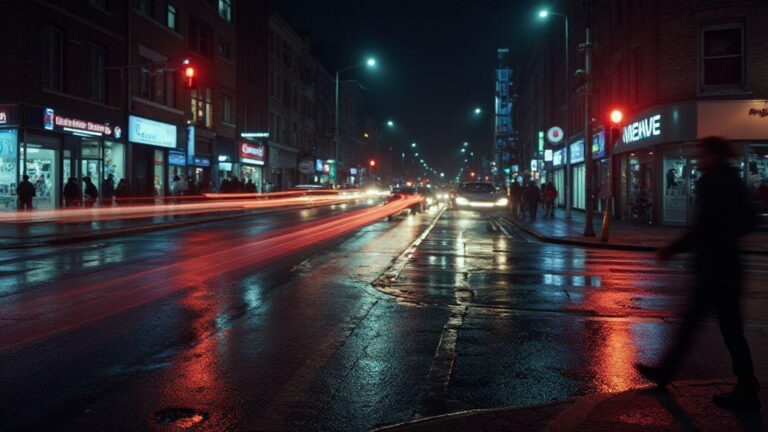
Use Night Mode when you’re shooting in dim places where handholding is challenging or shutter times are short. It’s ideal for street scenes under lamps, cafes, or moving subjects where you want a cleaner, steadier capture. If you’re chasing natural color rather than a washed-out glow, Night Mode preserves edges and textures.
Think of Night Mode as a trained helper that reads a dark room: it prioritizes people, lights, and reflections without overexposing bright spots. If you’re in a scene with fast-moving elements, Night Mode can deliver steady results faster than manual settings. Switch early to capture the mood, then fine-tune later.
When to use Night Mode
Use Night Mode when the scene has uneven lighting you struggle to balance. It helps keep details in bright and dark areas—great for people under street lamps or scenes with neon signs. If you’re unsure how long to expose, Night Mode can auto-adjust to keep shots sharp while capturing ambient brightness.
Low light Night Mode for stars
Night Mode can be a double-edged sword for star photography: it can soften stars if the exposure is too long or if stacking is too aggressive. Use Night Mode to balance the foreground without washing out stars. For crisper stars, switch to manual exposure or a dedicated astro mode that keeps ISO higher for faint points while controlling shutter.
If you have stabilization, turn it on. A tripod remains your best friend: it helps capture a smooth horizon and a brighter foreground while leaving the stars intact. The goal is to reveal stars boldly while keeping the foreground clean.
Handheld night tips
- Keep your hands steady; shorter bursts beat long exposures.
- Lean on a solid surface and tuck elbows in.
- Use a wide stance and gentle shutter press to avoid shake.
- Focus with a bright star, then switch to manual focus.
- If available, avoid Multi-shot or High ISO Auto; they can increase noise.
- Combine with Night Mode for cleaner results.
Astrophotography mode settings you must know
Understanding how the camera behaves in Astrophotography Mode helps you optimize star visibility and foreground readability. Think of the camera as a light dial: you want sharp stars, a dark sky, and a readable foreground. Start with base settings, then tweak in small steps to keep color even and avoid banding.
Practice and planning pay off. Before you head out, sketch a quick shot list: star trails, a sharp Milky Way frame, or a foreground element. With each night, you’ll learn which ISO, shutter, and aperture work best for your gear.
Aperture, ISO, and shutter basics
- Aperture: A wider opening (e.g., f/2.8–f/4) gathers more light but may soften stars at very wide openings. Stop down if you see halos or want more foreground depth.
- ISO: Lower ISO reduces noise but may require longer shutter times. Typical night ranges are ISO 800–1600, up to 3200 on calm nights.
- Shutter: Longer exposures reveal fainter stars but risk trails; shorter exposures reduce trails but may miss faint points. A starting point for single frames is 20–30 seconds, then adjust.
Balancing these three is a practice—start with a baseline and adjust in small steps. This helps maintain color consistency and reduces noise in the final stack.
Long exposure astrophotography tips
Long exposures tell the night’s story. Use a solid tripod and a remote or timer. Focus on a bright star, then switch to infinity if needed. Test frames and check histograms to gauge exposure. Typical frames run 20–30 seconds; stack many frames for trails or bright skies, or fewer frames for a clean sky.
Shoot in cool conditions to reduce sensor noise. If city glow bleeds into the foreground, shoot a few short-exposure frames for foreground details and blend later. Plan around the Milky Way’s peak times, often late night or pre-dawn, and prefer a new Moon for deep-sky drama. Stack and process later for maximum impact.
Quick Astrophotography Mode setup
- Start manual: wide for broad skies or longer lens for star points.
- Try an initial setup: f/3.5, ISO 800, 25-second exposure; adjust from there.
- If you see blue glow, drop ISO and shorten exposure. If stars appear soft, tighten aperture or shorten exposure.
- Enable interval shooting for stacking; use a timer or remote to prevent shake.
- Lock focus on a bright star, then recheck after the shot.
- Bring a spare battery; night shoots drain power quickly.
- With practice, Astrophotography Mode can feel like second nature.
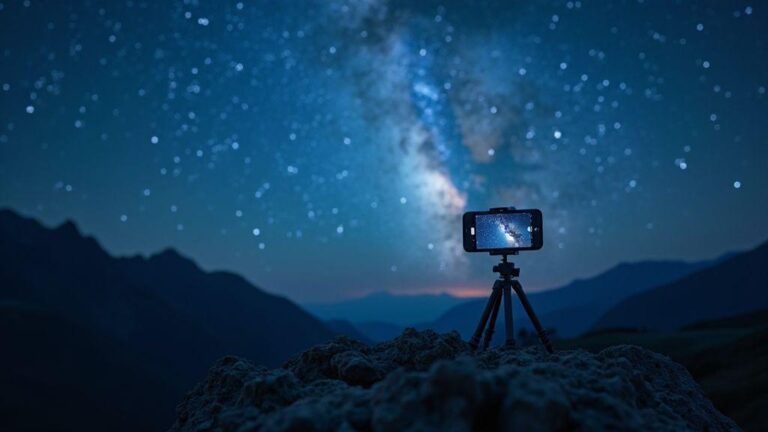
Smartphone astrophotography vs night mode
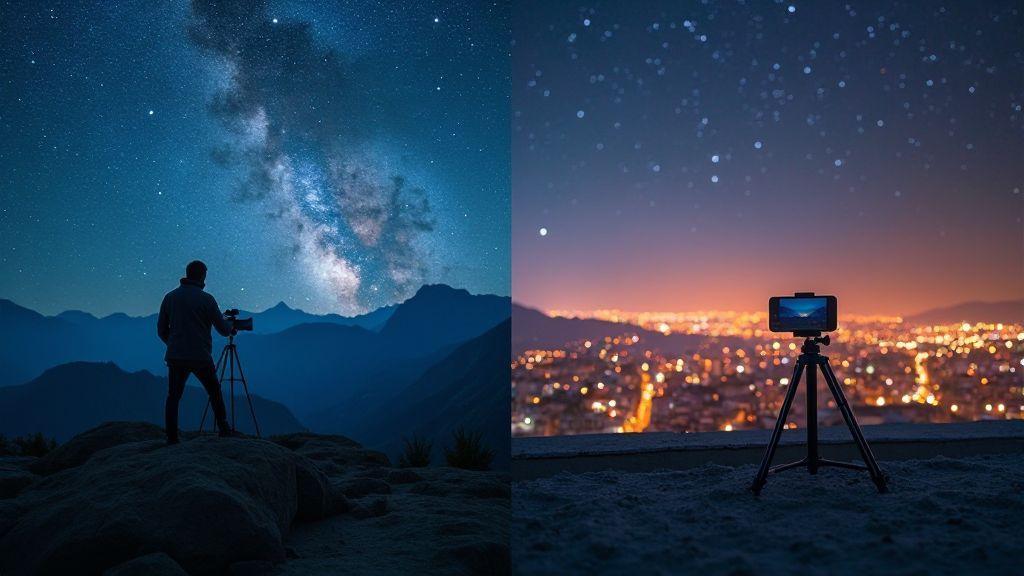
Smartphones offer two practical tools: Astrophotography features and standard Night Mode. Astrophotography on phones uses longer exposures and stacking for more star detail, requiring a stable setup (tripod) and patience. Night Mode brightens scenes quickly for street lamps or parks and is ideal when time is short.
Trade-offs: Astrophotography stacks frames for maximum star detail but requires stillness; Night Mode emphasizes speed and practicality with fewer star details. Read the scene and choose the tool that fits: starry grandeur or practical city lighting.
Smartphone Astrophotography vs Night Mode quick comparison
- Astrophotography: deeper, more textured skies; larger files; longer processing; best for Milky Way and star-rich scenes.
- Night Mode: brighter foregrounds, improved color in mixed light; quicker results; less star detail.
- Align usage with light, subject movement, and patience for stacking.
Pick the right phone tools
- A tripod or stable surface is essential for Astrophotography.
- Use a timer or remote; clean the lens.
- Shoot RAW when possible for the most editing latitude.
- Lock exposure and frame grid to ensure clean, balanced shots.
- Practice with different settings to build go-to setups for each scenario.
Plan and compose your night sky shots
Plan your shots to avoid guesswork in the dark. Decide whether you want wide Milky Way arcs, a lone tree, or a reflective lake. Choose a location with dark skies and an interesting foreground. Bring a flashlight, tripod, and remote. Consider timing: a moonless window helps deep-sky drama, while a gentle Moon can light foreground textures.
Map your sequence: star trails require many long exposures; Milky Way with a sharp foreground needs shorter exposures and careful focus. Write down exact settings for quick reference in the field. Have backup compositions ready in case the first plan doesn’t work at dusk. Moon phase, weather, and foreground lighting all influence your results. With a clear plan, you’ll shoot with confidence and consistency.
Choosing dark sites and timing
Choose a truly dark site for true star power, or find pockets of darker sky if you can’t escape city glow. The Milky Way favors astronomical twilight and the darkest hours, and a new Moon dramatically helps deep-sky work. Weather matters: clear, dry nights with minimal haze produce crisper stars. Scout beforehand for foreground angles and clean horizons.
Framing with foreground and stars
A simple foreground anchors the shot and adds story without overpowering the sky. Use a wide frame to give the viewer space, then tighten to place stars or the Milky Way on the rule of thirds. Manual focus on a bright star yields crisp stars. Use a sturdy tripod and shutter remote, and consider subtle foreground lighting to reveal texture without washing out the sky. Blending later can preserve both a bright foreground and a star-filled sky.
Shot checklist for superior night photos
- Bring a sturdy tripod, remote, and extra batteries.
- Clean the lens and set manual focus on a bright star.
- Start with wide sky-and-foreground shots, then sequence toward tighter Milky Way frames.
- Use low ISO and long exposures for star clarity; raise ISO if stacking for more stars.
- Keep a notebook or app handy for quick field changes.
Remember: Astrophotography Mode vs Night Mode is a practical decision based on the scene, motion, and how long you’re willing to wait. For dramatic night skies, Astrophotography Mode usually wins. For quick, balanced city scenes or mixed lighting, Night Mode is your reliable go-to. With practice, you’ll know when to call each mode to achieve superior night sky shots.

Smartphone Night Photography Enthusiast & Founder of IncrivelX
Vinicius Sanches is a passionate smartphone photographer who has spent years proving that you don’t need an expensive camera to capture breathtaking images after dark. Born with a natural curiosity for technology and a deep love for visual storytelling, Vinicius discovered his passion for night photography almost by accident — one evening, standing on a city street, phone in hand, completely mesmerized by the way artificial lights danced across wet pavement.
That moment changed everything.
What started as a personal obsession quickly became a mission. Vinicius realized that millions of people were carrying powerful cameras in their pockets every single day, yet had no idea how to unlock their true potential after the sun went down. Blurry shots, grainy images, and washed-out colors were robbing everyday people of memories and moments that deserved to be captured beautifully.
So he decided to do something about it.
With years of hands-on experience shooting city streets, starry skies, neon-lit alleyways, and creative night portraits — all with nothing but a smartphone — Vinicius built IncrivelX as the resource he wished had existed when he was just starting out. A place with no confusing jargon, no assumptions, and no gatekeeping. Just honest, practical, beginner-friendly guidance that actually gets results.
Vinicius has tested dozens of smartphones from every major brand, explored dark sky locations across multiple states, and spent countless nights experimenting with settings, compositions, and editing techniques so that his readers don’t have to start from scratch. Every article on IncrivelX comes from real experience, real mistakes, and real lessons learned in the field.
When he’s not out shooting at midnight or writing in-depth guides for the IncrivelX community, Vinicius can be found exploring new cities with his phone always within reach, looking for the perfect shot hiding in the shadows.
His philosophy is simple: the best camera is the one you already have — you just need to learn how to use it in the dark.