AI Upscaling & Web Optimization: Resize Night Photos for Any Platform Without Losing Detail
Why use AI night photo upscaling
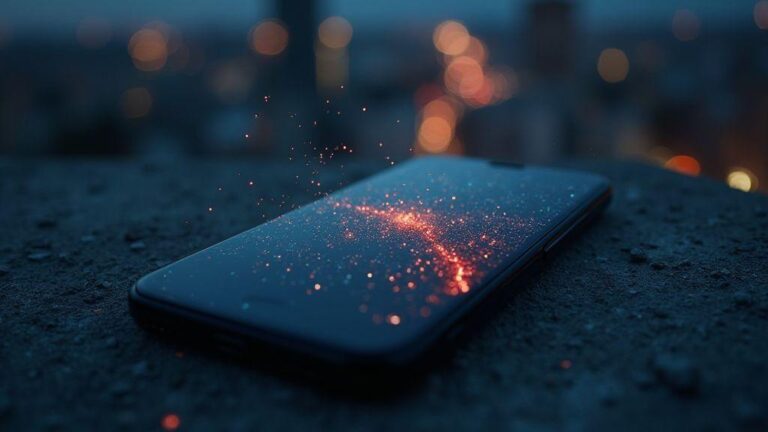
Upscaling night photos with AI reveals details that look grainy or blurred in low light. You’ll get sharper edges, better color, and reduced noise, so shots don’t feel washed out when shared. With AI, you recover information that basic resizing would flatten, yielding clearer night scenes you’re proud to post. Think of it as polishing a dark room into a brighter memory you can edit and enjoy.
AI upscaling uses learned patterns to predict missing details, avoiding guesswork about where to add pixels. You gain more natural textures in skies, streetlights, and reflections, bringing the final image closer to what you remember. The result is a true-to-life night photo, ready for social feeds or galleries. When applied to a batch, you save time and keep your feed consistent. AI Upscaling & Web Optimization: Resize Night Photos for Any Platform Without Losing Detail is a guiding concept for clean, ready-to-share images.
How AI improves low-light image upscaling
You’ll get sharper edges where light meets dark, as AI learns typical real-life shapes. Noise is tamed with smart denoising, preserving texture while reducing grain, so starry skies and brick textures stay intentional. AI can add plausible details like reflections on water or window panes catching light, adding depth and a three-dimensional feel.
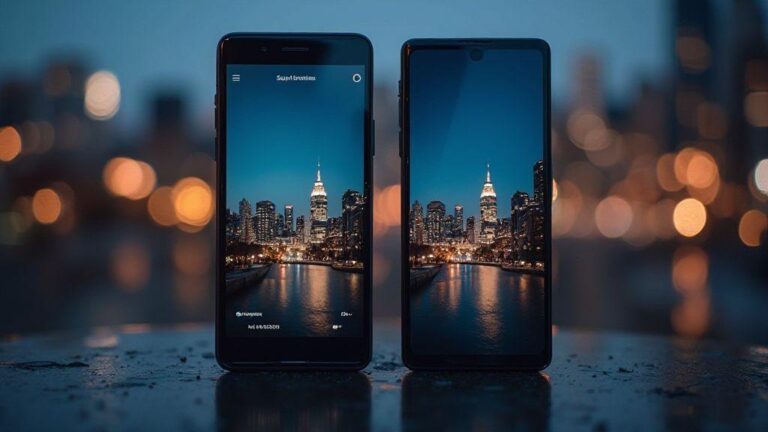
When upscaling beats simple resizing
AI upscaling preserves more original texture and edge clarity than plain enlargement. It stays readable across thumbnails and full-size images, keeping scenes engaging on feeds or prints. This practical approach smooths your workflow and ensures consistency across platforms.
Key benefits for night shots
- Sharper edges and improved texture without excessive contrast
- Reduced noise while preserving sky and water detail
- More accurate colors under artificial lighting
- Details preserved across sizes for web optimization and platform variety
How night photo denoising and upscaling works
When shooting at night, you get grain and tiny errors. Denoising uses smart math to separate noise from real light and color, keeping edges sharp while smoothing random specks. Upscaling enlarges a night photo by filling in new details based on learned patterns, producing natural results when done well. Pushing too far can create artifacts or halos.
Both steps rely on how software models light, color, and texture. The best tools balance local adjustments with global scene awareness, rescuing night photos without sacrificing mood.
Neural models cut noise and bring back detail
Neural models learn patterns from many night images, reducing grain without washing out mood and preserving edges. You’ll notice more natural textures on bricks, skies, and reflections, avoiding a plastic look. However, if the original shot is extremely noisy, artifacts can appear—trial and error with settings helps you find a balance.
Limits of low-light photo enhancement
Even top AI upscaling can’t conjure data that wasn’t captured. If a shot is too dark, you’ll gain brightness but not genuine detail. Tone mapping can alter mood or create noise elsewhere. Texture consistency may suffer, with repeating patterns or overly smooth areas in rough textures. Use denoising and upscaling softly to avoid trade-offs.
Denoise best practices
- Start with moderate denoise and compare results at 100% and 200% zoom
- Preserve edges and natural skin tones, if present
- Avoid overdoing it to prevent a plastic feel
- Apply gentle color correction before upscaling for consistent screens
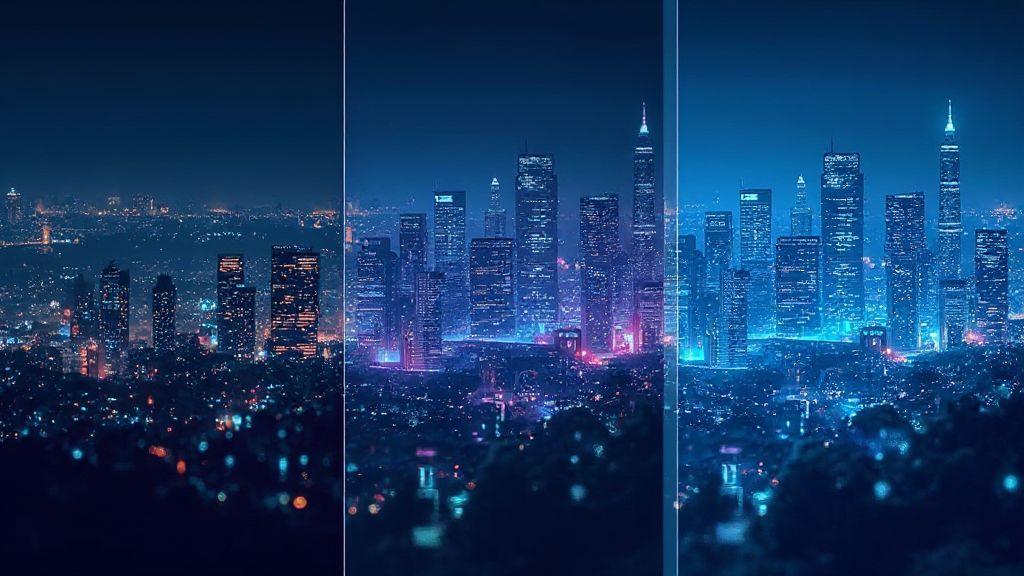
Pick the right AI super-resolution for night photos
Night photos crave extra clarity, but tools differ. Look for models that sharpen edges, preserve color, and reduce noise without cartoonish exaggeration. Test several images across scenes (streets, skies, interiors) to understand behavior in dark areas and highlights.
Workflow fit matters: desktop models with batch processing suit heavy editors; lightweight mobile options suit on-the-go work. Speed vs. sharpness is a trade-off to consider. The right pick should feel predictable and reliable for your needs.
Also consider output flexibility: multi-format and multi-size exports help you scale from web thumbnails to large prints. Ensure color fidelity to keep blues, tungsten, and neon hues true after upscaling. With clear expectations, you’ll find a model that genuinely improves night photos.
AI Upscaling & Web Optimization: Resize Night Photos for Any Platform Without Losing Detail can guide your choice of tools and settings for consistent results.
Compare model quality and speed
- High-quality models preserve texture in shadows and keep edges clean around light sources
- Look for reduced haloing around bright points and preserved detail in highlights
- Test a few models on the same photo to weigh quality vs. speed
- Speed matters for quick nightly updates; balance with final image quality
Quality checks should include edge clarity, fabric texture, and color accuracy in both dark tones and highlights. If you notice color shifts or artifacts, adjust settings or switch models.
Check hardware needs and cost
Hardware affects performance. Some AI upscaling tools run on consumer GPUs or phones; others need dedicated workstations or cloud credits. Start with a small batch to see how it performs on your setup. Consider per-image or monthly pricing, especially for high-volume night shoots.
Cloud options reduce hardware constraints but add ongoing costs. Look for transparent pricing, limits on file sizes, batch counts, and export formats. For RAW or full-color-depth work, verify preservation without extra steps. Weigh routine workload against costs to get the best value.
Your setup should feel smooth. If your hardware struggles with basics, choose a lighter tool or cloud option and scale up later. The right balance of cost and capability keeps night photos flowing without wasted time.
AI Upscaling & Web Optimization: Resize Night Photos for Any Platform Without Losing Detail can help you plan the right balance of tools and costs.
Tool selection checklist
- Clean detail without halos around lights
- Color fidelity in shadows and highlights
- Noise reduction without washing out texture
- Predictable results across night scenes
- Output formats and export sizes that fit your needs
- Hardware requirements and cloud options
- Reasonable time-to-result for your batch
- Simple workflow integration
- Transparent pricing and flexible plans
- Easy plan adjustments as volume changes
Preserve detail when resizing night photos
When resizing, keep stars, textures, and glow intact. Edge-preserving methods help maintain skyline crispness and avoid smeared textures. Work on a duplicate, compare results, and test multiple options (standard resize vs. detail-preserving upscaling vs. post-resize denoise). Compare at target size to keep micro-details without halos. This balance preserves mood while fitting platform display sizes.
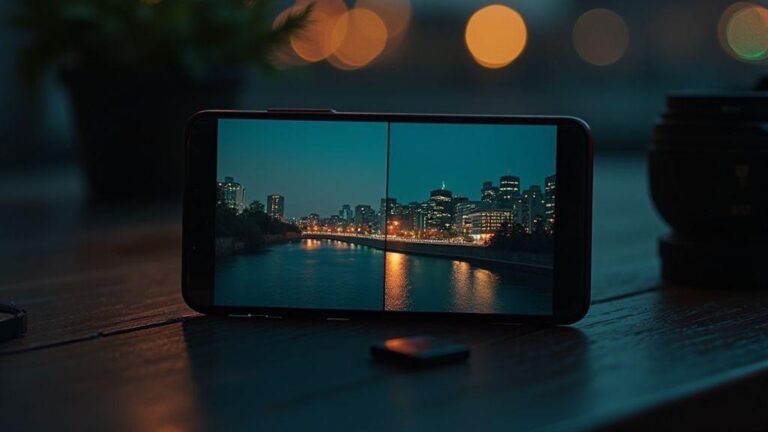
Upscale versus plain interpolation
Plain interpolation is fast but dulls night textures. Detail-aware upscaling preserves stars, edges, and textures, keeping the image vivid on any device. If you must resize with simple methods, you’ll see softer textures and a flatter skyline. The right upscaling approach preserves mood and reduces artifacts.
How to avoid softening and artifacts
- Resize, then sharpen only to recover micro-details
- Apply targeted sharpening on edges; avoid sharpening flat areas like skies
- If halos appear, reduce local contrast or adjust sharpening radius
- Denoise lightly after upscaling to keep star specks and brick textures
- Ensure edge preservation with an appropriate upscale option
Detail-preserve tips
- Work on a duplicate layer to compare with the original
- Use side-by-side comparisons before final export
- Apply detail-preserving upscaling, then light edge sharpening
- Zoom to 100% to check halos and fix with local edits
- Save high-quality TIFF/PNG for archiving and JPEG for web
Web-optimized night image upscaling
For the web, you want sharp detail with small file sizes. Balance clarity with fast loading to look good on mobile and desktop. Preserve glow from city lights, stars, and street lamps while trimming unnecessary data. The right combination of resampling, compression, and formats improves load times and viewer perception.
AI Upscaling & Web Optimization: Resize Night Photos for Any Platform Without Losing Detail can underpin your approach to balancing quality and speed for the web.
Balance file size, quality, and load time
- Start with a modest upscale factor and gentle denoise before upscaling
- Use light sharpening after to maintain edge definition
- Test compression levels for mobile networks
- Normalize tonality to avoid crushed blacks or blown highlights
- Prioritize gallery-wide consistency over perfection on a single image
Use modern codecs like WebP and AVIF
- WebP provides good compression and broad support
- AVIF can deliver higher quality at smaller sizes
- Save two versions (WebP and AVIF) and provide fallbacks for older browsers
Export settings for web
- Use consistent resolutions (e.g., 1920×1080 or 1600×900)
- Enable progressive rendering
- Set color profile to sRGB with gentle gamma correction
- Apply light sharpening post-export
- Strip unnecessary metadata while keeping accessibility data
Responsive night image optimization
Prepare images to stay clear, balanced, and fast on any device. Design image sets for all display sizes and pair with smart loading techniques to reduce bandwidth and keep engagement high. A scalable workflow helps you manage future uploads without rework, delivering crisp stars and balanced shadows across devices.
Create multiple scaled versions for devices
Produce a high-quality master and generate smaller, web-friendly edits that preserve contrast and detail. Label versions clearly (e.g., night-photo-1024w.jpg) to simplify updates, and plan extra sizes for future screens.
Use srcset, sizes, and lazy loading
- Pair srcset with sizes to guide the browser to the right image
- Specify width candidates (e.g., 320w, 768w, 1280w, 1920w) and a suitable sizes rule
- Implement lazy loading for long galleries to improve initial load and time-to-first-byte
- Test loading on multiple devices to catch edge cases and layout shifts
Platform-specific night photo scaling
Check appearance on different screens to preserve depth and atmosphere. Quick tests at common targets help you adjust sharpening and framing before final export. Create a simple preset for night photos to keep consistency across platforms, making adaptation to new platforms faster.
Social media crop and size limits
- Preview crops (1:1, 4:5, 16:9) to preserve focal points
- Reposition elements to keep key lights centered on crops
- Soften slight sharpening on mobile previews to avoid halo effects
- Balance file size with detail to prevent upload slowness
Guidelines for ecommerce and portfolios
- Use clean backgrounds and center the subject
- Minimize noise in dark areas while preserving glow
- Maintain a consistent gallery scale for a cohesive portfolio
- Test exports at target sizes to confirm texture and edge clarity
Platform sizing guide
- Instagram feed: 1080 x 1080 or 1080 x 1350
- Instagram stories: 1080 x 1920
- Facebook/LinkedIn feed: 1200 x 628 or 1080 x 1080
- Twitter/X banner: 1500 x 500 or 1200 x 675
- Pinterest: 1000 x 1500
- Ecommerce product pages: 800–1000 px on the longest edge
Use these targets as baselines. If you tweak, keep dark areas intact and avoid clipping important highlights.
Lossless night photo resizing and formats
Lossless resizing preserves edges and colors so you don’t get muddy skies or halos. Start with lossless formats (RAW/TIFF) and compare results side by side against smaller formats. Lossless workflow keeps star fields crisp and skyline silhouettes clean across platforms.
When to choose TIFF or PNG
- TIFF: maximum color depth, layer storage, long-term archival quality
- PNG: sharp edges for proofs, web galleries, or transparent overlays
When to use WebP or high-quality JPEG
- WebP: strong quality with smaller files; good for galleries and social
- JPEG: broad compatibility; quick sharing with a balanced quality
Automate AI night photo upscaling workflows
Automation saves time and ensures consistent results across many shots. Define target size, model, and detail level once, then apply to batches. Review a few samples to validate style, but rely on a repeatable process for daily work or client deliveries. Automation is especially valuable for social posts, portfolios, or CMS publishing.
Batch processing, presets, and scripts
- Batch processing runs upscaling on many images with a single setup
- Create presets for different lighting (city glow, starry skies, stadium lights)
- Scripts trigger upscaling, color corrections, and sharpening quickly
- Store jobs and presets in a labeled library for easy reuse
Integrate with editors and your CMS
Push images from editors to the upscaler, then pull enhanced files back with a click. CMS integration can trigger upscaling on upload and replace originals automatically, maintaining quality across pages, galleries, and social previews. Editors can review upscaled previews before publish, speeding up cycles while preserving a personal touch.
Workflow automation steps
- Define target resolution and AI model; set a night-scene preset
- Create a batch job for all night photos; verify look
- Connect to editors and CMS; keep handoffs clean
- Review and QA; tweak presets as needed
- Archive presets and scripts for faster future shoots

Smartphone Night Photography Enthusiast & Founder of IncrivelX
Vinicius Sanches is a passionate smartphone photographer who has spent years proving that you don’t need an expensive camera to capture breathtaking images after dark. Born with a natural curiosity for technology and a deep love for visual storytelling, Vinicius discovered his passion for night photography almost by accident — one evening, standing on a city street, phone in hand, completely mesmerized by the way artificial lights danced across wet pavement.
That moment changed everything.
What started as a personal obsession quickly became a mission. Vinicius realized that millions of people were carrying powerful cameras in their pockets every single day, yet had no idea how to unlock their true potential after the sun went down. Blurry shots, grainy images, and washed-out colors were robbing everyday people of memories and moments that deserved to be captured beautifully.
So he decided to do something about it.
With years of hands-on experience shooting city streets, starry skies, neon-lit alleyways, and creative night portraits — all with nothing but a smartphone — Vinicius built IncrivelX as the resource he wished had existed when he was just starting out. A place with no confusing jargon, no assumptions, and no gatekeeping. Just honest, practical, beginner-friendly guidance that actually gets results.
Vinicius has tested dozens of smartphones from every major brand, explored dark sky locations across multiple states, and spent countless nights experimenting with settings, compositions, and editing techniques so that his readers don’t have to start from scratch. Every article on IncrivelX comes from real experience, real mistakes, and real lessons learned in the field.
When he’s not out shooting at midnight or writing in-depth guides for the IncrivelX community, Vinicius can be found exploring new cities with his phone always within reach, looking for the perfect shot hiding in the shadows.
His philosophy is simple: the best camera is the one you already have — you just need to learn how to use it in the dark.